


How to Make Pom Pom Trim
Hey guys! Today I have a tutorial to help you make your own diy pom pom trim. Normally, I have no problem buying pom-pom trim, but recently I was giving our outdoor umbrella an upgrade, and I really wanted to add a large pom-pom trim to the bottom. I needed about six yards of trim, and the one I wanted was $8 a yard, which meant nearly $50 bucks in total for my project! That was way more than I wanted to spend, so I decided to try it make my own pom pom trim. I think it turned out pretty cute attached to my umbrella:

DIY Pom Pom Trim Tutorial
by Alexis
Materials
- 1 inch Pom-Poms
- Size 10 cotton crochet thread
- 3/4 inch grosgrain ribbon
- Washi tape
- Needle
- Coordinating thread
- Sewing machine
1. Start off by threading your needle with the crochet thread. Push the needle through the middle of the pom-pom and slide the pom-pom down the thread.

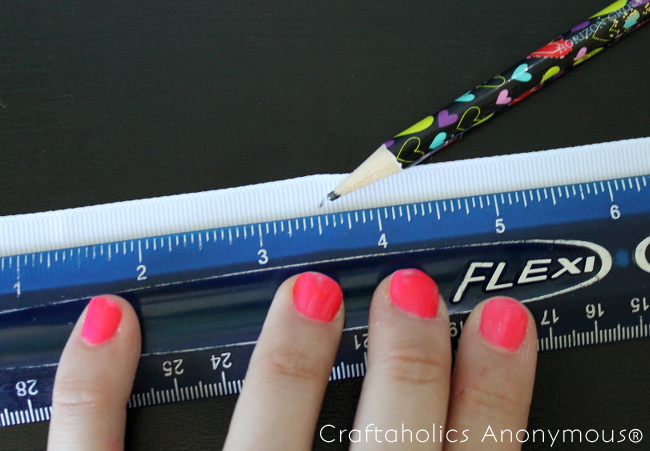
2. Continue threading pom-poms onto the thread, spacing them five inches apart. 3. Once you have a long strand of threaded pom-poms, it’s time to prepare the grosgrain ribbon. To help space the pom-poms out evenly, I marked out where the thread would be attached to the ribbon – every 3 1/2 inches.
4. Fold each section in half so the two pom-poms on each end match up. The middle point of the thread between the two pom-poms is what should be attached at the pencil mark on the ribbon. I tried a few different techniques for attaching the thread to the ribbon, and what worked the best for me was taping the thread onto the ribbon and then doing a zig-zag stitch right over the top.
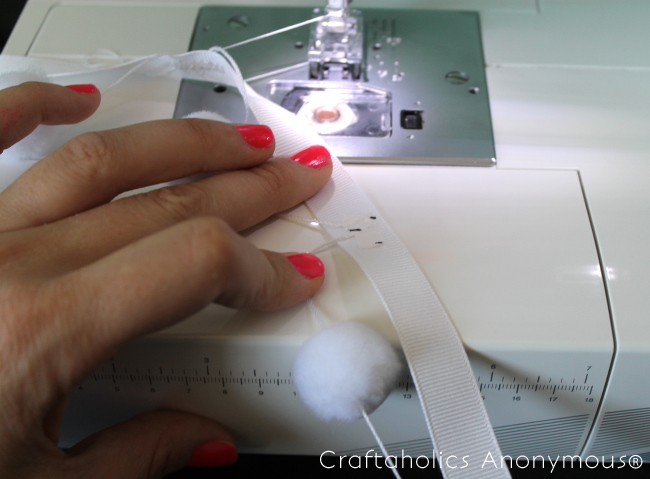
You can go back and rip off most of the tape after, but I decided to use a tape that matched my ribbon and then just leave it on since you wouldn’t be able to see it when I glued the trim onto my umbrella.
Just keep taping and sewing and pretty soon you will have yards of trim.

The trim that I made is very large scale, and would work best for larger projects, like my umbrella, but the same technique should work well with smaller pom-pons for smaller trims.

Try playing around with colors, sizes, and the spacing of your pom-poms to get different looks. That was how to make pom pom trim.

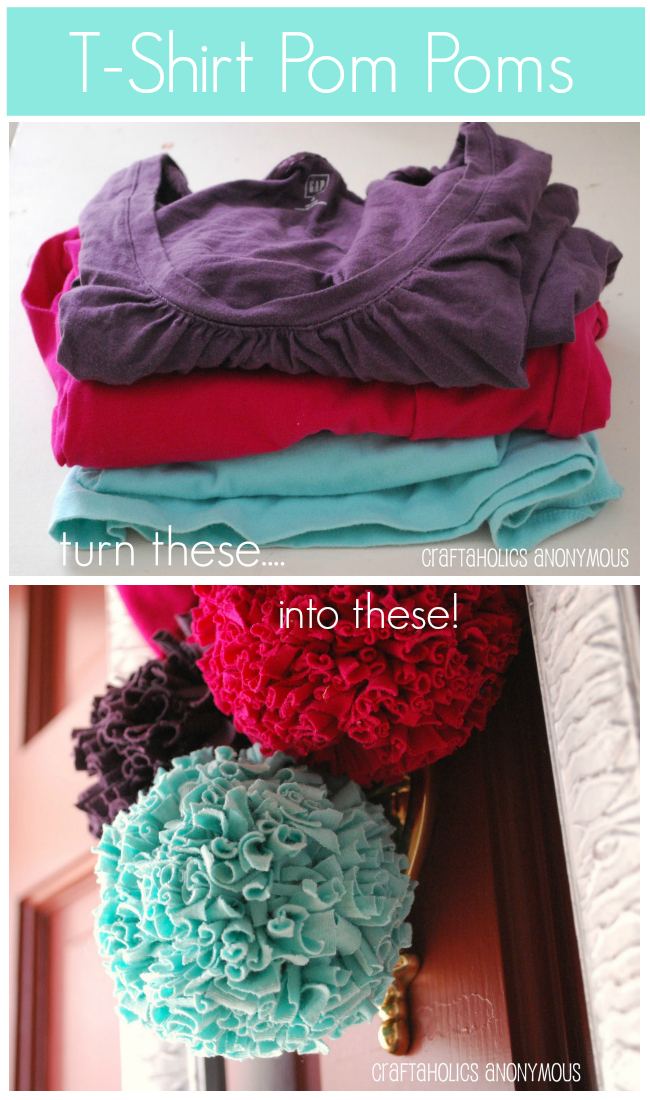
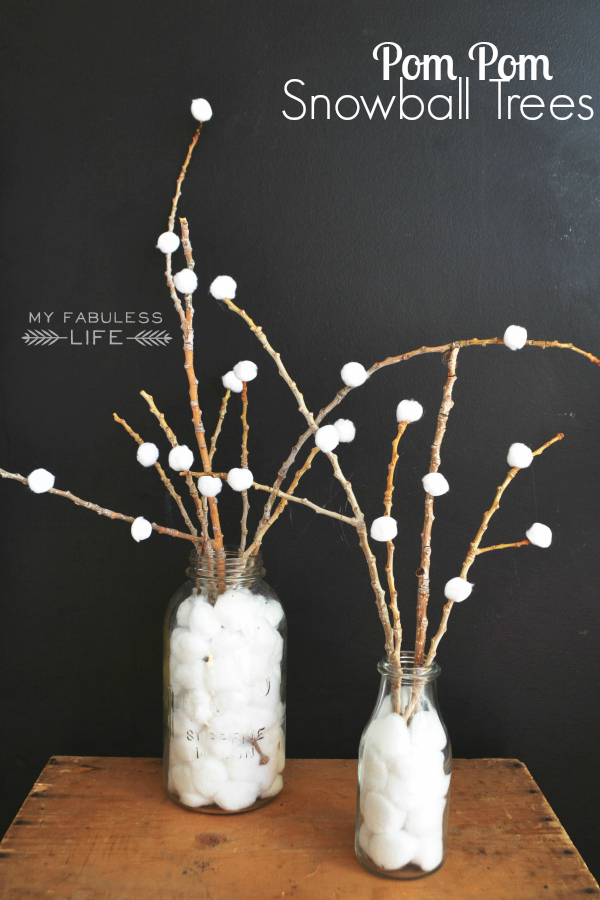
More Pom Pom Crafts:
Looking for more Craft & DIY ideas? Follow Linda on Pinterest!
Alexis
Latest posts by Alexis (see all)
- DIY Valentine’s Day Pillow with Free Cut File - Jan 05 2015
- Free Printable 3D Christmas Trees - Dec 09 2014
- DIY Watercolor Place Cards - Nov 05 2014
Love your work!
Thank you Jade!