


Hey guys! It’s Aki again from Minted Strawberry here with another easy tutorial for you. I’m not one to give gifts at Easter time (I don’t have kids yet – I have kid siblings and nieces and nephews), but I know a lot of people who spoil their kids with goodies and gift baskets. But this time I couldn’t resist – not with seeing these cute plushies at the dollar store while I was looking for some candy. With Easter coming up pretty soon, why not turn a dollar store find into a one-of-a-kind gift for your child? Here’s an easy way to make a personalized plush without breaking the bank – and if you don’t have a Silhouette cutting machine, don’t sweat, it’s easy to replicate this craft with iron-on letters found at any craft store!
Dollar Store Easter Craft
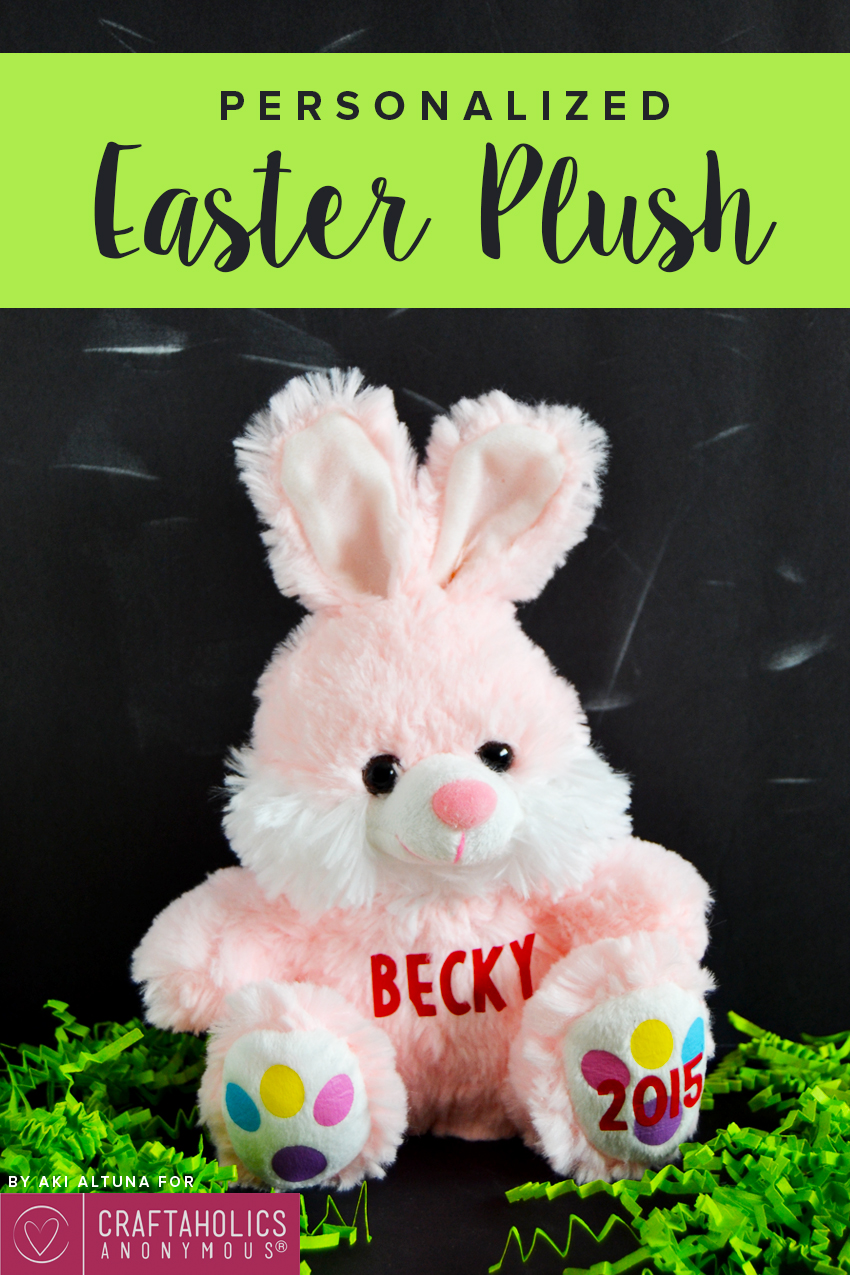

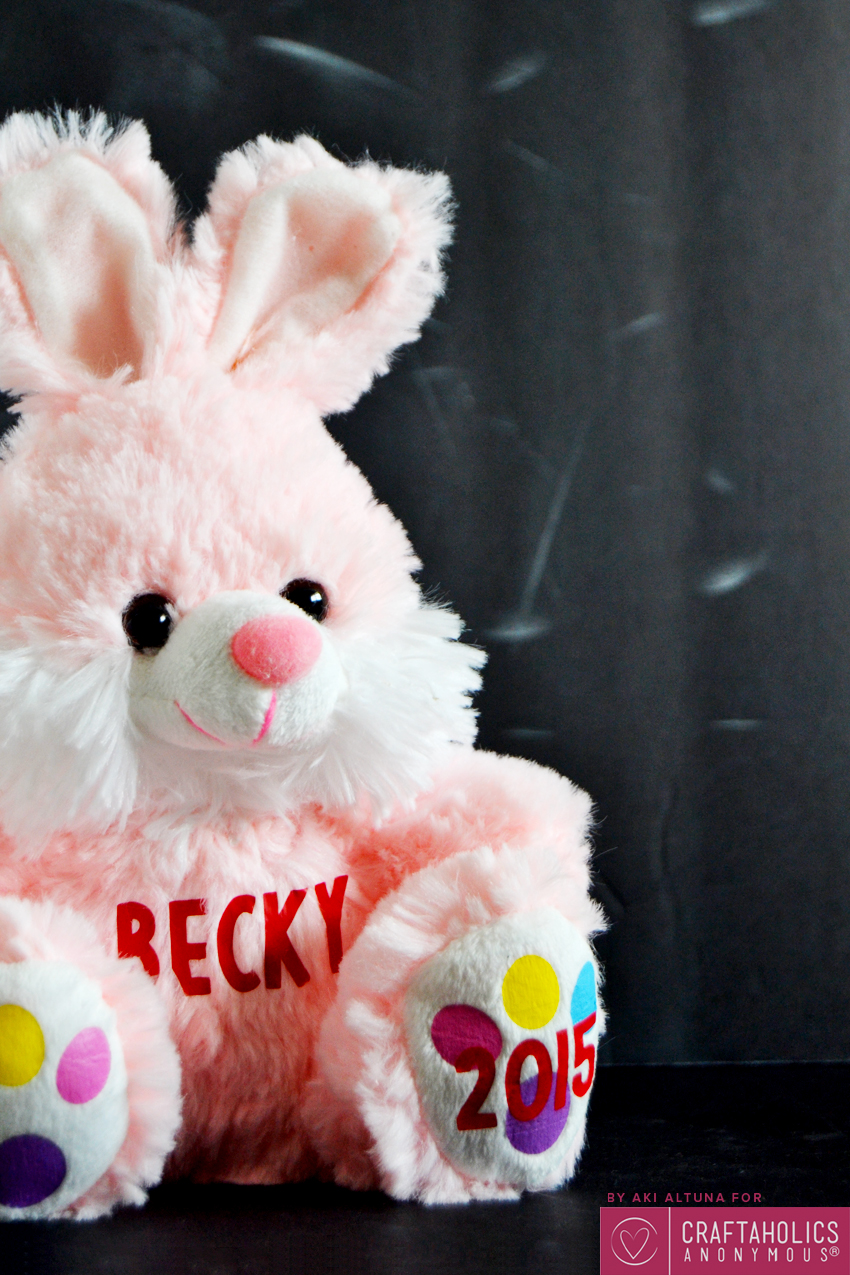
Turn any dollar store plush into a personalized gift for any kid – perfect for kids’ first Easter or any other occasion. Don’t forget to package it in a really cute giant egg and you’ll be set!
For this dollar store Easter craft you will need:
- Dollar store Plush
- Heat Transfer Vinyl + Silhouette Cutting Machine or Iron-on Transfer Letters
- Ruler
- Small Iron
- Scissors
- Giant Plastic Egg (optional)
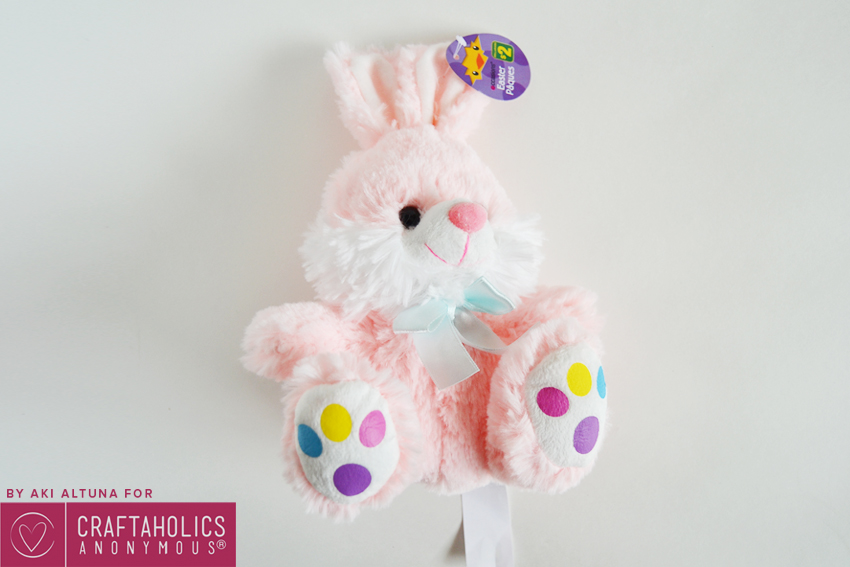
Start with your basic plush – you can find a ton of them at the dollar store, or for cheap at any craft store and even pharmacies and big box chain stores.

Using your scissors, cut the tags and the ribbon embellishment (if yours has any). Be very careful when cutting these embellishments so as to not damage the plush. You can often cut it really easily as it’s only secured by a couple of stitches on both sides.
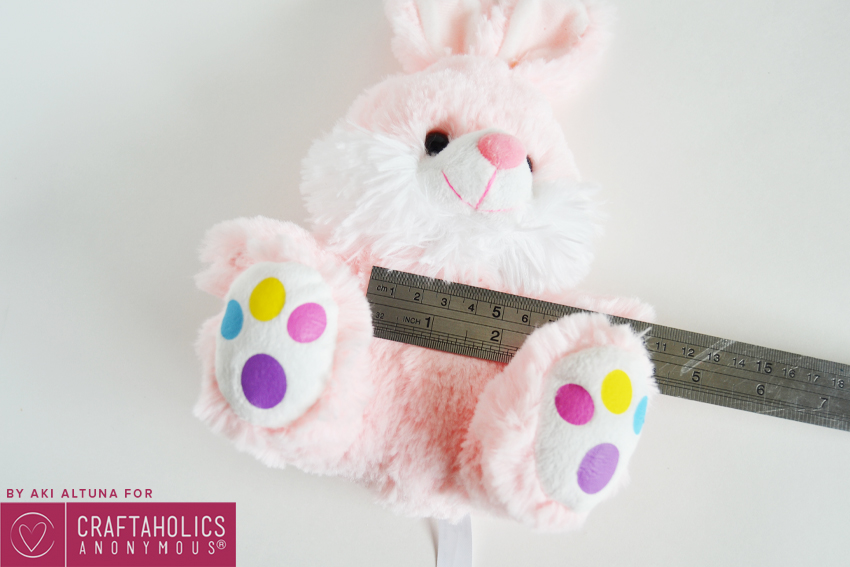
Measure how big you want your wording to be – since mine is a relatively small plush, the width of the name was only under 2″. If you are apprehensive and want the exact size before cutting your precious heat transfer vinyl, use paper to make a mock-up to check how big you want it to be.
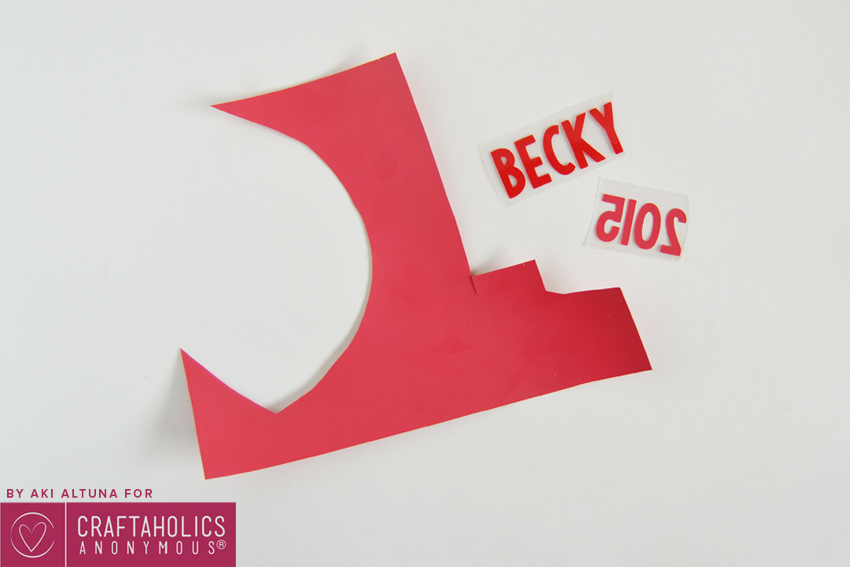
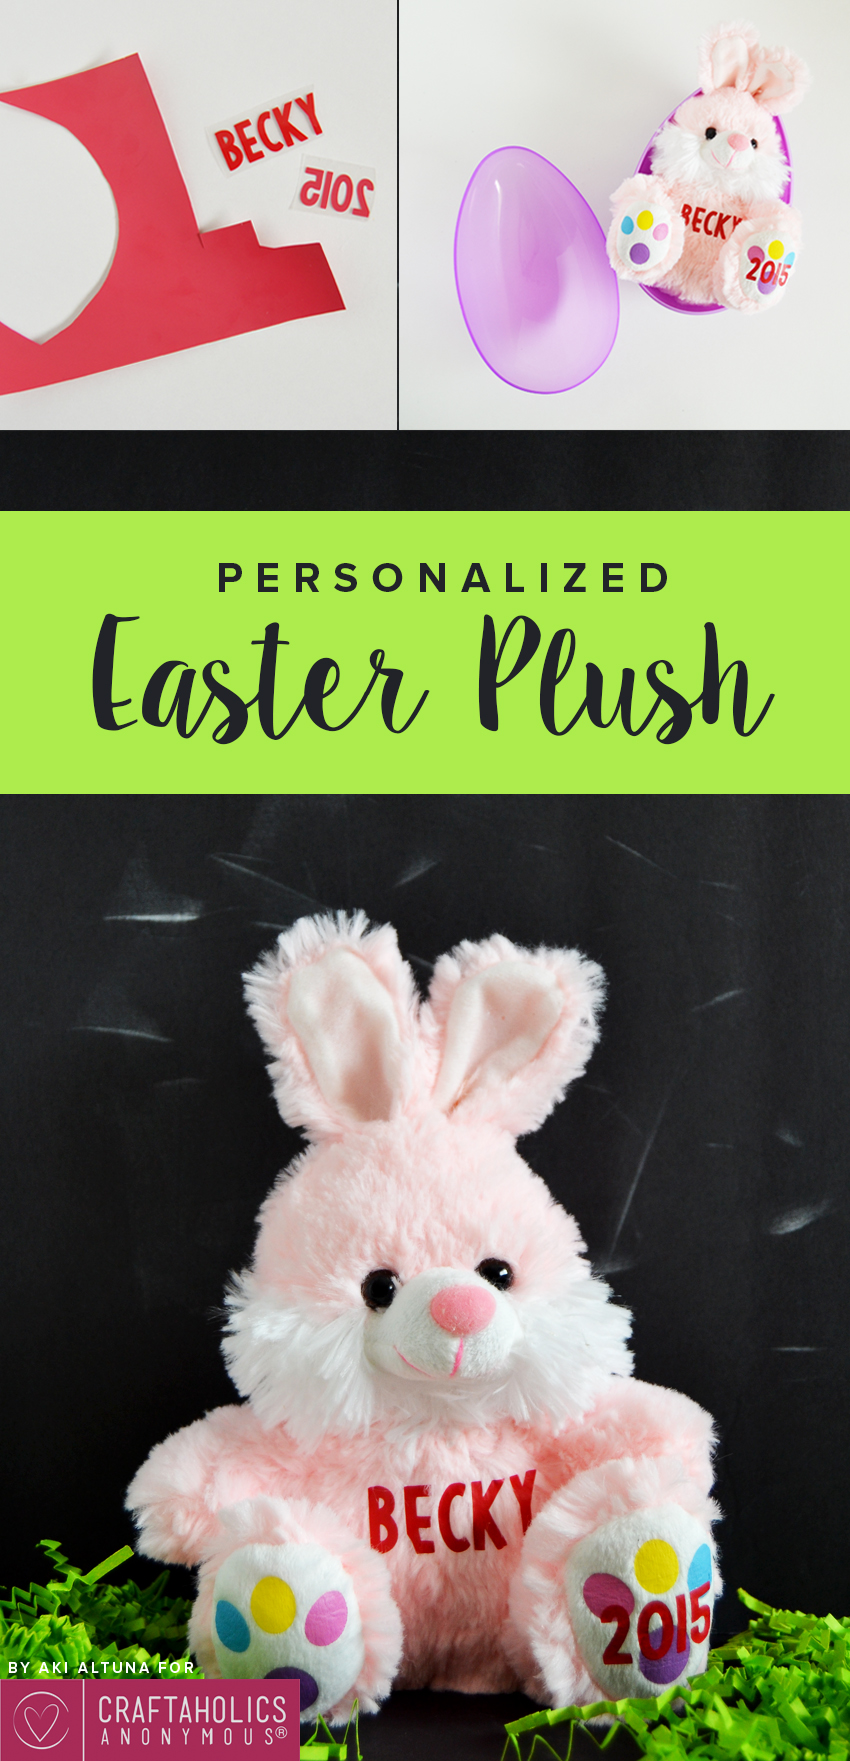
Cut and weed your text – don’t forget to flip it before cutting! HTV scraps are great to use for this project as you only need a tiny bit of HTV. I also added as year – this would be perfect if you want to document your baby’s first Easter plush, or when they have received it. And if you have no craft machine, just purchase iron-on letters at the craft store! They usually sell different sizes of them inexpensively.
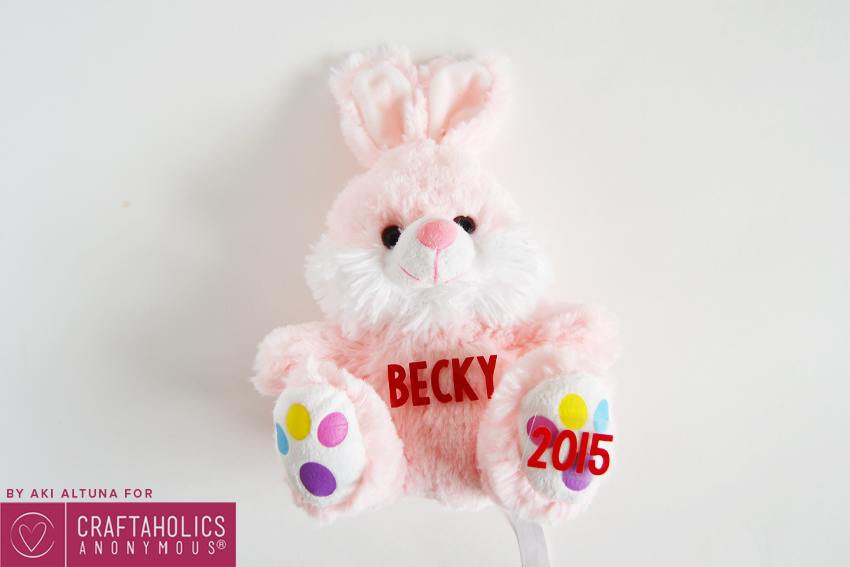
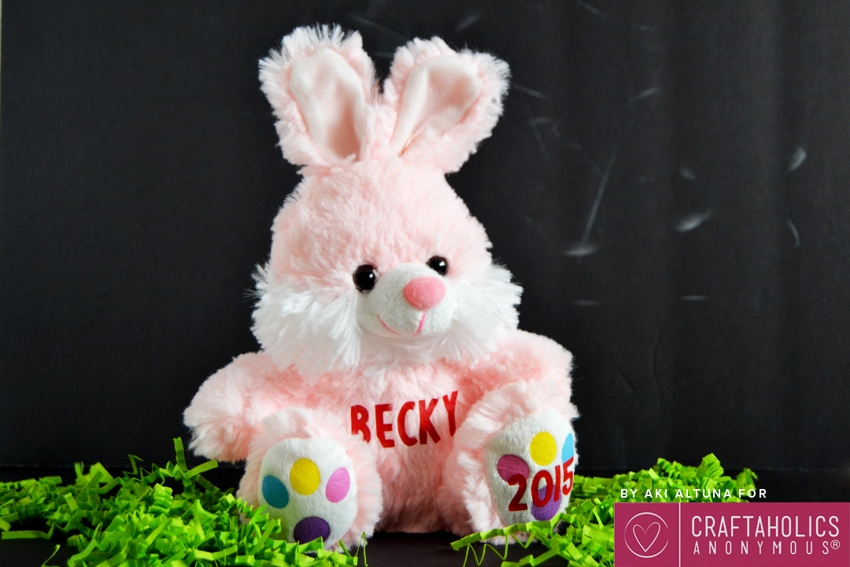
Position your text and iron – ironing on the fur part might be somewhat tough but doable. The letters stick almost instantly! Make sure to not move the letters as you iron or you’ll end up with something like the E on the photo below:
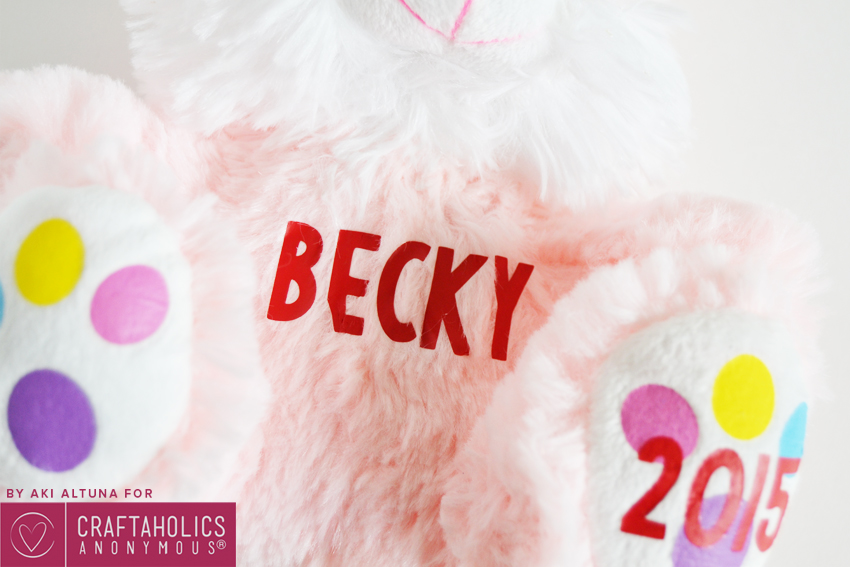
No sweat though! If it doesn’t bother you, just leave it, but if it does, you can always cut another letter and overlay/iron it onto the mistake. If you are wondering, it was really easy to iron the HTV onto the foot of the plush – just a firm press onto the face of the iron and it’s done.
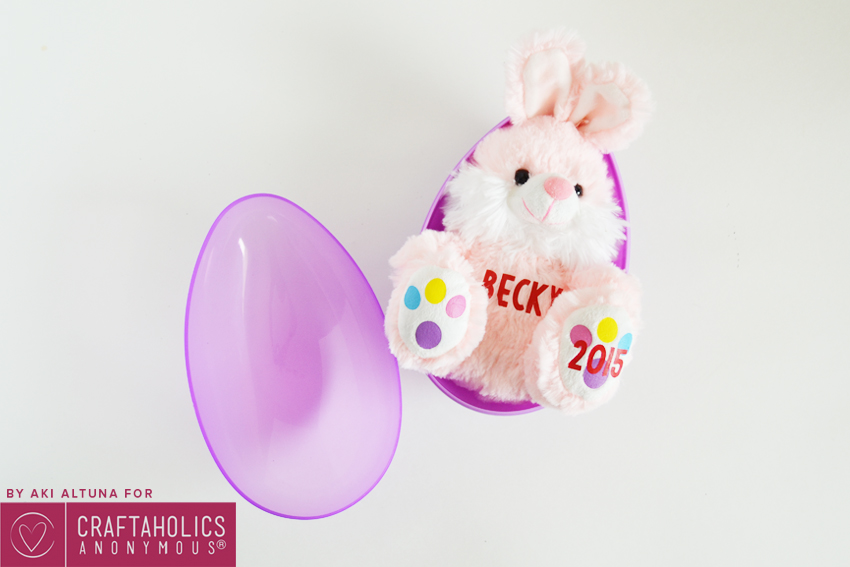
Packaging it is easy as well – you can pop it in a basket along with some chocolate bunnies and eggs, or nestle it in a giant plastic easter egg for a chocolate and candy free option.
And there you have it! An easy, cheap and fun gift option for any kid (or special someone) in your life this Easter!
Hope you enjoyed reading this tutorial. Don’t forget to stop by and say hi on my blog for more tutorials such as this and other things! Have fun crafting. :)
Looking for more inexpensive Easter crafts?
Kimberly
Latest posts by Kimberly (see all)
- His and Hers Etched Glasses - Jan 26 2016
- 2016 New Year’s Eve Glasses Prop - Dec 23 2015
- Thanksgiving Craft Gold Embossed Paper Napkins - Nov 17 2015