


Frozen Inspired Ice Princess Felt Tiara!
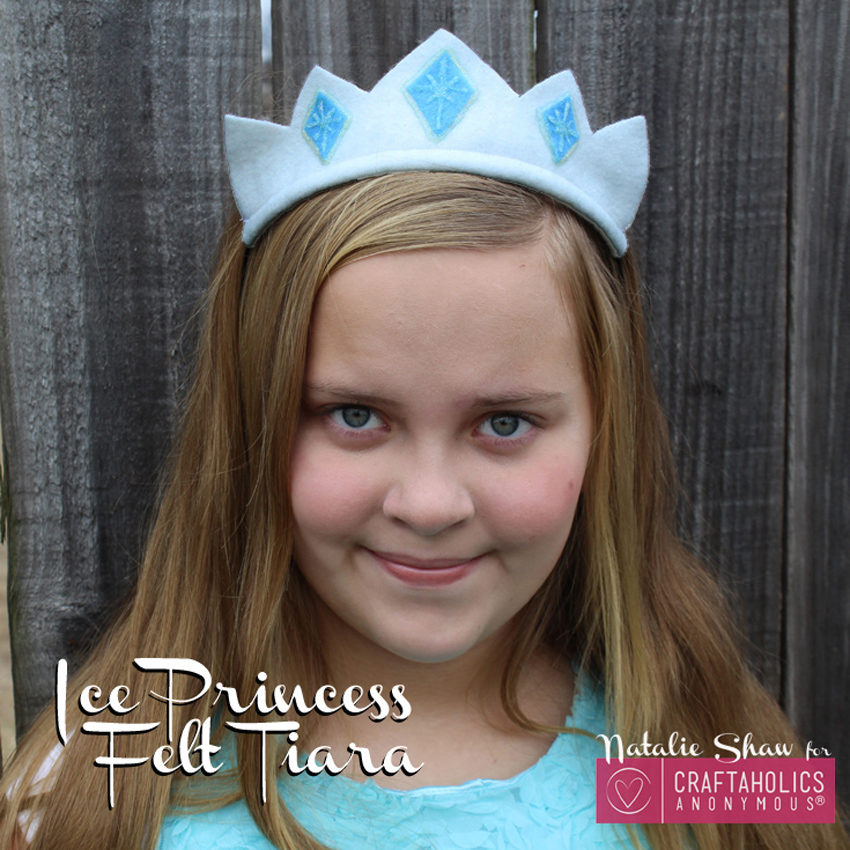

Frozen Inspired Ice Princess Tiara
by: Natalie
I’m sure you know someone that would just love an Ice Princess crown!
(Let’s be honest…we all want one, right? ha!)
Here is a simple, easy Frozen inspired tiara tutorial that anyone can make!
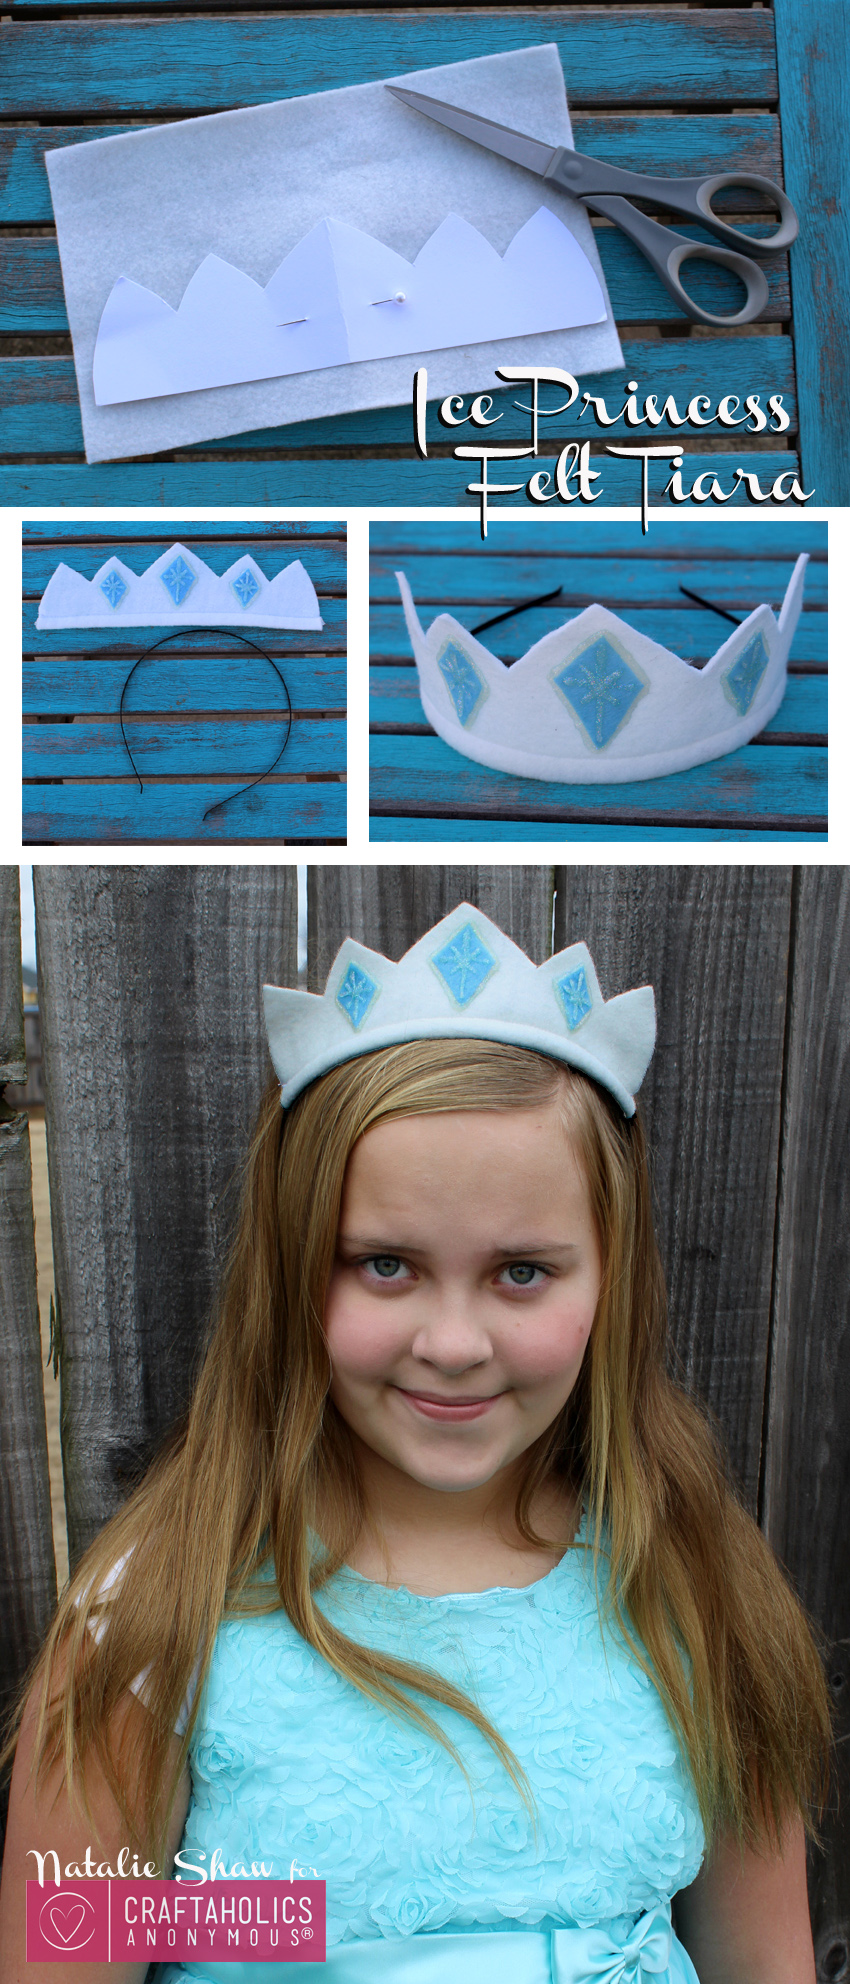
You will need:
- White felt
- Blue felt
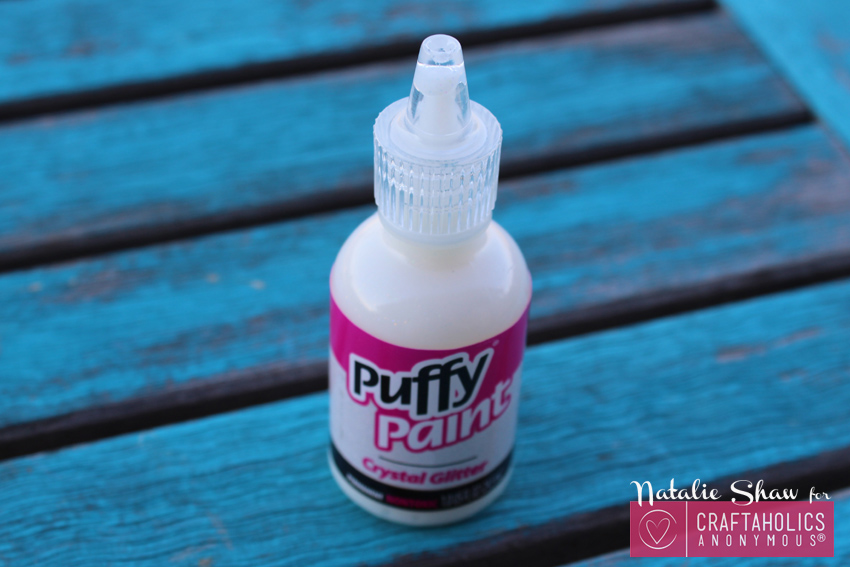
- Crystal Glitter Puff Paint
- 1/4″ wide Metal Headband
- Scissors
- Hot Glue/Gun
- Sewing Machine (optional)
1. Begin by cutting a pattern from paper. You can use my Ice Princess crown pattern below. To download, right click to save and then print and cut with scissors.
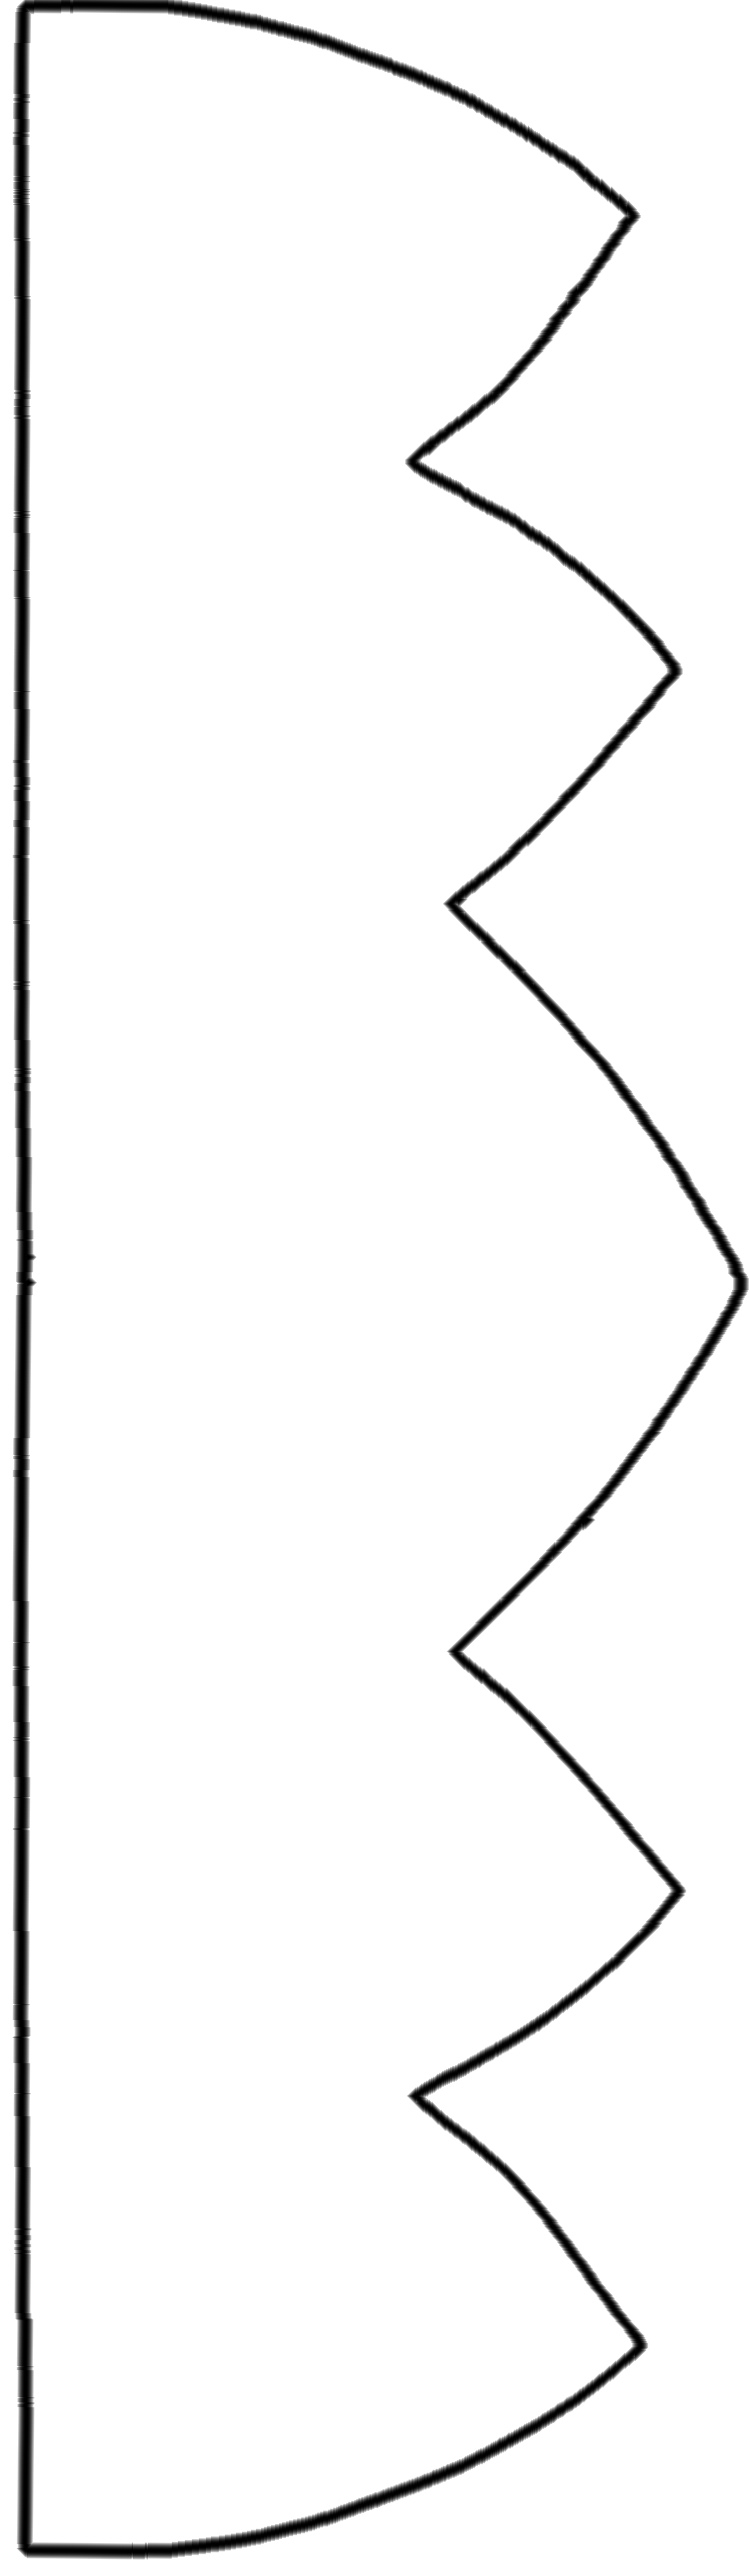
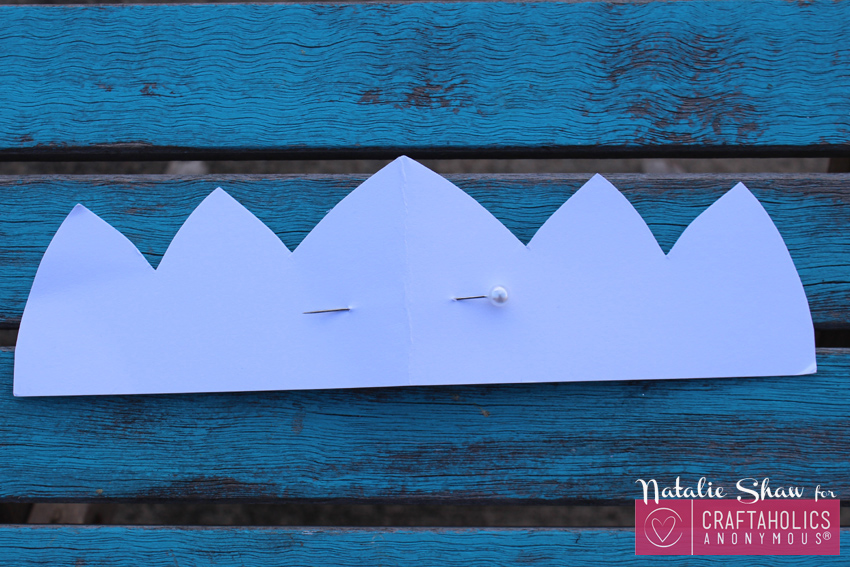
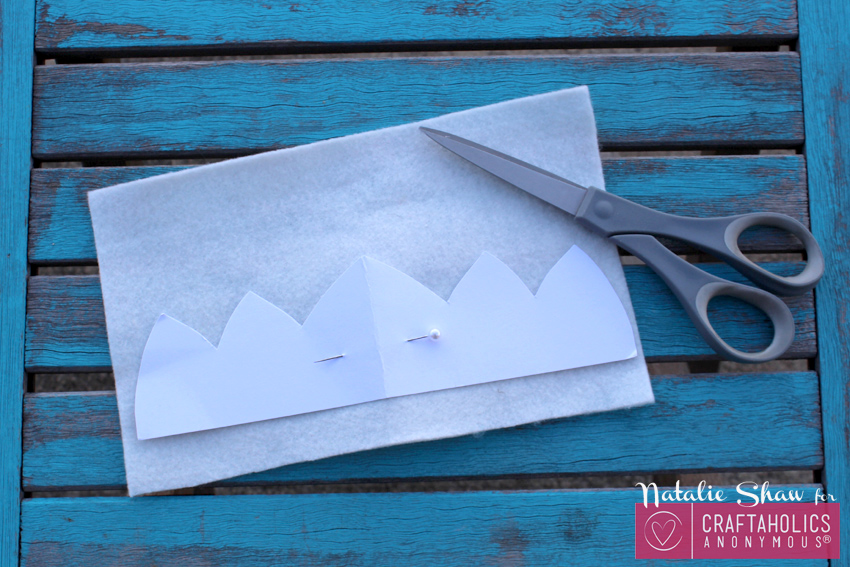
2. Now you just need to pin it on to your felt about 1/2 inch away from the edge.
3. Then cut out the spires, leaving the bottom edge long.
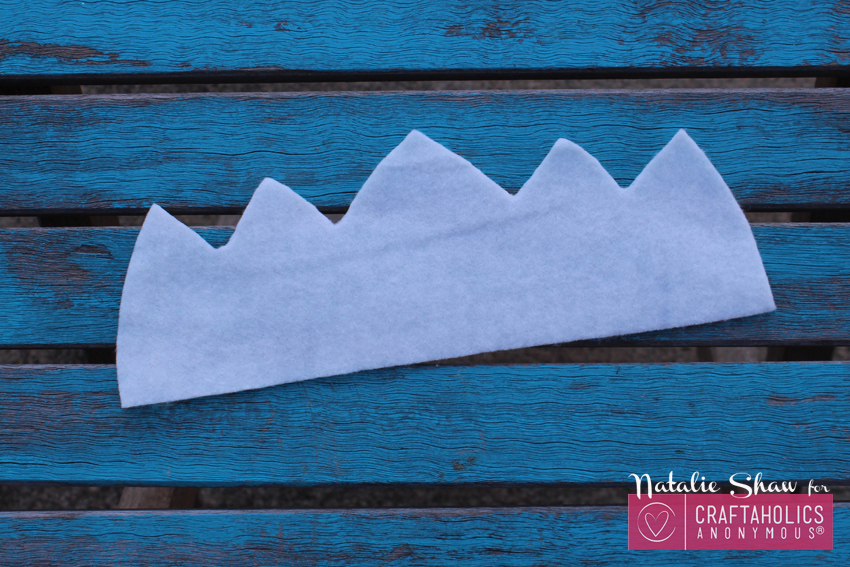
4. Once it’s cut it’s ready to fold.
5. Fold over the edge 1/2 inch and pin in place.
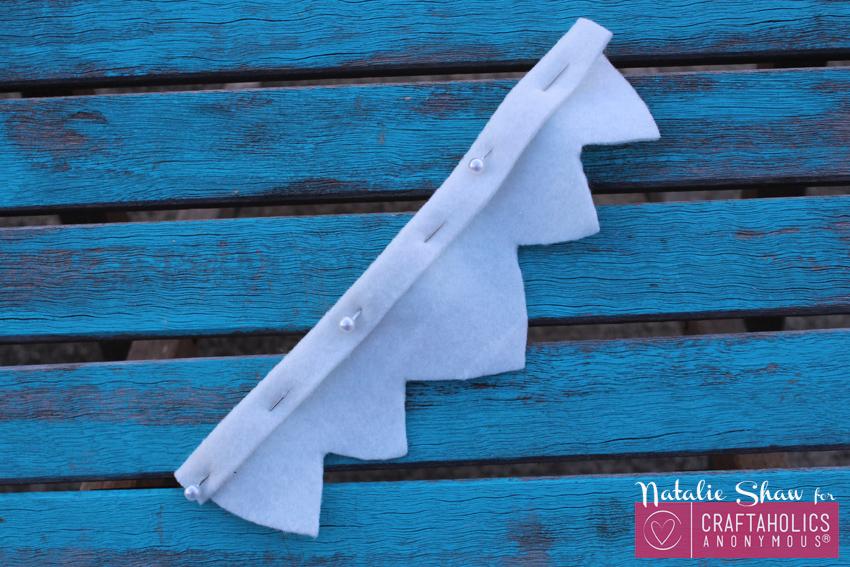
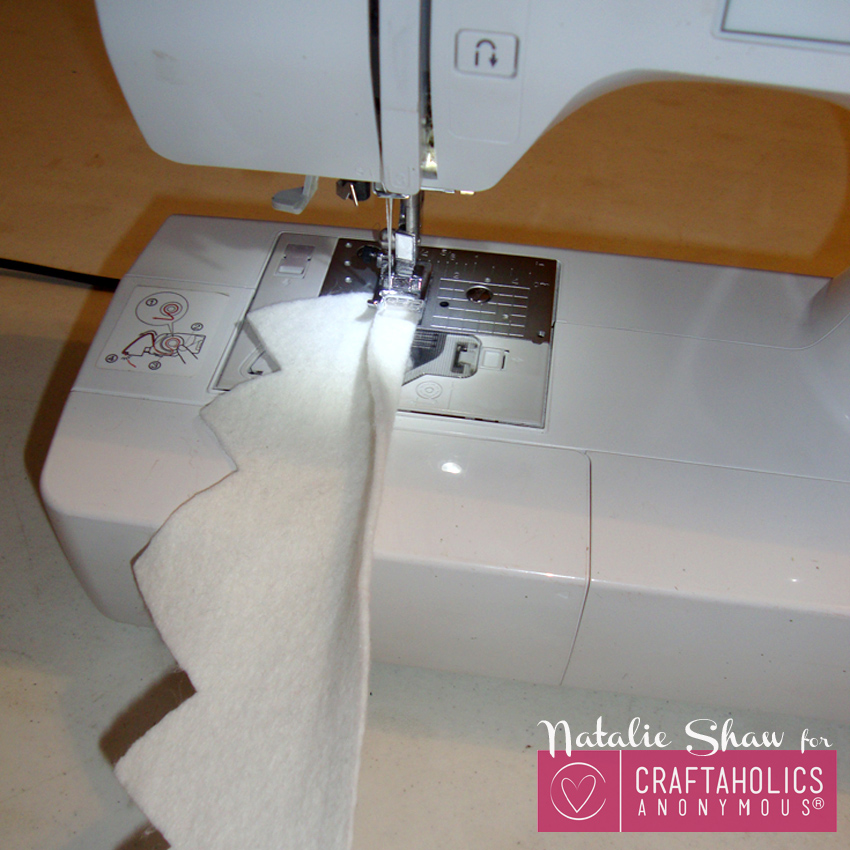
6. Now sew with a straight stitch or hot glue right on the edge to create a 1/4″ to 3/8″ casing.
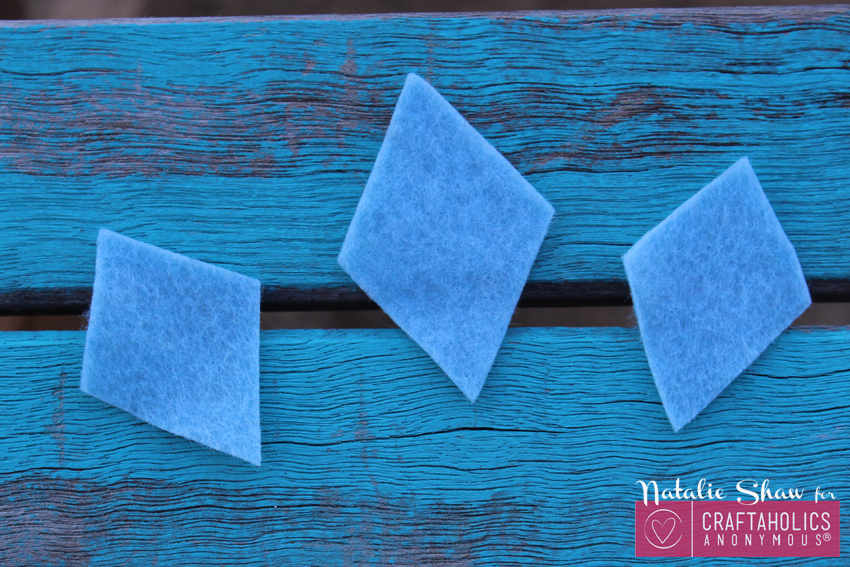
7. Next hot glue on some light blue felt diamonds.
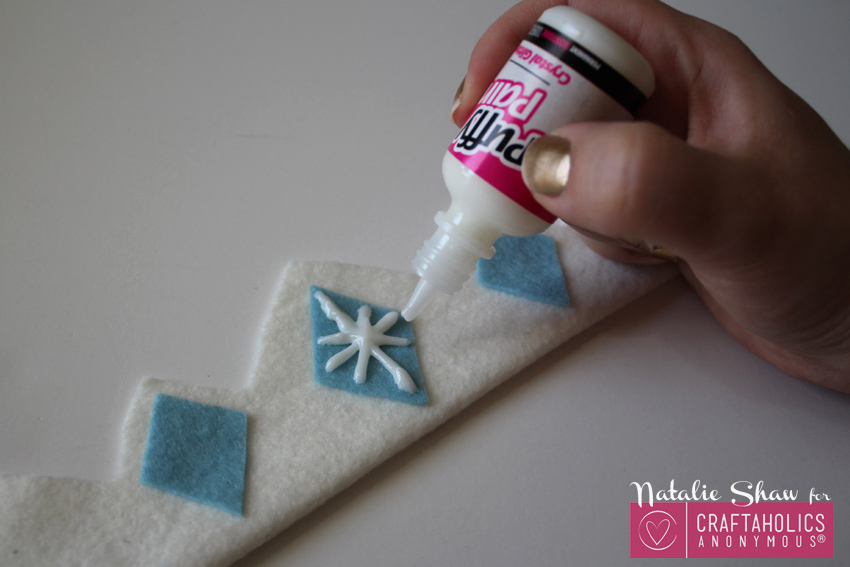
8. Decorate the diamonds with some crystal glitter puffy paint.
It dries clear…and glittery!
9. Let it dry completely.
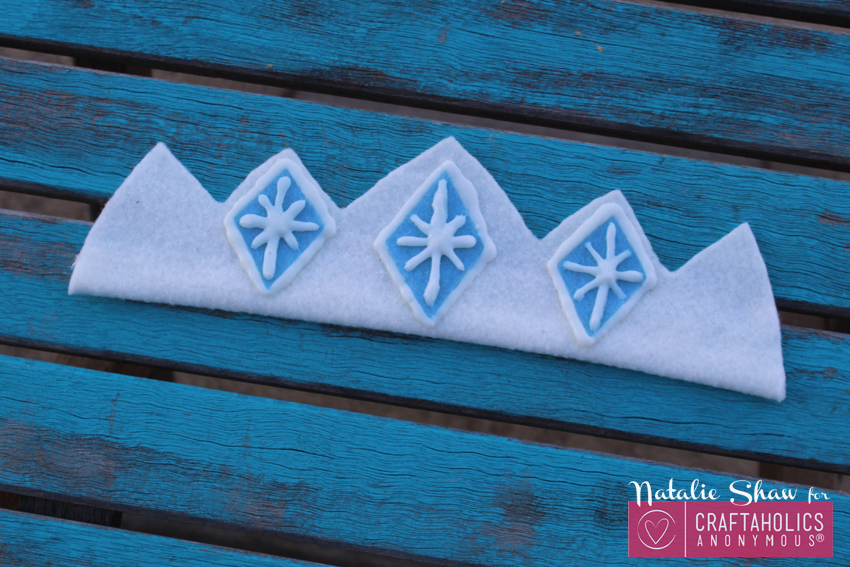
10. Once dry, it’s ready to just slide onto a headband!
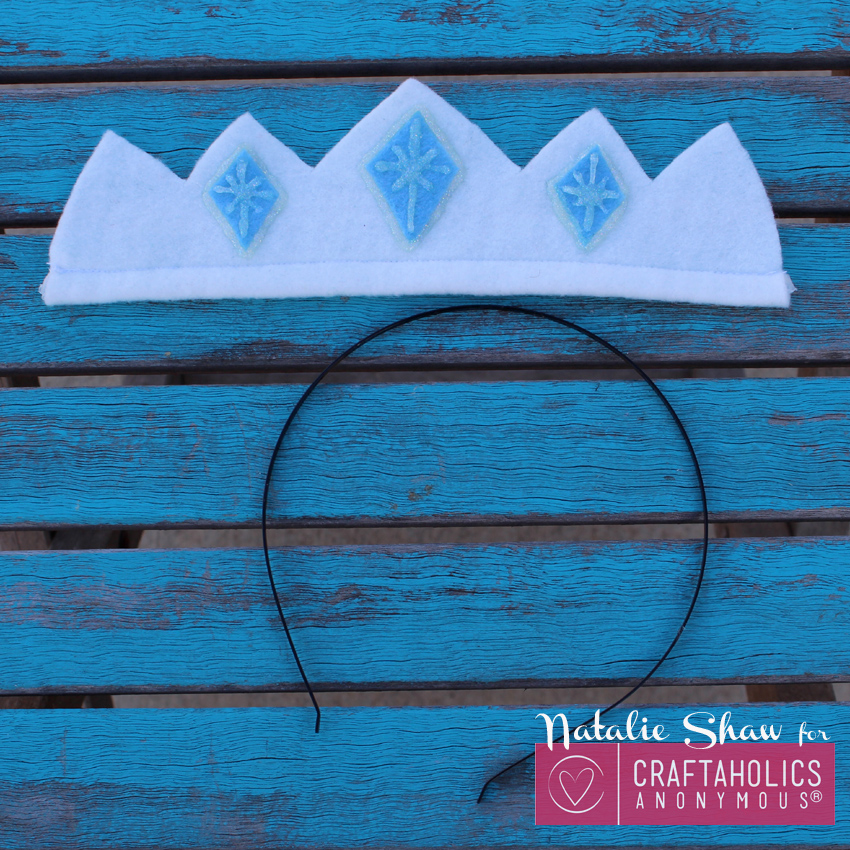
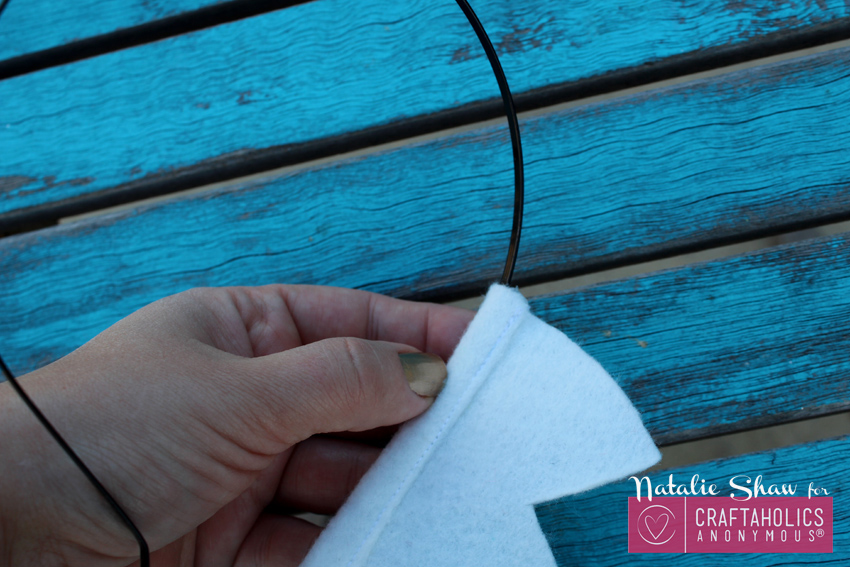
Slip it right through the casing!
Mine fit tight enough I didn’t have to do anything else with it. But if needed, you can always hot glue to secure it and help it stay in place.
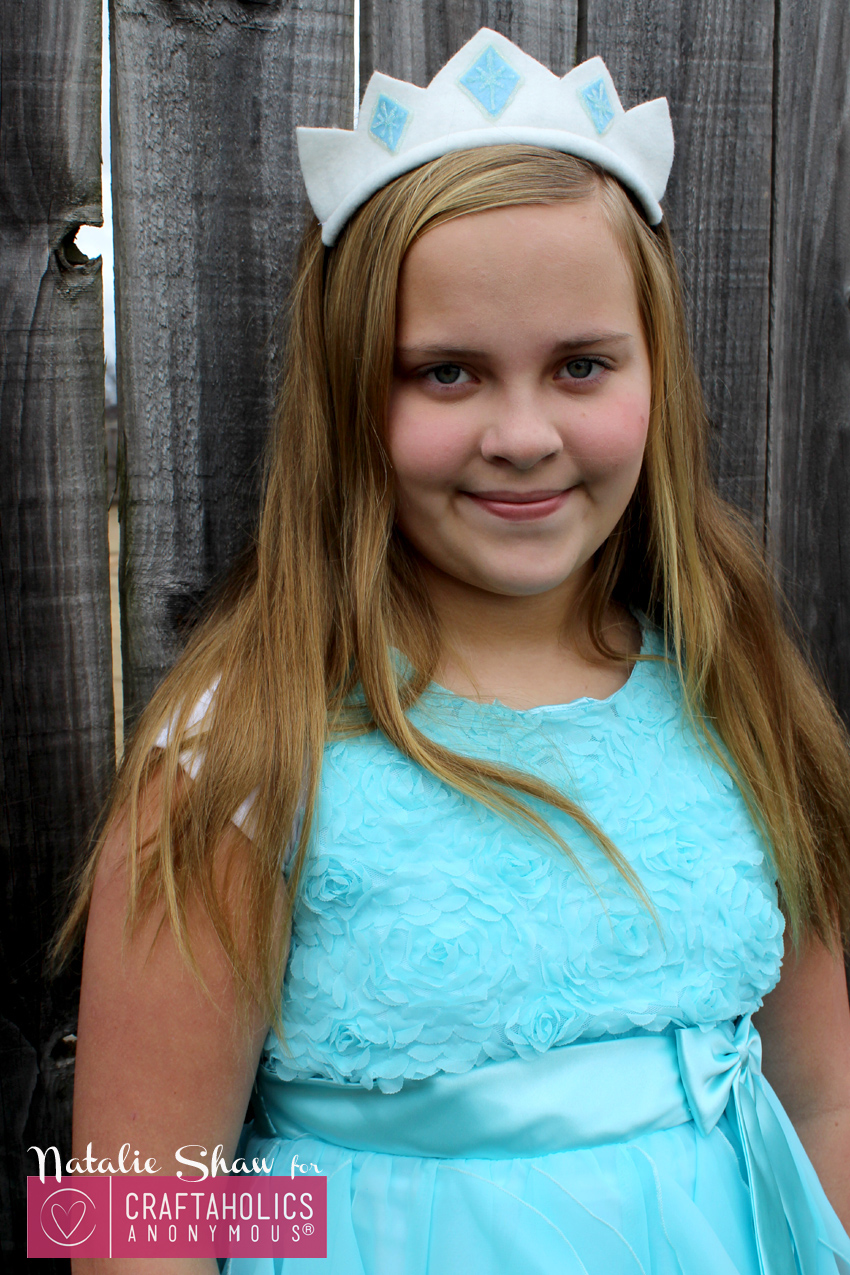
Perfect little ice princess crown!
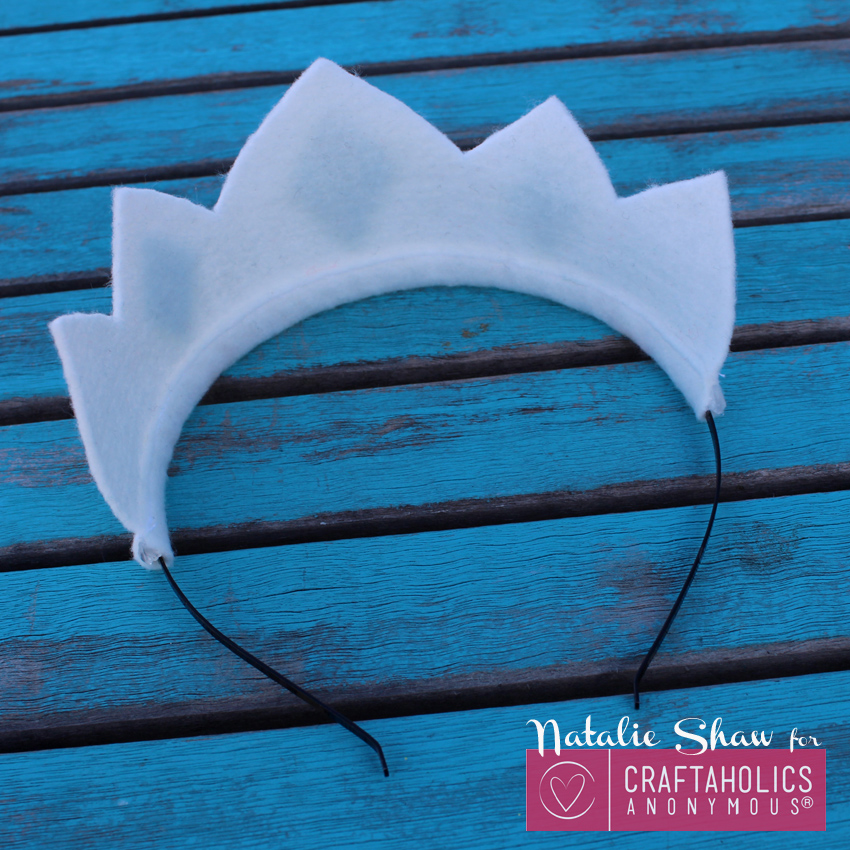
These would make adorable party favors for a little princess party too!
You could make them of different colors even!
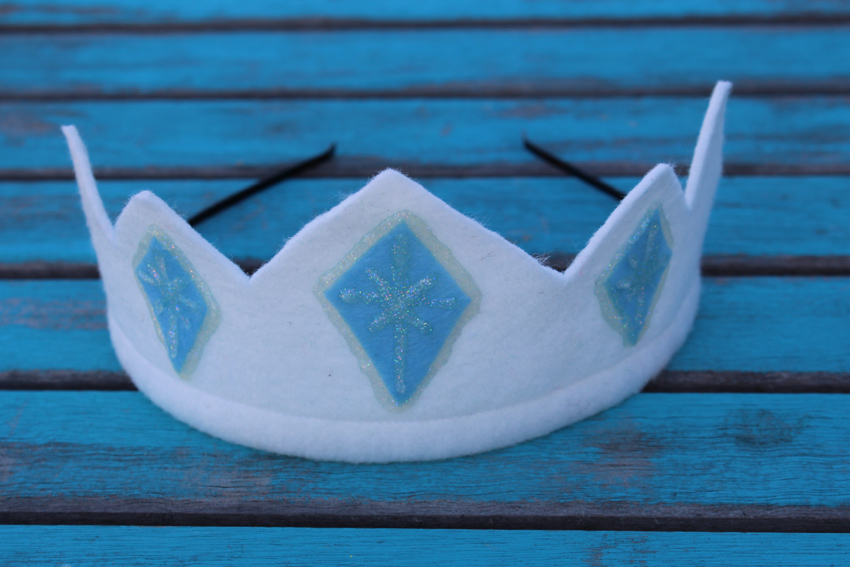
Its the perfect crown for any age girl!
Need more little girl ideas? Check out my Pinterest board!

Natalie
Latest posts by Natalie (see all)
- Shabby Chic Hair Bow - Jan 19 2016
- Candy Christmas Wreath - Dec 21 2015
- Miniature Teacup and Teapot Jewelry - Nov 25 2015