


Hey Craftaholics Anonymous® readers! Its Jessi here from Practically Functional. We have this pretty new wooden dining room table that my dad and I built, and it’s basically my baby; I’m so worried about scratching it or damaging the finish somehow! We invested in a few cute place mats and I’ve been making coasters, but I decided we also need some trivets to protect the table from larger items like hot dishes or tea kettles. So I made a super cute trivet out of river rocks!
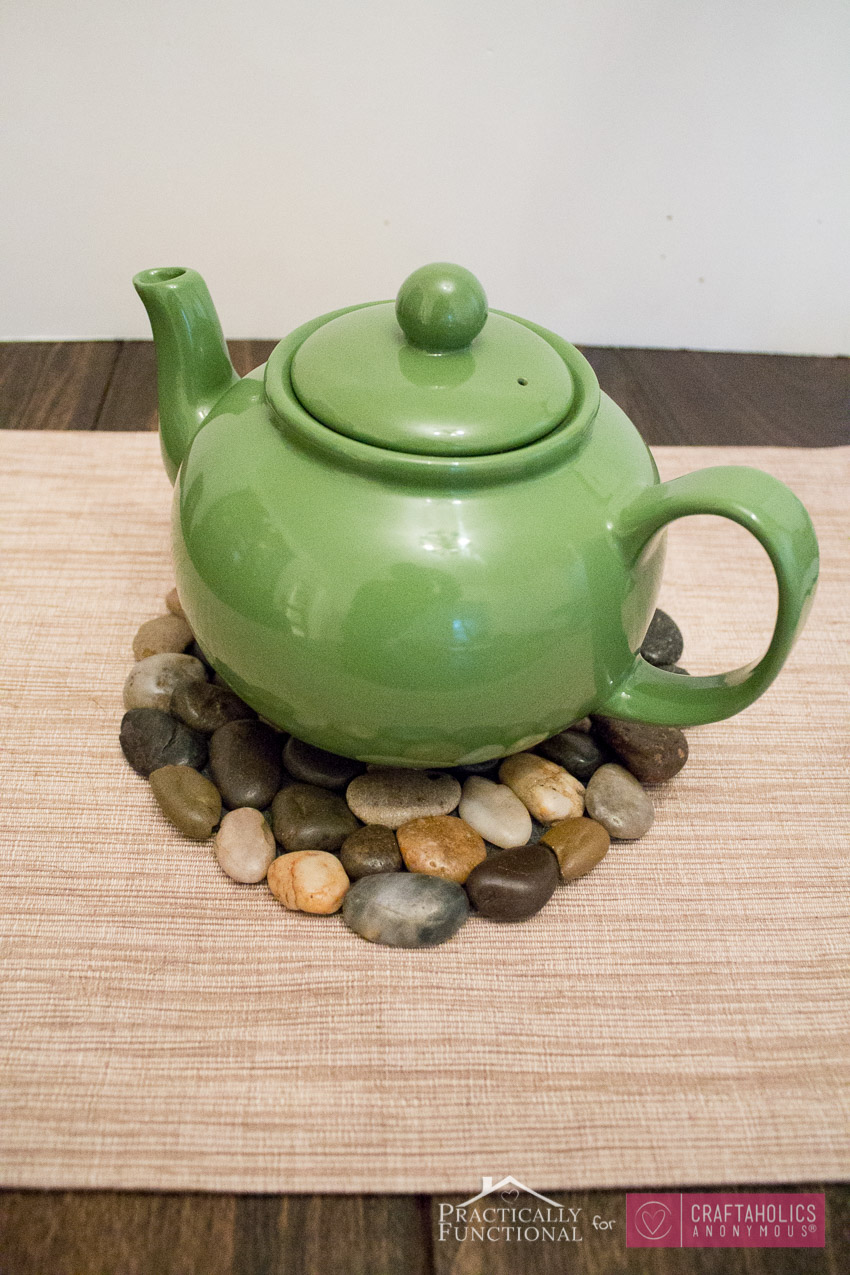
River Rock Trivet


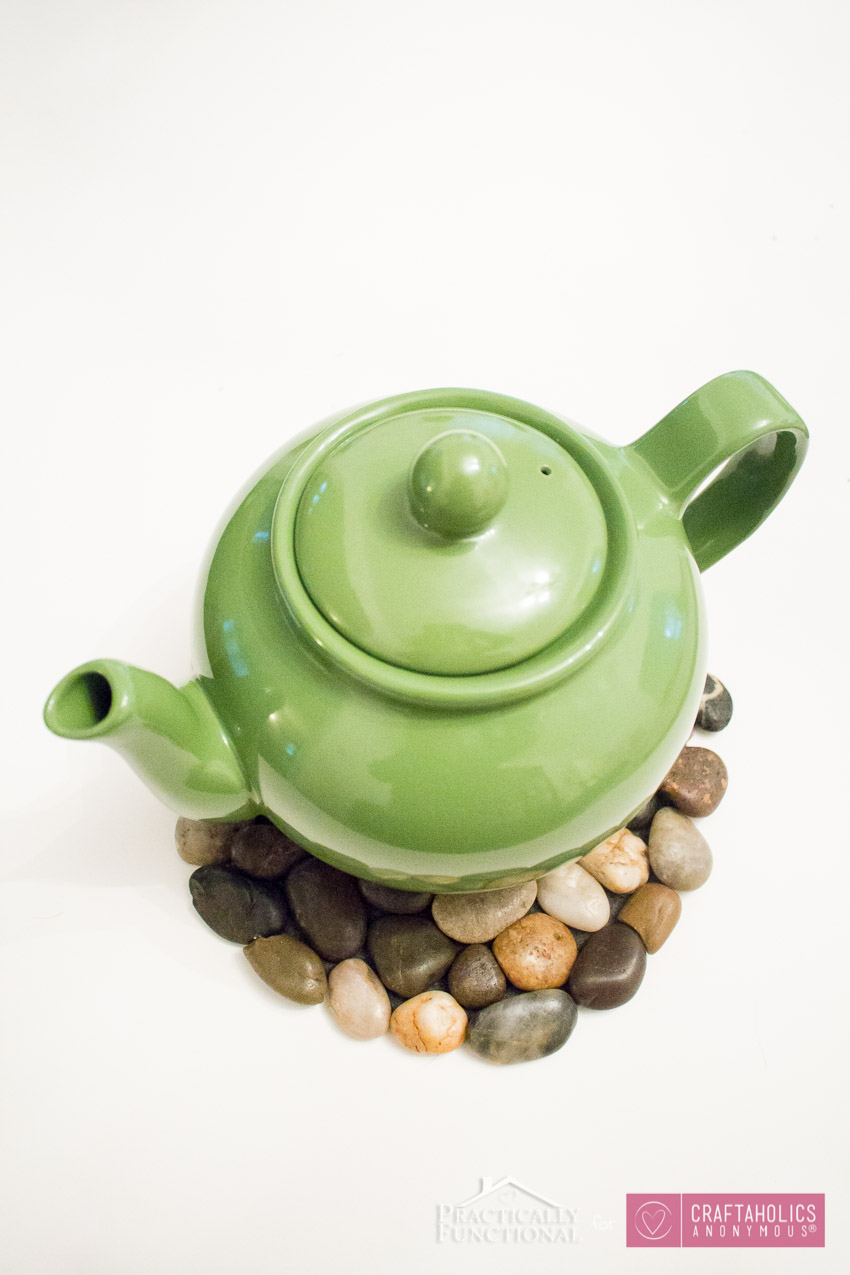
It was so easy to make, and I love the look of the river rocks; it helps bring a little bit of nature indoors! Plus the rocks absorb a ton of heat and they’re thick enough that the heat doesn’t pass all the way through to the table underneath, so they make the perfect trivet!
DIY River Rock Trivet
Here’s what you need:
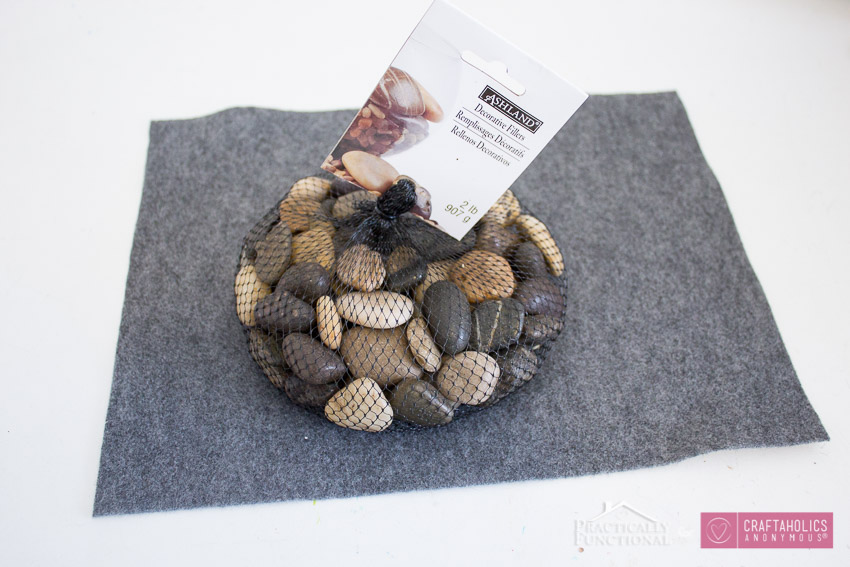
- felt
- river rocks (you can get bags of these at most craft stores, usually in the floral department with other vase fillers)
- scissors
- hot glue
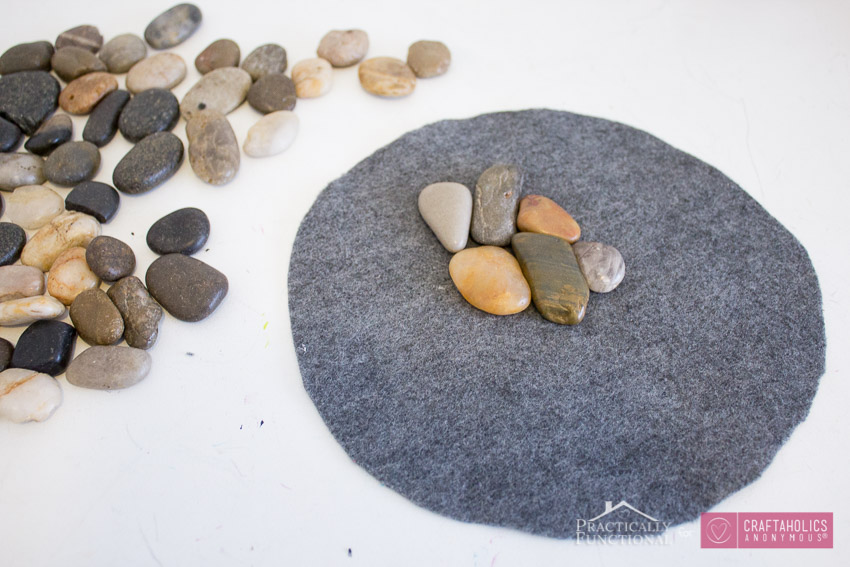
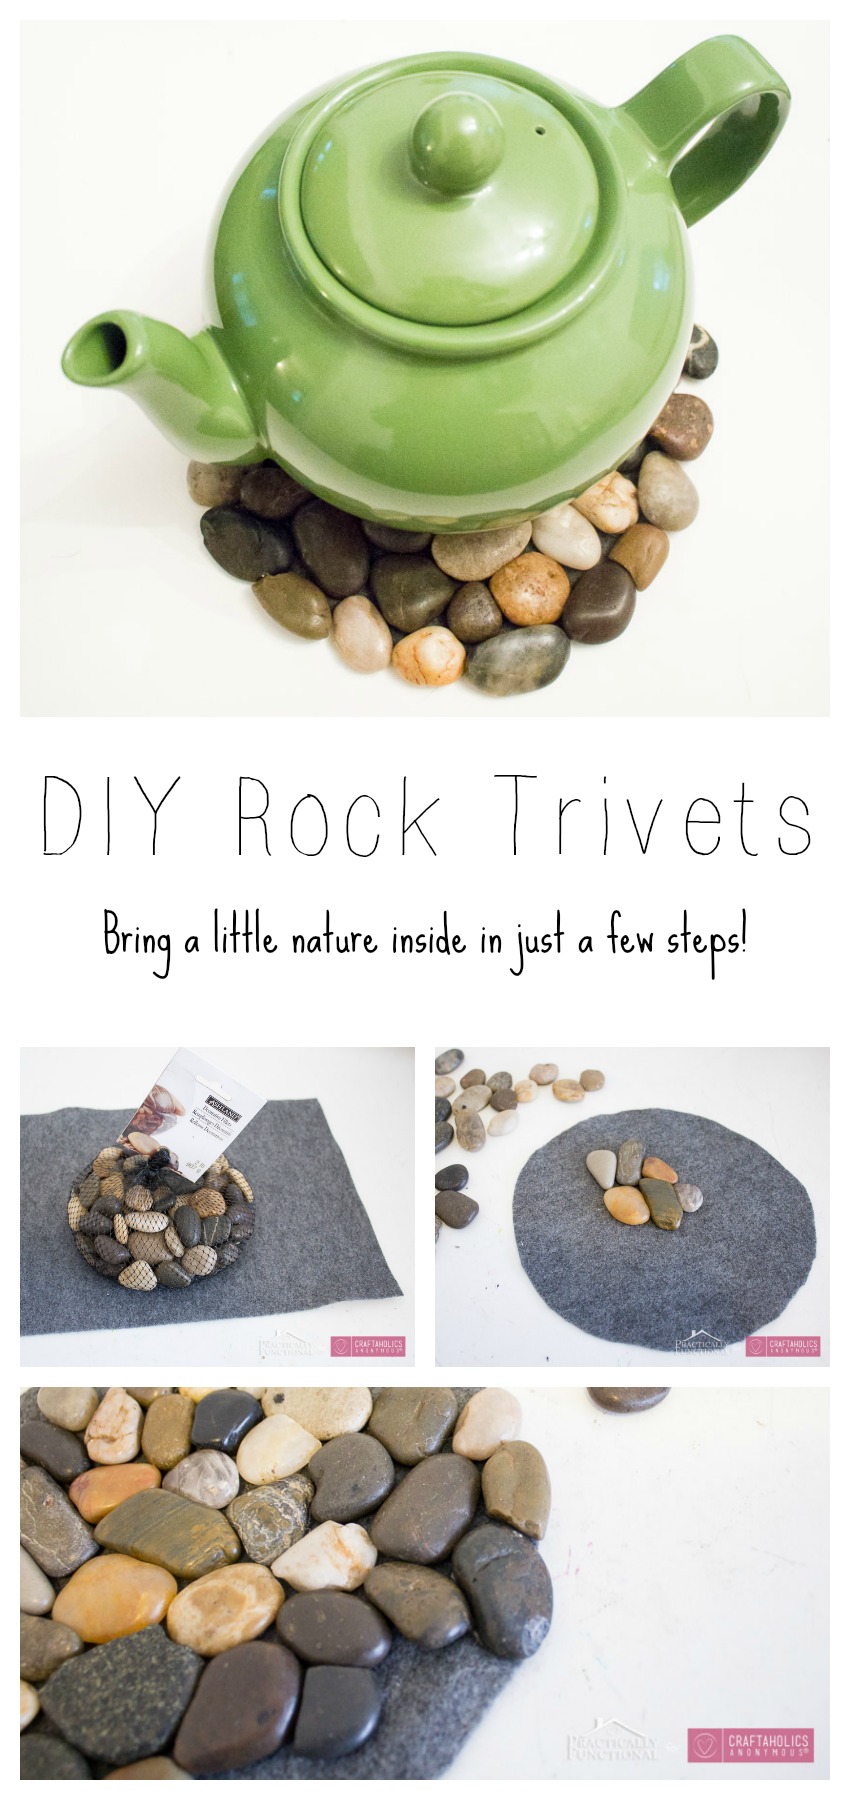
Start by picking out rocks that are about the same height or “flatness”. Obviously your trivet will not be perfectly flat, because rocks are not perfectly flat. But if you pull out the rocks that are all about the same height and aren’t weirdly slanted, you’ll end up with a trivet that’s smooth enough! Remember, it only takes three points to make a stable base, so even if the rocks are a little bumpy in places, I assure you that whatever you set on the trivet will be nice and stable!
Cut a large circle out of your felt, then glue river rocks onto the felt with hot glue, starting in the middle. I played around a bit with differently shaped rocks as I went, trying to make the rocks fit together with as small of a gap as possible. There will be some gaps, but you can minimize them by trying out a few rocks in a spot before gluing on the one that fits the best!
Keep gluing rocks until you get close to the outer edge. When you glue the final rocks around the edges, try to make them overhang the edge of the felt just a tiny bit. You definitely want enough rock on the felt to glue it securely, but if it hangs over the edge it will make a fun, “natural”, bumpy edge rather than the harsh edge of the felt circle you cut.
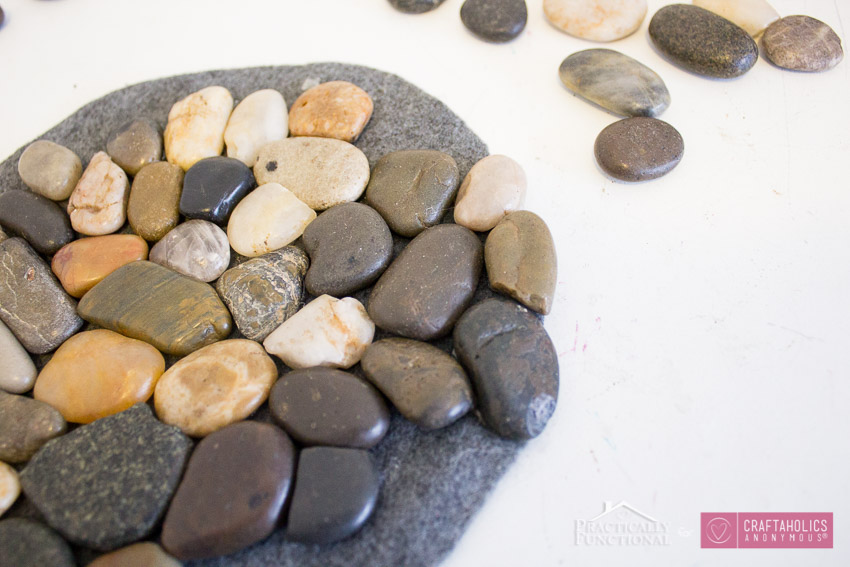
Once your entire piece of felt is covered in rocks, you’re done! If you have a few areas where felt shows around the edges, just flip the trivet over and trim away the excess felt with scissors.
Set your rock trivet on the table and enjoy!
If you want to see the super cute etched glass coasters I made for cups and mugs, check out the tutorial on Practically Functional!

If you love simple, realistic, acheivable projects, make sure you stop by Practically Functional for a visit anytime, or follow along through social media! I’d love to see you there!
Jessi @ Practically Functional
Latest posts by Jessi @ Practically Functional (see all)
- DIY Tissue Paper Flowers Tutorial - Jan 12 2016
- DIY Baby’s First Christmas Ornament - Dec 15 2015
- DIY Toilet Paper Roll Snowmen - Nov 11 2015
What a cool idea! Love this for outdoor coasters too – would look very rustic! xx