


Metallic Script Wall Art
Hello all! I’m so happy to be here today sharing a recent DIY art project for our home.
Back in the fall we painted our living room and I decided the large space in our foyer above our powder room door needed something. My husband built a custom sized canvas and I proceeded to paint it in homemade chalkboard paint. Then I added lyrics from a lullaby. I consider the outcome to be a craft fail (even though it still made an appearance in our fall home tour).

You see, the problem was my hand lettering while neat, looks pretty stinky as art!! I’ve always been so jealous of all the perfectly lettered and designed chalkboard art around the web AND it’s what I envisioned for our high hanging chalkboard art.
So I started over and am pleased to announce that the results are much closer to my original vision!!

Completing the project correctly also gave me an excuse to buy an art projector!! Models range from $20 on up but I decided since I plan on using it for additional projects to invest in a higher quality projector.
DIY Metallic Script Wall Art Tutorial
by Jessica
Materials:
- art canvas (Custom made or store bought- whatever fits your space.)
- paint
- paint brush
- art projector (I used a K0pykake Kwik-Draw.)
- print out of text/ chalkboard art of your choice
- Liquid Leaf
- chisel tip paint marker

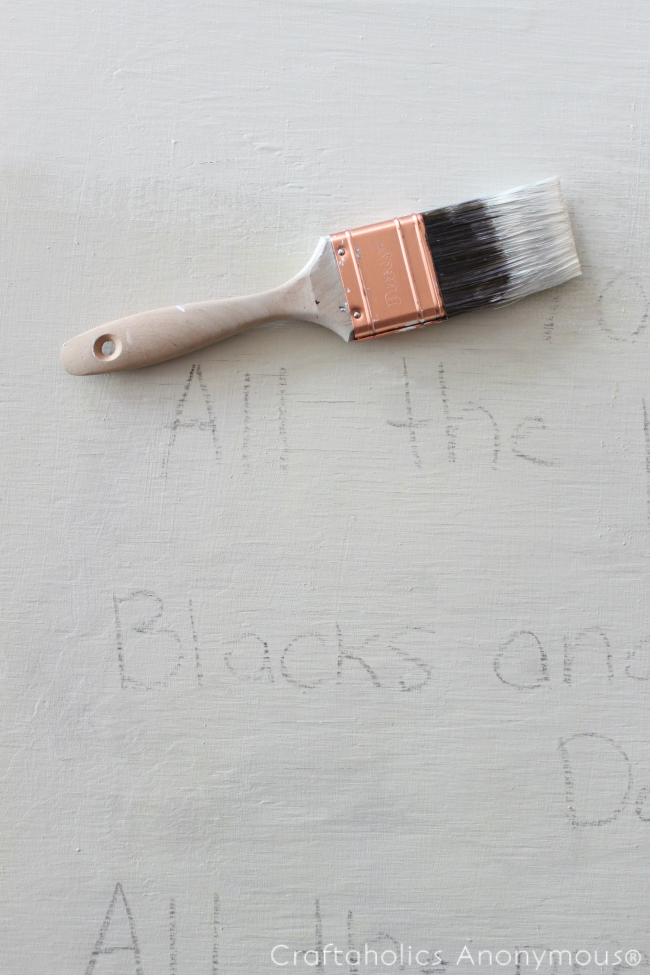
Step 1: Paint canvas desired color. Since our custom canvas was made of wood, I painted over the existing lettering with Annie Sloan Chalk Paint. If you purchase a ready made canvas at the craft store feel free to use any type of acrylic,latex, or chalk paint to achieve the desired background color! Allow the canvas to dry before moving on to the next step.
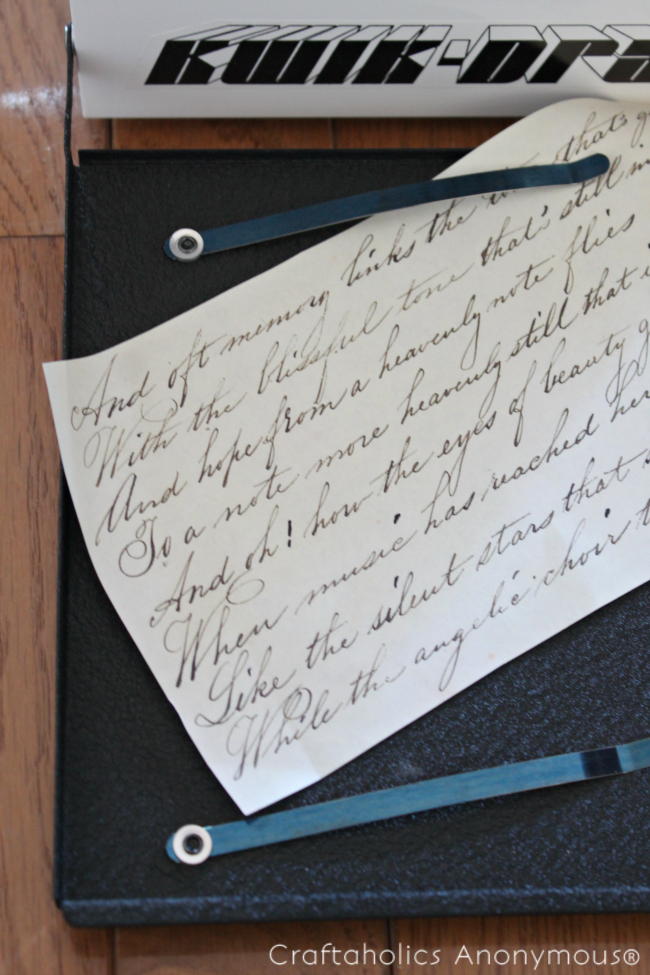
Step 2: Print out or locate desired text/chalkboard art/ or graphic (around 6″ square). I chose a handwritten poem from The Graphics Fairy but I can see this project looking equally awesome using a wedding invitation or handwritten love note.
Step 3: Following the art projector directions load the text into the projector. If you want the text on an angle, place it in the projector on an angle. In order to see the projection you will either need to work in the evening or in a darkened room.

Step 4: A chisel tip paint marker is perfect for tracing over the font and there are many colors available. Since I like to make things more complicated then they need to be and wanted a very metallic look I decided to dip the tip of my paint marker in brass Liquid Leaf before tracing over the lettering. Work in small sections so you don’t smear the paint/leaf and allow the canvas to dry fully before hanging.

Nothing like beautiful lettering to make a statement!

I am loving how the gold glistens in the light.

So what do you think? Are you a fan of metallics or not?
If you have any tricks for getting perfect lettering up onto a large surface please spill your secrets in the comments!! We’d love to know your tricks!
Want more craft/DIY ideas? Follow along here! Pinterest // Facebook // Twitter // Instagram
If you liked this craft, PLEASE share it!

Jessica D
Latest posts by Jessica D (see all)
- DIY Wood Spool Towel Bar - Jan 09 2015
- Cedar Ring Ornaments - Dec 10 2014
- How to Gilding with Three Metallic Mediums - Nov 03 2014
Wow! That’s beautiful!
That looks amazing – I never knew art projectors were so inexpensive! I borrowed our LCD Projector from work the last time I did a bit project, and it was free. Just a thought for anyone who might be able to borrow one for a weekend :)
You always come up with the most creative projects. I will be trying this for sure in the future!
Gorgeous!
Love that idea!!!! Definitely need to put my Graphic Design background to more use!
Gorgeous! Love the golden sheen too!
What a beautiful creation!
Really Neat! I’m a lefty I know I would smear that.
Wow! This is fantastic! I LOVE It!
I loove this! Could you tell me which color chisel tip paint marker you used? Also, I was thinking about doing something like this directly on my wall, do you think that would work? Thanks for the inspiration!