


Have you noticed arrows are…EVERYWHERE lately? Yeah, me too! And I think they’re rather fabulous to decorate with! What do you think? I have been crushing on wood arrows lately and so after eyeballing some leftover wood scraps {from my board and batten project}, I decided it wouldn’t be too hard to make my own arrows!
I’ve been on such a DIY kick lately. I love it! Power tools are addicting. See my instagram. So today I’m sharing with you how to make wood arrows! And trust me, from a Newbie DIYer, these are EASY!


DIY Wood Arrows
We had several leftover 1×2’s from the board and batten in my Dining Room {details to come soon!} because I decided not to do the top ledge. I was trying to come up with a use for them when I was looking at some triangle pieces of scrap wood and it hit me. I could totally make simple wood arrows! So here they are! I totally love them.
Affiliate links are used in this post.

I love the wood tones on the gray paint with the white board and batten below. To die for!

These were really fun to sand and distress!
How to Make Wood Arrows
Supplies:
- 7 feet of 1×2 pine boards
- Compound Saw {I use this saw}
- Wood Glue
- Wood Stain {I used Jacobean by Minwax}
- Small Brush
- Paper Towels
- Saw
- Electric Hand Sander
- Sand Paper
*Always use proper safety precautions when handling power tools. Always wear gloves and safety glasses when using tools.*
![]()
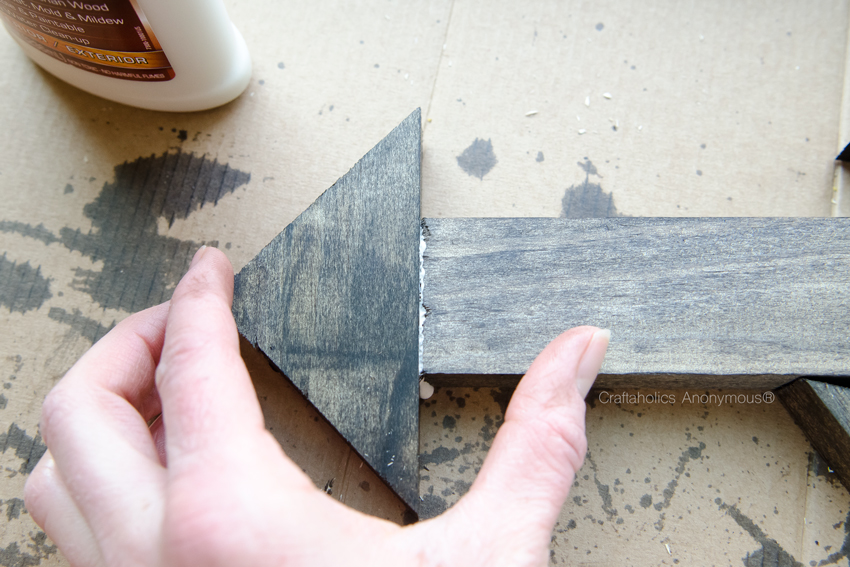
1. First make the cuts as shown above. All cut angles are either straight or 45 degrees.
*If you want your arrows to have distress marks on them, go ahead and bang them up a little bit after step one.

2. Then using your brush, brush on stain going with the grain of the wood. Allow to sit for about 10 minutes and then wipe off the excess stain with a paper towel. Allow stain to dry according to package instructions.
TIP: Always stain first and then glue your wood. Yes, I learned this the hard way :)
3. Glue the arrow pieces together using wood glue. Use a thin, even layer of glue and wipe away the excess glue. Allow glue to dry for 24 hours.
4. {sorry no picture} Using the electric hand sander, round the edges of the arrows and sand the flat surfaces of the arrows as well to get a worn look. You will expose some of the natural, unstained wood and that’s ok. I think it looks fabulous like that! After I’ve used the sander, I like to finish with a piece of sand paper to smooth out small details and places I can’t get with an electric sander.

Then hang your wood arrows on your walls! Or even place them on mantels, shelves, or in a corner.
HANGING TIP: I used sewing pins and a hammer to hang my arrows. That you don’t get distracted by seeing silver nail heads around my wood arrows.

So how will you decorate with your wood arrows? If you make some, please take a picture and tag me! I’ve love to see them!
If you enjoyed this post, Please consider SHARING this with your friends! I’d really appreciate it! <3

More Easy DIY Projects on Craftaholics Anonymous®:

How to Paint Furniture || Great series on how to paint and refinish furniture.
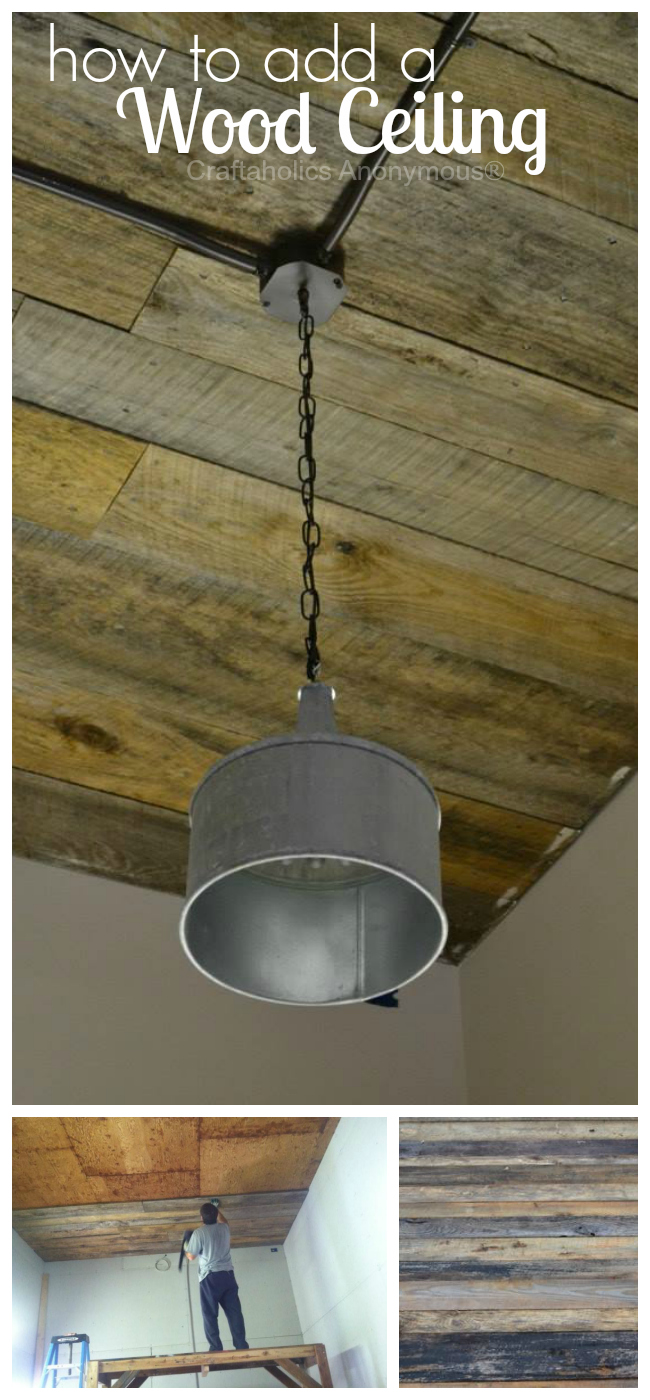
How to Add a Wood Ceiling || Turn your ceiling into a focal point by adding wood boards!

Latest posts by Linda (see all)
- Powder Room Makeover - Mar 25 2019
- Raspberry Sweet Rolls Recipe - Mar 12 2019
- Farmhouse Spring Wreath - Feb 19 2019
These are fabulous! I am obsessed with arrows right now. Thanks for sharing. I’m pinning for later!
Thank you, Rachel! I’m so glad you stopped by! And thanks for pinning :)
I love these so much!! I can’t wait to make some, thank you for sharing your tutorial!
Thanks, Emily! :)
How did you use sewing pins to hang? Can you please explain? Thank you! !
Love the arrows!
Do you only glue them together, no nails or screws?
Just glue :)
Linda, do you actually know where you got the sweet little wall wreath from?
I found it at Michaels about 5 years ago and its still one of my favorites! :)
How did you use sewing pins to hang? Can you please explain? Thank you
I just used a hammer and sewing pins around the arrows to hang them. I probably used 4-5 pins per arrow. I just love how you can’t see the pins vs small nails and they don’t leave big holes in my wall :)
I just love following your blog and Pinterest page to see all the amazing things you come up with! You make it look easy, and I appreciate the time you put into the tutorials to help walk the rest of us through the steps. I’m off to pin now as I think it could become my first official try at DIY using power tools…yikes. :-)
Go for it, Trinity!! You can do it! Power tools are scary at first, but after you use them once, they’re so addicting! Good luck! :)
how wide is the shaft of the arrows? You didn’t give this dimension please and thank you
These are so great! I’ve been searching for a tutorial for these for awhile now, so thank you! This is next DIY!! One quick question, what are the measurements for the tip of the arrows? (the triangle) Did I completely it? I see that it’s two pieces of the 1×2, but not sure the size… Thanks in advance! And great job! I love them!
Thanks, Jessica! For the smallest arrow, the base of the triangular tip is about 1″. The other sizes are 4.75″ and 5.5″. Hope that helps! :)
I absolutely love these. I’ve been wanting to invest in some power tools and teach myself a thing or two.
You can totally make them! They are a great first power tool project :)
Love the arrow patterns! Thanks for sharing. I do have a couple questions…how wide is the shaft of each arrow and the length of the quills on each? I see the width of the quills are 4″, 3″ and 2″ but no length? And if you can, about how deep the tips are from where they attach to the shaft to the tip?
Sewing pine? You were able to get pins to be mailed into your wall without bending? Hmm, I am surprised, yet hopeful!
Hi DinaKay, No the needles did not go through the wood. I hammered them discreetly around the arrows to secure to the wall.
I love these and I’m ready to make them- picked up all my supplies for $8.68 for three sets!! I’m having a hard time seeing the measurement for the top piece of the top arrow- the Pin It button is covering up the numbers. Do you mind posting the measurements for it? I’m guessing it’s 3.5-4 inches?
It is 3″. Let me know if you have more questions! :)