


DIY Index Card Holder
My husband and I are moving to a new place and shopping for new furniture. Doing both at once can be confusing. I keep myself organized by detailing each task on a 5 x 8 index card. When it’s time to go shopping, I grab the index cards that I need from the ever-increasing stack and stick them in my purse.
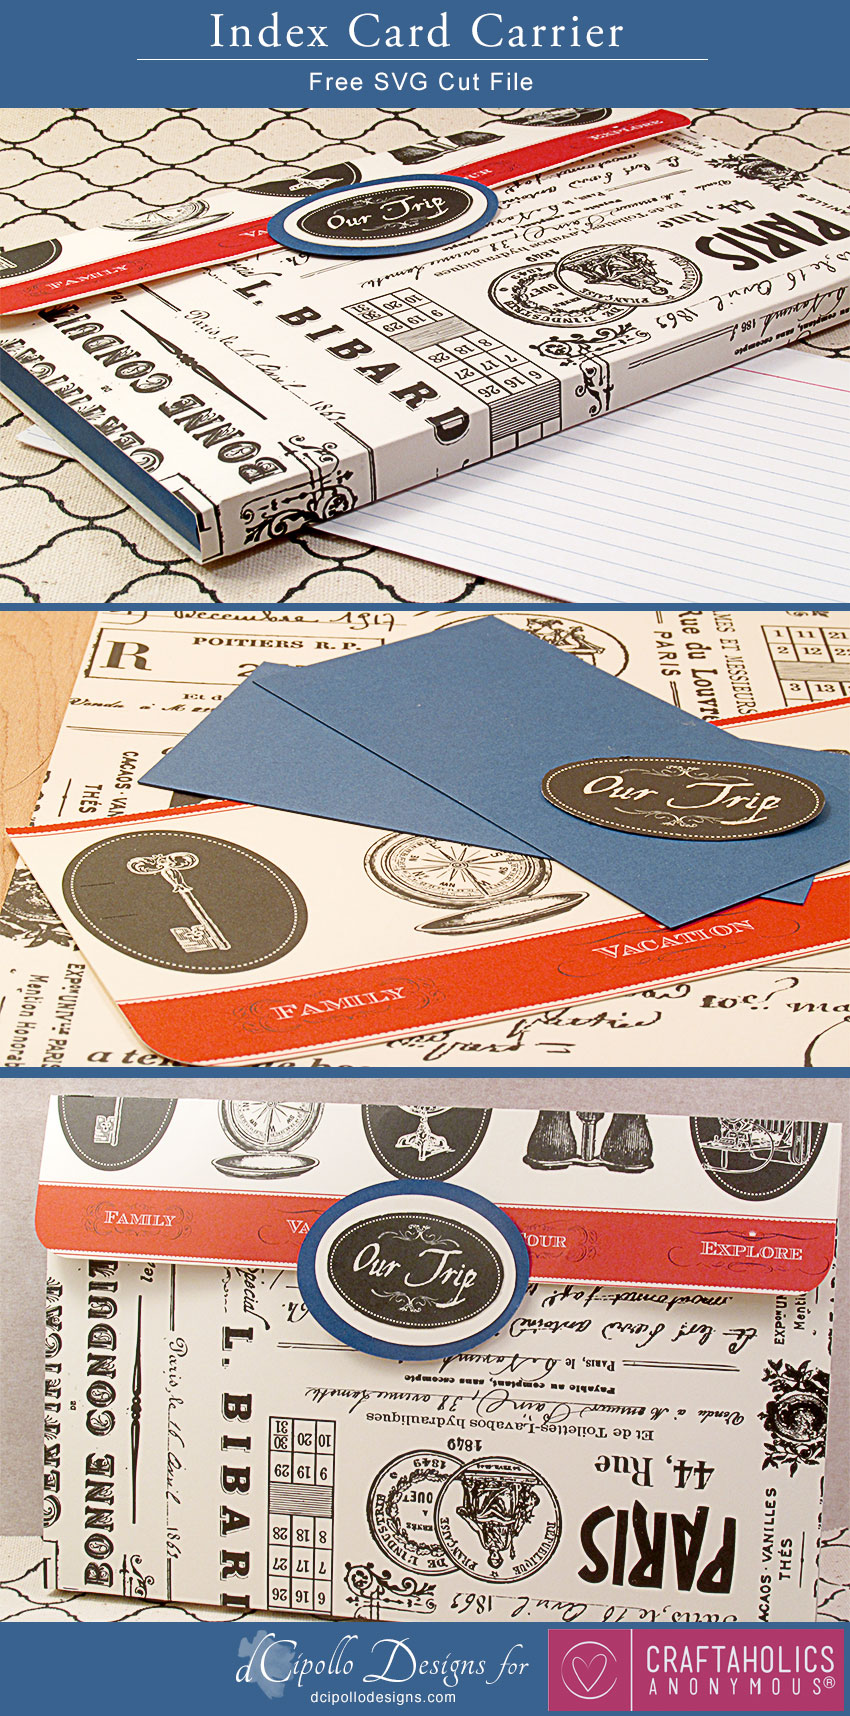
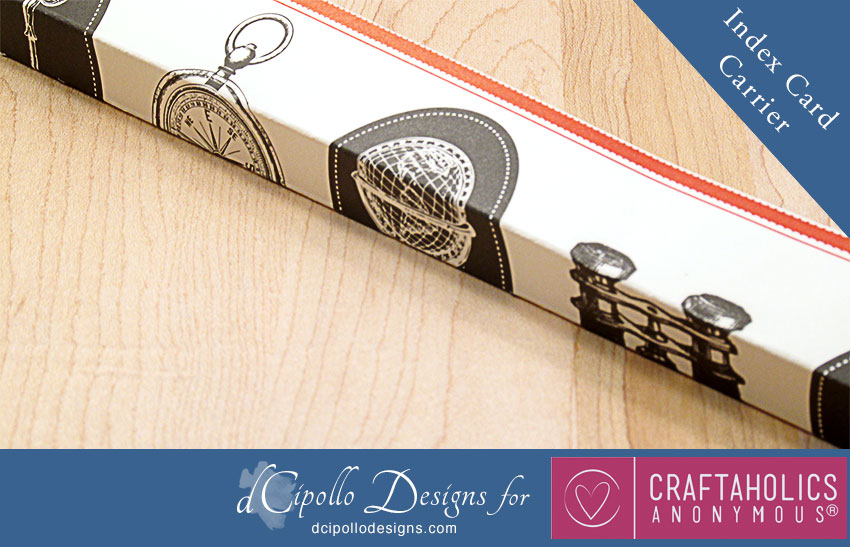
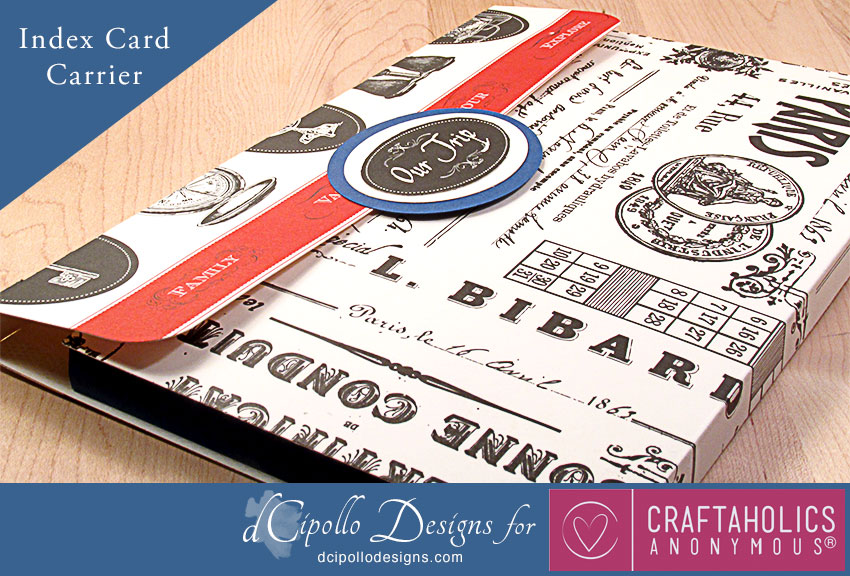
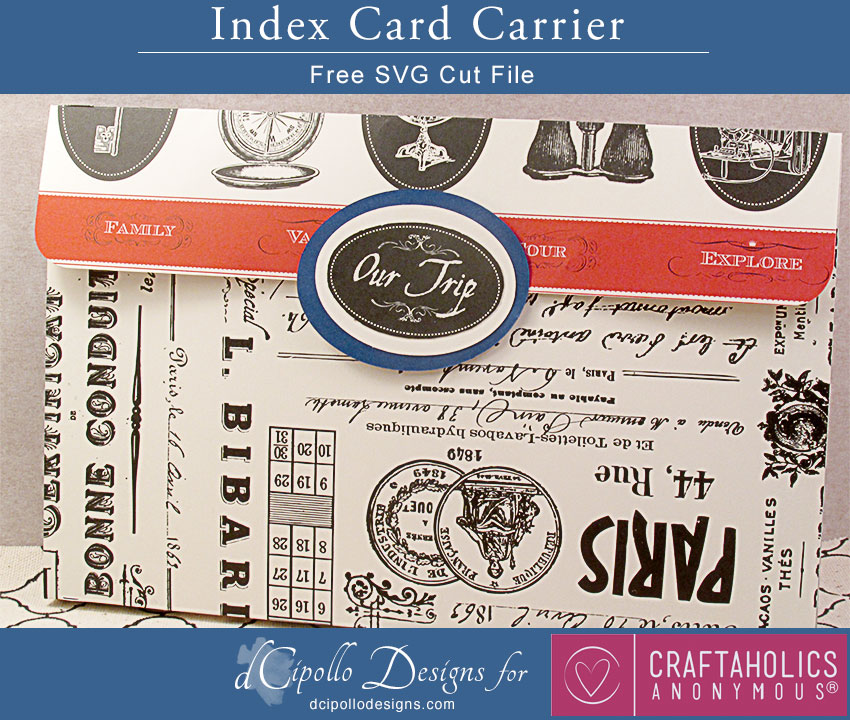
It occurred to me that it would be nice to have a small carrier that I could grab on the run and would hold a small number of index cards, just enough for the task at hand. So, I designed an SVG cut file for this index card carrier. What better paper to use for the project than Canvas Corp Brands Bon Voyage collection. I used the Black and Ivory Paris card stock for the body of the carrier. To add a splash of bold color, I used the Bon Voyage Stripe on Ivory card stock for the fold over flap. Finally, I fussy cut one of the badges from the Bon Voyage card stock to cover the velcro closure.
FREE SVG CUT FILE:
Index Card Carrier SVG Cut File
SUPPLIES:
- Black and Ivory Paris card stock from Canvas Corp Brands
- Bon Voyage Stripe on Ivory card stock from Canvas Corp Brands
- Navy card stock
- Velcro closure
CUT WITH YOUR SILHOUETTE
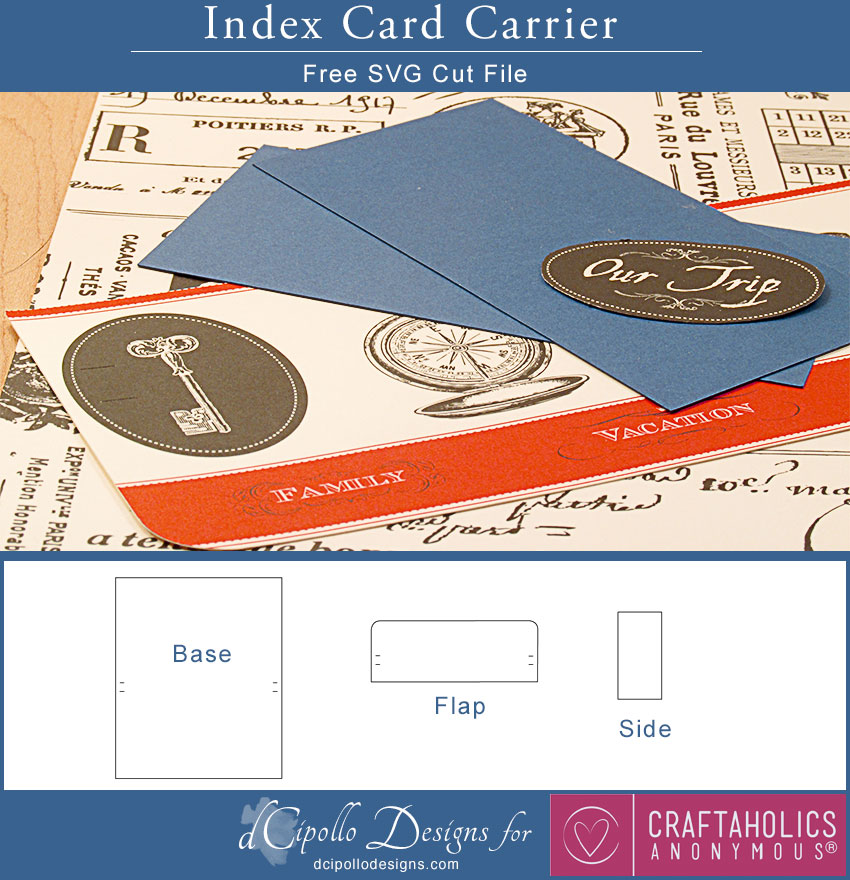
- Open the Index Card Carrier SVG cut file into your Silhouette. Remove the Flap and Side pieces from the cutting area, leaving only the Base.
- Cut one of the Base from the paper of your choice.
- Replace the Base with the Flap and cut one from a bold patterned card stock.
- Replace the Flap with the Side. Click Object – Replicate – Duplicate Right to make two side pieces. Cut both from the paper of your choice.
- Fussy cut one of the badges from the Bon Voyage Stripe on Ivory card stock.

ASSEMBLE THE CARRIER
- For each Side piece, make four vertical folds .5 inch apart. Glue one long edge of the Side piece to the opposite edge, creating a .5 thick rectangle.
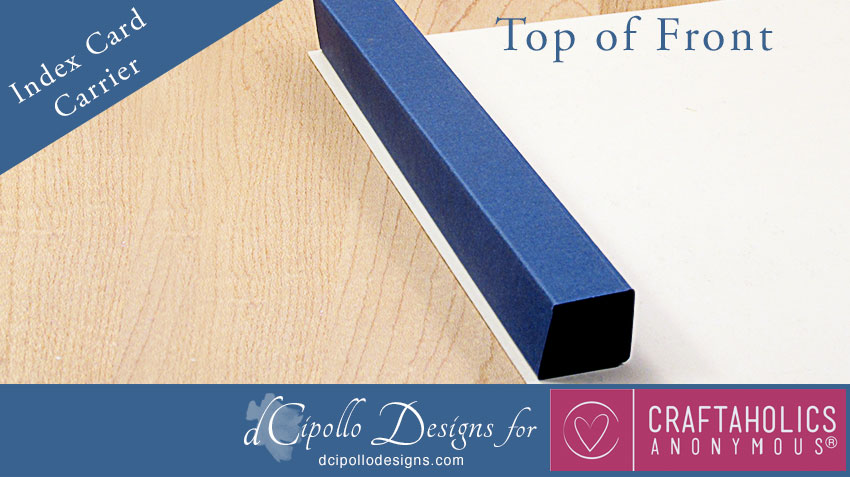
- The front side of the Base is shorter than the back side. On the reverse of the front side of the Base, glue each Side piece to the Base, aligning the top and side edges.
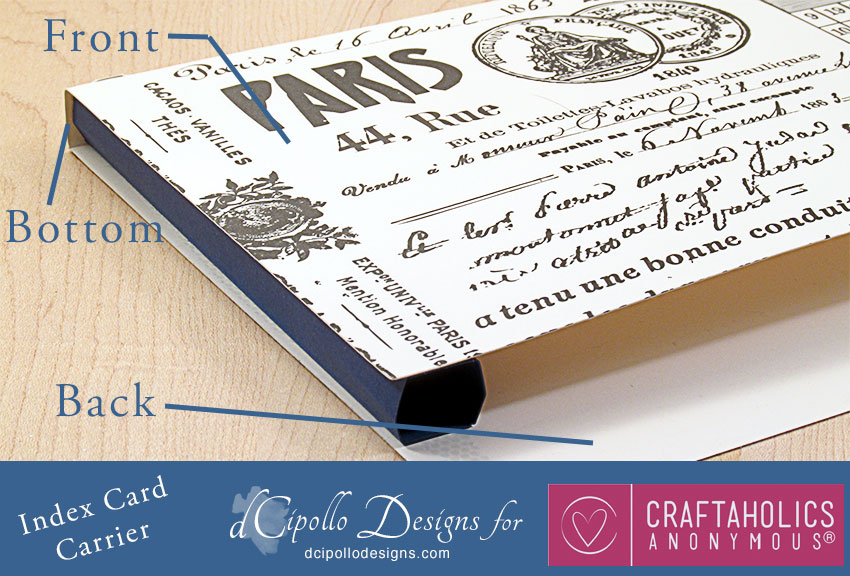
- At the end of the side pieces, fold the front side of the Base piece, to start forming the bottom of the carrier.
- Continue to fold the back side upward, making the second fold that will form the bottom of the carrier.
- Along the edges, glue the Side pieces to the inside of the Base back.
- Create a fold line 1 inch from the bottom of the Flap section (edge with square corners). Add a second fold line .5 inch above the last, to form the top edge of the Flap.
- Glue the Flap section to the Base back section, overlapping the Flap and Base 1 inch.
- Wrap the Flap section over to the front of the carrier.
- Add the velcro closer to the Flap and Base front.
- Center the badge along the edge of the Flap and glue in place.
Hope that you enjoyed the project. Come back soon! ~Diane
Visit the Canvas Corp Brands online store for the Black and Ivory Paris and Bon Voyage Stripe on Ivory card stock. More SVG cut designs available at dcipollodesigns.com.
Move Free SVG Cut Files:

Latest posts by Linda (see all)
- Powder Room Makeover - Mar 25 2019
- Raspberry Sweet Rolls Recipe - Mar 12 2019
- Farmhouse Spring Wreath - Feb 19 2019