


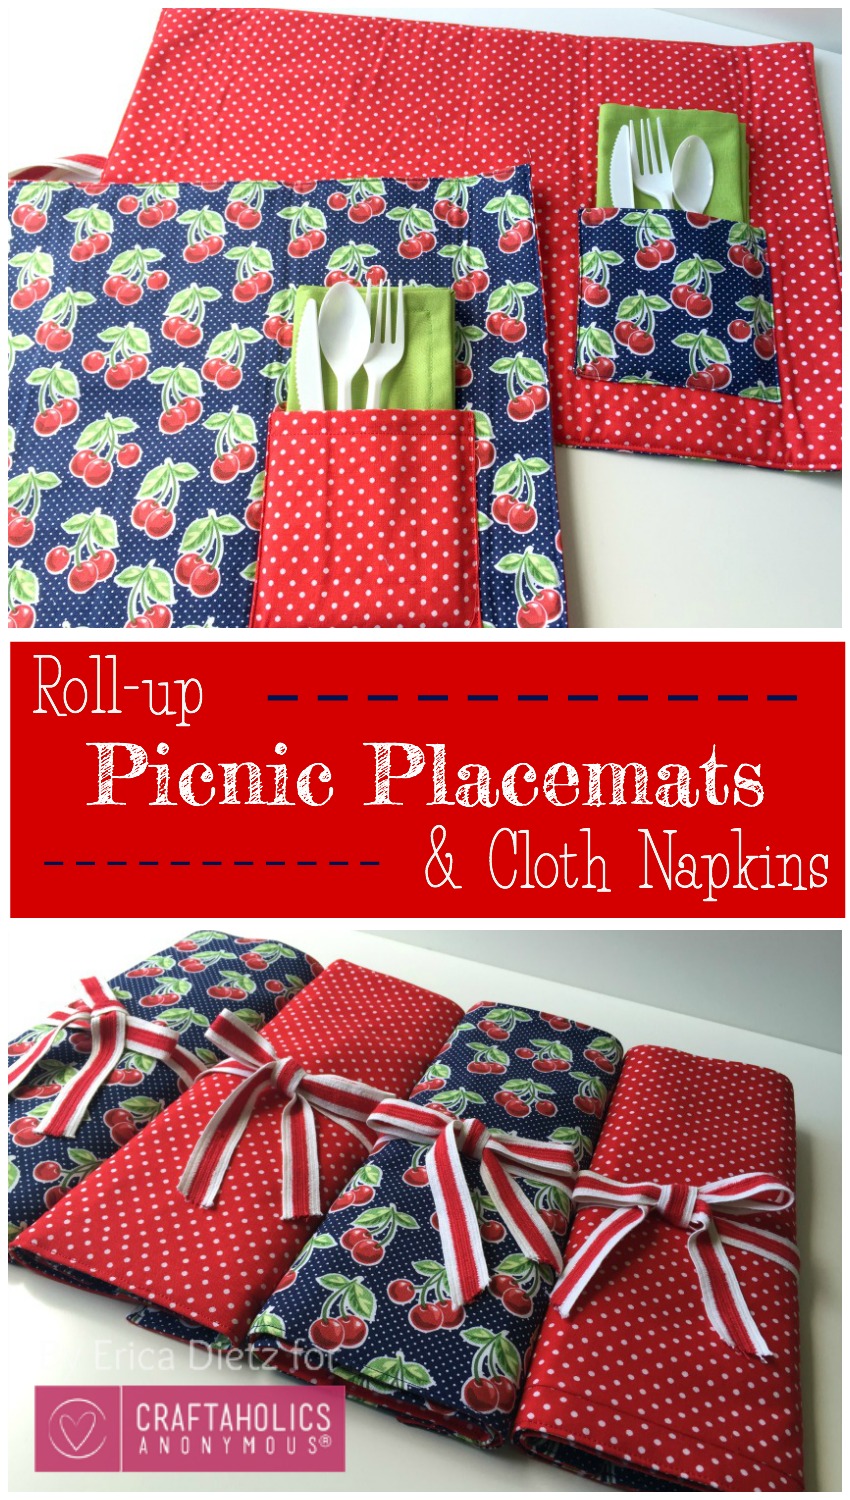
Roll Up Picnic Placemats
Hi, Erica here, from 5 Little Monsters. Now that summer is here it is the perfect time for picnics and barbecues. Today I want to share some fun, summery placemats that are perfect to stick in a picnic basket or bring along to a barbecue.

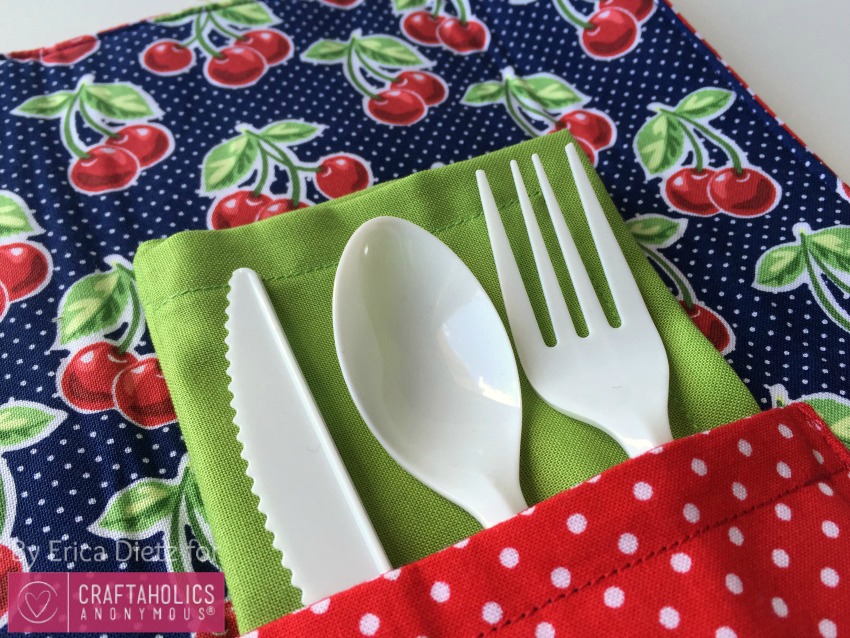
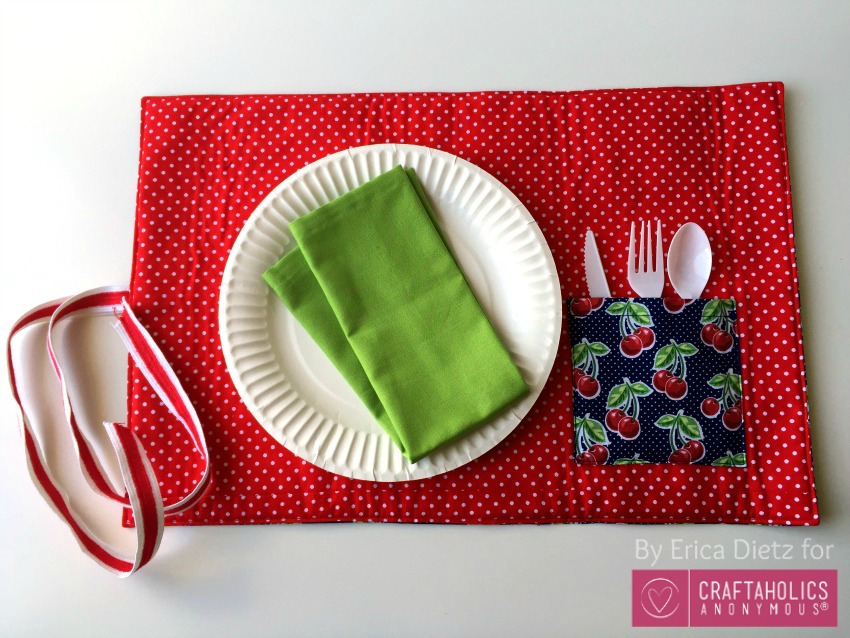
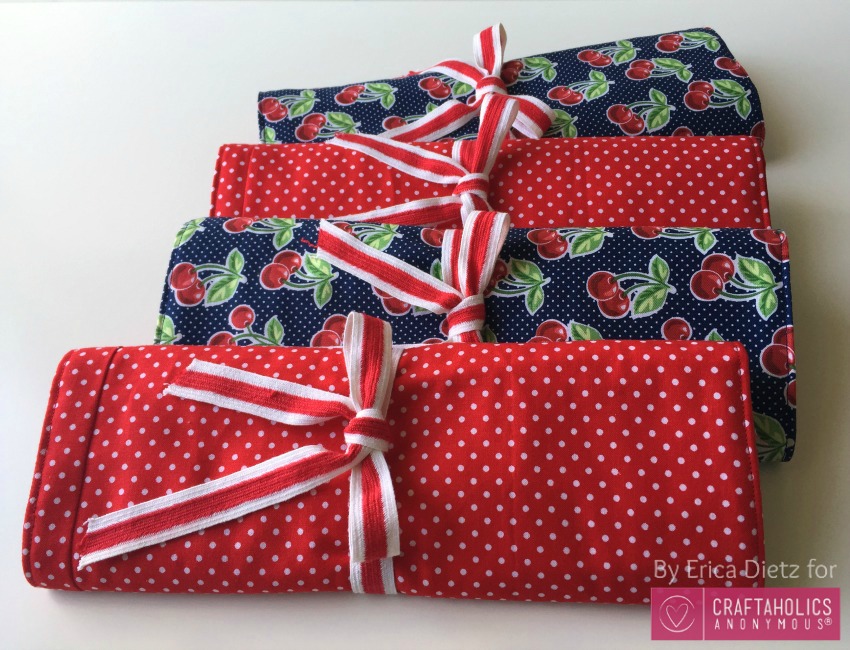
They have a pocket on the inside for a napkin and utensils and you can roll them up and tie them closed which is makes them convenient to bring along with you. I made cloth napkins to stick inside and I will show you how I made those as well.
These are a pretty simple sewing project and perfect for this time of year.
How to Make Picnic Placemats and Cloth Napkins
Set of 4, finished size: Placemat 18 x 12 inches, Napkin 14 x 14 inches.
You will need:
- 1 yard of 3 coordinating fabrics (2 for the placemats, 1 for the napkins)
- 3 1/2 yards of ribbon
- 1 yard of fusible fleece
- matching thread

First you will need to cut all of your pieces. You will need:
From each of your 2 placemat fabrics
- 4- 19×13 inch rectangles for the placemats
- 4- 5 inch squares for the pockets
Fusible fleece
- 4- 18×12 inch rectangles
From your napkin fabric
- 4- 16 inch squares
Ribbon
- 4- 30 inch pieces
Let”s start with the placemat.
You should have a total of 8- 19×13 inch rectangles, 4 from each fabric. I used 2 of each color for the front with the coordinating color on the back, so the cherry placemats have polka dots on the back and vice versa. The first thing you need to do is iron the fusible fleece to each of your fronts (the side that the pocket will be sewn onto). The fleece is cut smaller so you can leave a 1/2 around each side for the seam allowance.
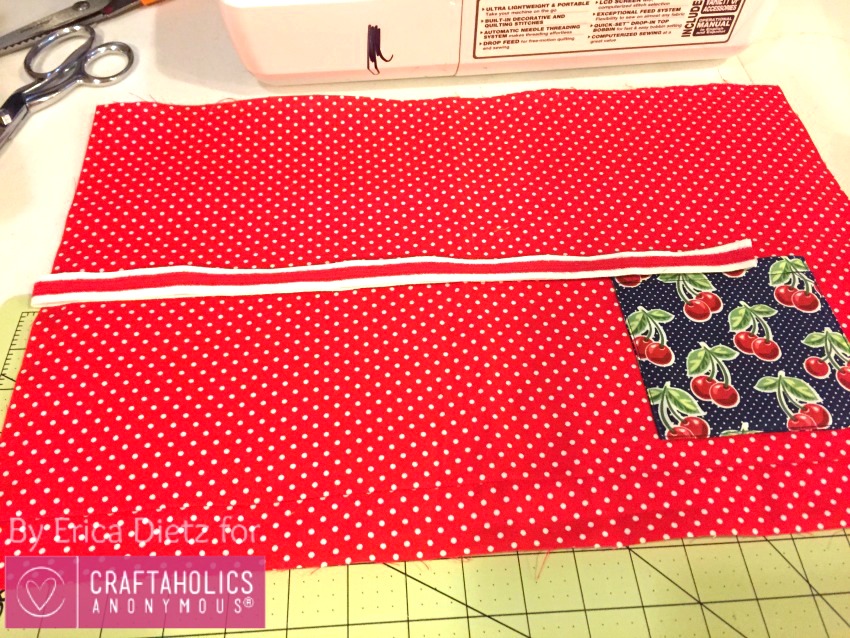
Next, prepare your pocket. Place 2 pocket pieces right sides together. Using a 1/4 inch seam allowance, sew around the pockets leaving an opening in the bottom. Clip the corners and turn right side out. Press flat and topstitch along the top of your pocket. Pin the pocket to the front of your placemat in the lower right hand corner, 2 inches from the side and 2 inches from the bottom.
. 
Stitch as close as possible to the side of your pocket around the sides and bottom. Next, fold your ribbon in half and pin the folded end to the middle of the left side.
Place the placemat back (one of the pieces that doesn”t have the fleece attached), right sides together on the front. Sew around the placemat with a 1/2 inch seam allowance, leaving an opening to turn, and being sure to catch the ribbon in the seam. Clip the corners, turn, and press. Topstitch around the outside, closing the opening as you stitch.
That”s it for the placemats, now for the napkins.
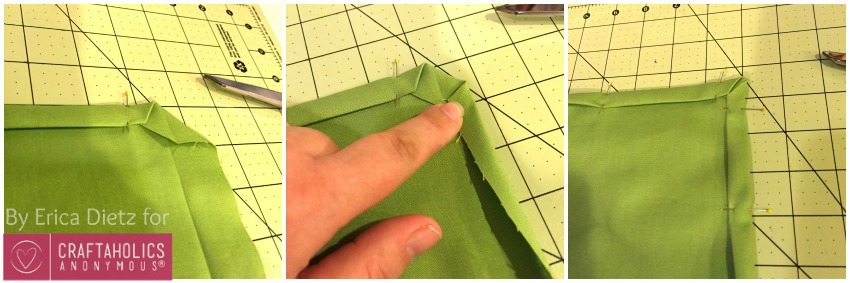
With your 16 inch squares, begin by pressing a 1 inch hem all the way around. Then fold the corners in and press. Trim about 1/2 inch off the corner point. Fold the raw edge to the pressed line and then fold along pressed edge to create a double folded 1/2 inch hem. When you get to a corner fold in the corner as shown in the picture to create the mitered corner. Sew all the way around close to the inside edge. Press the napkin, fold it and insert it in the pocket of your placemat.
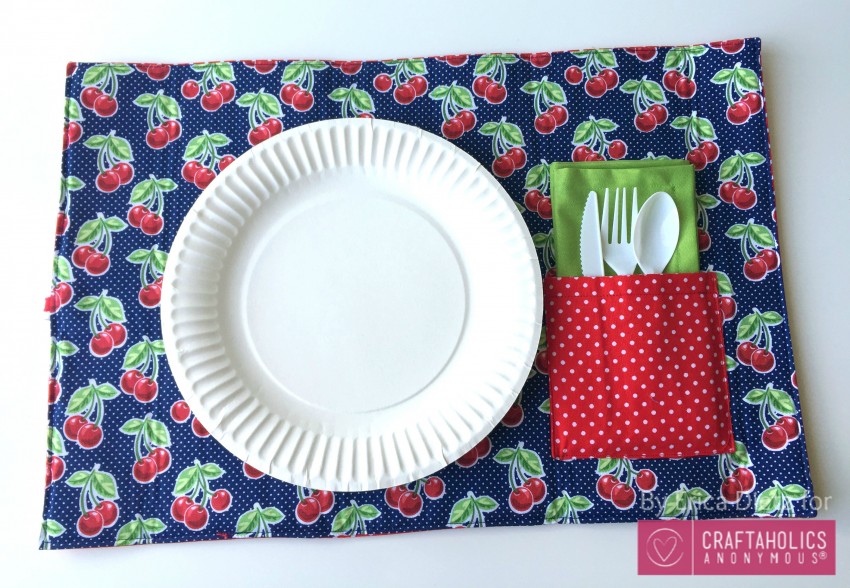
Add your utensils, roll it up starting on the end with the pocket, and tie it closed with the ribbon. You can trim the ribbons if needed.
Now all you need to do is grab some plates, some food and drinks and maybe a picnic blanket and you are all ready to head outside and enjoy a picnic on a beautiful, warm, summer day.

Latest posts by Erica (see all)
- Easy Crochet Baby Blanket - Jan 13 2016
- Crocheted Jute Christmas Ornaments - Dec 14 2015
- Embroidered Felt Snowflake Ornaments - Nov 09 2015
This is such a fun and cute project!
Paige
Cute!! I’ve got a Craft Gossip post scheduled for tomorrow afternoon that links to your tutorial:
http://sewing.craftgossip.com/?p=83011
–Anne