


Looking for fun, easy Halloween Games? Creative Team member, Steph shares her bean bag tutorial + Halloween game ideas! Dying over the adorable Frankenstein bag! I know my boys are going to have a blast playing her “Mummy Walk” game. Enjoy! -Linda

 If you’re looking for a fun way to keep your kids entertained for a while, or you have Halloween party coming up, you’ll love all the variety you get from a set of bean bags.
Halloween Bean Bags

How to Sew Bean Bags
I’m going to show you how I made some Halloween bean bags, and then a couple of easy games you can do with them too.
- Supplies:
- Fabric
- Heat n Bond Iron on Transfer (no-sew is ideal)
- Thread
- Rice
- Iron
- Sewing machine
- Funnel
I bought just 1/8 of a yard of black, white, blue, orange and green fabric. This makes it easy to make 4.5 inch squares. You’ll need two squares for each bag, then a little extra for the cut outs.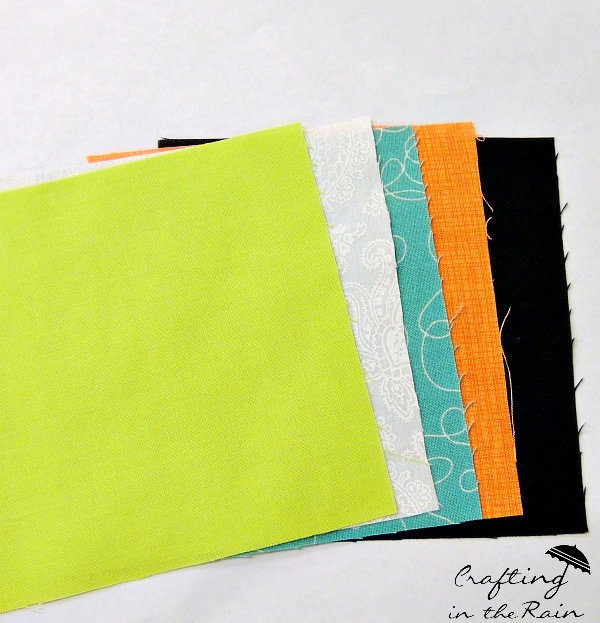
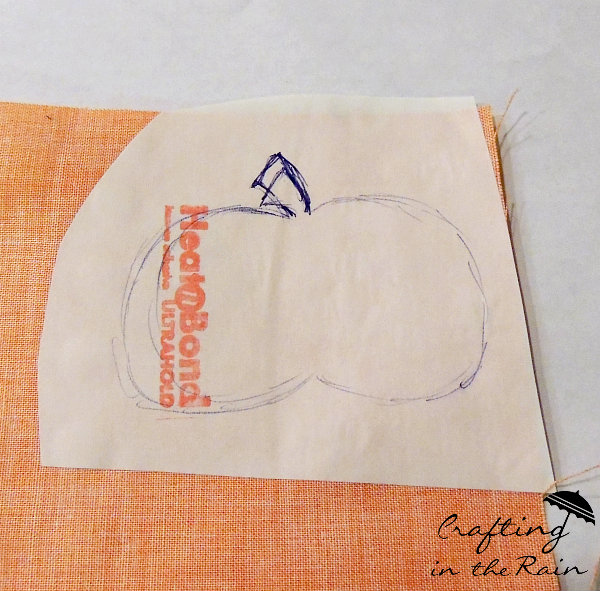
According to package instructions, iron the transfer material to the WRONG side of one of your fabrics…probably just 3 seconds (for example, I used orange to make the pumpkin) Draw out (or print an image to trace from the computer even) a pumpkin on the transfer paper that’s now ironed to the fabric—this will be a mirror image of your final design! Cut out the pumpkin and peel off the paper backing.
Your iron transfer is ready! Again, follow your product instructions. Place the cut out onto a square of fabric for a bag and iron it down (8-10 seconds) Let cool.

Repeat for other images. I did a black hat on an orange square, black hair and eyes on a green square, white ghost (with tiny black eyes…those were tricky, so it’s optional) on a blue square, the orange pumpkin on a black square, and the trickiest was the mummy. Black eyes down first on a white square, then 4 strips of white criss-crossed over it. Leave a bit of a margin so you’re not sewing through the Heat n Bond.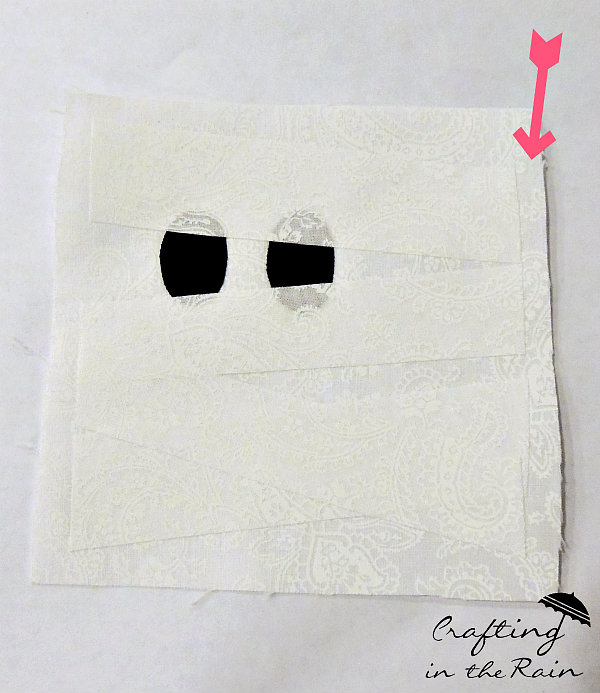
Now make the bags. Match color squares, right sides together, and begin sewing with a 1/4 inch seam allowance. In the middle of one side, leave about 2 inches open. Turn right side out and press with the iron, folding in the un-sewn edges. 
My favorite filling for bean bags is rice. I know, that really makes them rice bags. :) But I like it because it fits through the funnel so nicely; beans are a little bigger and tend to get stuck. Put 1/3 to 1/2 cup of rice in each bag and sew up the open edge. Your bags are done! I also made one plain bag from each color with no image on it.
Halloween Games
Now for the games. We played the Mummy Walk game. Have each racer stick their arms out straight in front of them like a mummy. Lay a bean bag on top of each hand. Have them walk (“run”) without bending their knees and without letting the bean bags fall to the ground. If they drop, they have to pick them up, run back to the start and begin again. To really get the kiddos into it, have them moan like mummies!

Whoever gets to the end first wins. What a fun, easy Halloween game, right?!
The other game we played was the classic, Bean Bag Toss. I like to make things easy on myself though, and instead of building one out of wood, I just used a box. They’re not easy to paint and decorate either though, so take a piece of white poster board, decorate it how you want, then attach it to an empty box and cut out the hole(s).

If you want your kids to really like you, play with them! So go make some bags and have fun!
More Halloween Crafts:

Latest posts by Steph Paxman (see all)
- How to Sew a Faux Fur Pillow Tutorial - Jan 16 2014
- DIY Wood Slice Ornaments - Dec 04 2013
- Vintage Fabric Place Cards - Nov 18 2013
So cute, fun, and festive!!! Thank you!
Thanks Michelle! Glad you stopped by to check them out :)
These are too cute. Love the Frankenstein!
Thanks Kim! I think he’s my favorite too :)
Great halloween craft and a great way to keep the children and us adults happy lol. thank you for the how to. Thanks for sharing.
Thanks Julie! I hope the ideas will come in handy!
It all is just so cute…