


I love me some bokeh! It gives pictures a magical feel. Stephanie is sharing some tips and tricks on how to create Christmas bokeh with your camera. This is a fun photography trick to play around with during the holidays. Enjoy! -Linda

Christmas Bokeh Tips and Tricks
Christmas is such a fun time of year to play with your new camera. All those Christmas lights provide fun backdrops and photo opportunities. There are plenty of ideas online for Christmas photo shoots, but one of my favorite ways to add a pop of fun to a holiday photo is to play with the “bokeh”…or you may know it as the blur of lights in the background of a photo.
If you have a DSLR camera with lenses…you’ll want to use the lens with the widest aperture is the best for bokeh affect. I used my 50mm f1.8 lens for these photos. {The 1.8 notates the aperture. Basically, the smaller the number, the better.} You can find some lenses that are available in 1.4, 1.2, etc. Since those lenses are more costly, I find the 1.8 is really the best bang for the buck!
Note: To optimize the bokeh affect, I kept the aperture setting on 1.8 for all my photos.

How to create Bokeh in your photos:
The fun thing with bokeh is you can play with the shapes of the blurred lights. To create my own bokeh shapes in my photos, I used some cardstock scraps {they don’t need to be very big. It just needs to be bigger than the diameter of your lens}…black card stock works great, but I also did some experimenting with white. They both worked, but I found that black card stock will block out excess light a little better than white card stock.
Then I used a hobby knife to cut out shapes into the cardstock. I cut out “Ho-Ho-Ho”, and a Christmas tree. I also used a snowflake punch on a piece of the cardstock…I liked that result the best! Plus it was faster and easier.
Once I had my cardstock pieces with a punched or cut shape in the center, I positioned myself in front of the Christmas tree and also some strands of white twinkle lights.
Position whatever item you want to focus on between you and the lights. Don’t put the object {or person haha} too close to the lights or the blur won’t be as noticeable and you may see the strands of lights themselves. (as seen in my pictures below)

Press your camera button half way down to focus your camera on your item/person. Then before taking the picture, hold the piece of cardstock with the design up to the lens.
How it works: The shape on the card will limit the light entering your lens. This will create a bokeh affect in that shape in your images.

Play around with different colored lights for different effects.
Don’t want to hold the card up to the lens? Cut the cardstock with the bokeh image into a circle with the same diameter as your lens. Then attach to the end of your lens with repositional tape. Of course, use caution when taping your lenses! Make sure you use tape that won’t leave a residue and removes easily.
Have fun playing around with Bokeh this holiday season!
Have you played with Bokeh before? What tips/tricks have worked for you? Leave a comment below.
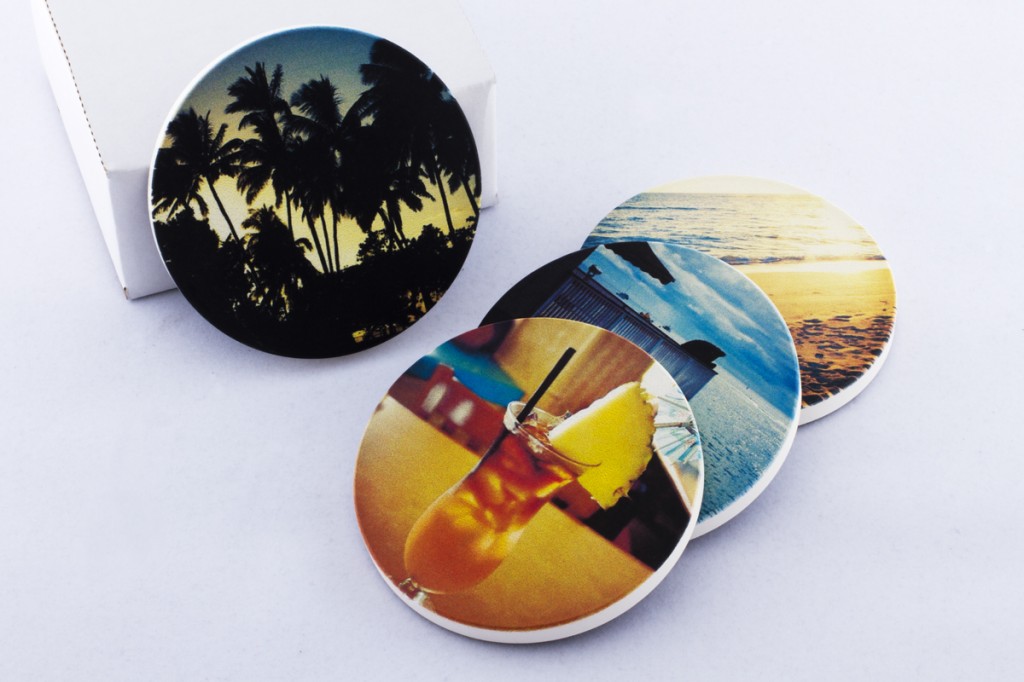
Enter to win a set of coasters with YOUR instagram photos printed on them from Coastermatic!
For more DIY’s and Craft ideas, follow along on Pinterest!
Latest posts by Stephanie (see all)
- Easy Party Poppers Tutorial - Dec 31 2013
- Christmas Bokeh Tips - Dec 10 2013
- DIY Snowman Bowling Game - Nov 26 2013
This must be the 20th post I’ve seen on “bokeh” and I finally had to comment! :) I see so many bloggers talking about “getting bokeh” or “creating bokeh” in their pictures and it’s kind of obvious they don’t know what bokeh is!
Bokeh is not a blurred background. That’s just … a blurred background. Technically it’s about managing your depth of field.
Bokeh is the quality of the out of focus highlights in your blurred background. Different lenses produce different bokeh – some are chunky and hard edged and some are rounded and soft, making the out of focus part of the image creamy and soft and smooth looking.
Here’s an article about what bokeh is with examples .. I hope that it will help people to stop calling out of focus backgrounds “bokeh”.
http://photographylife.com/what-is-bokeh
Such pretty pictures! Thanks for explaining it in a way that’s easy to understand.
Beautiful! What a fun project to try no matter what your photography skill level is. Thanks for sharing your easy tips!
love the bokeh lights!!! Perfect for Christmas cards!