


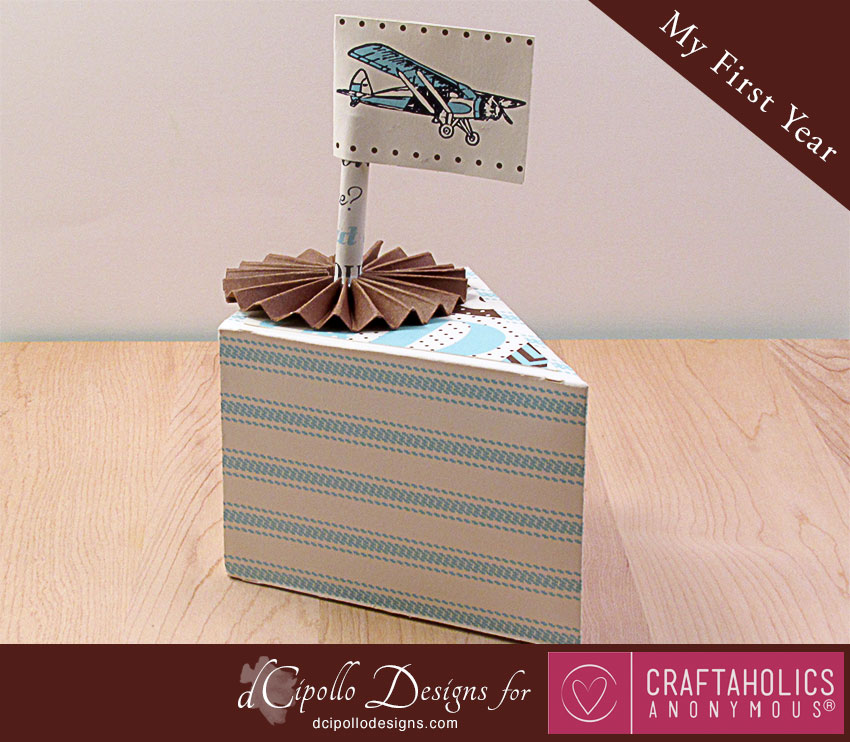
My First Year Photo Cake
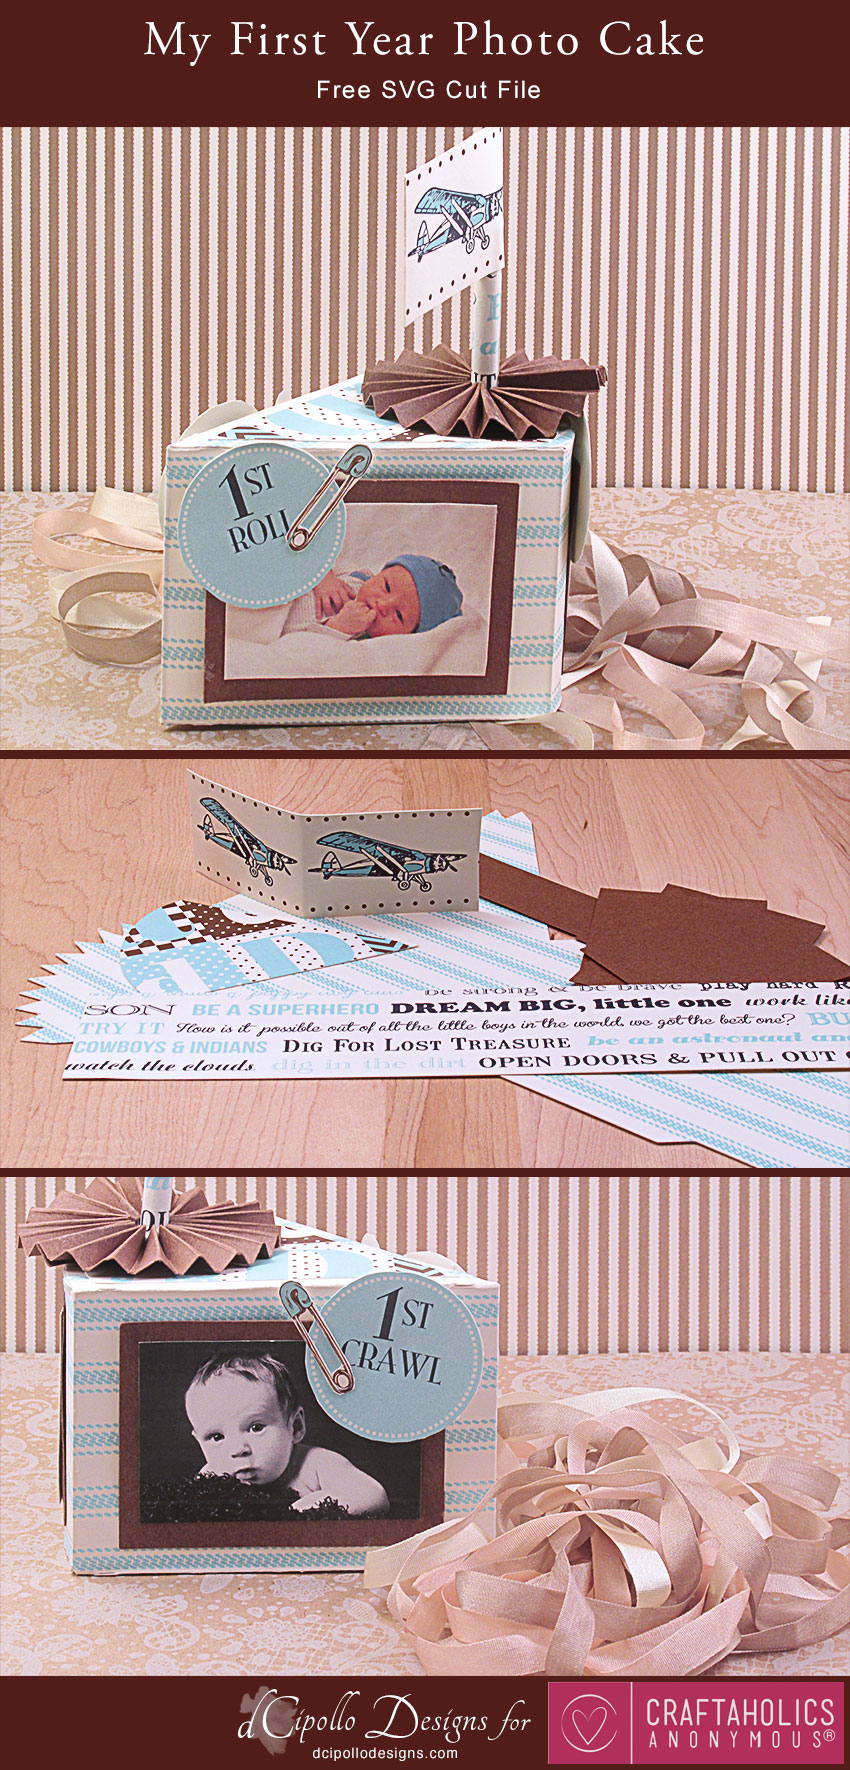
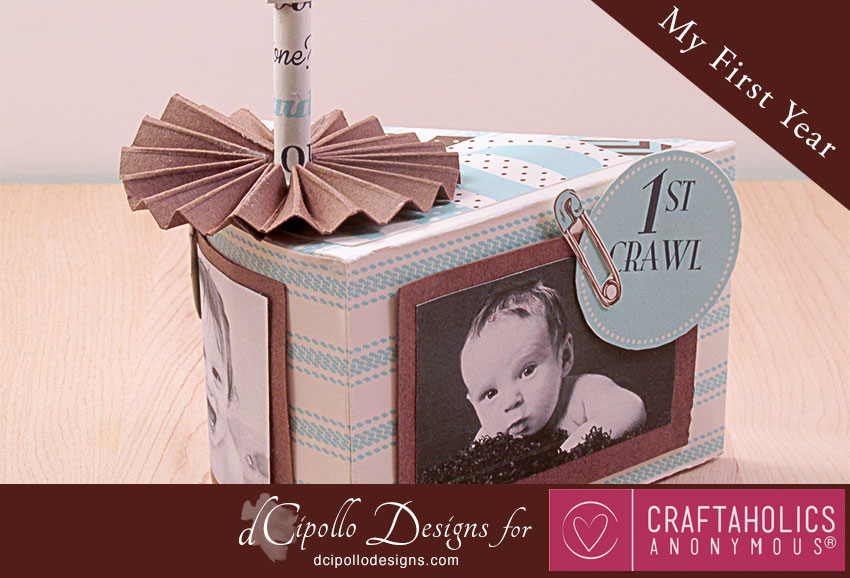
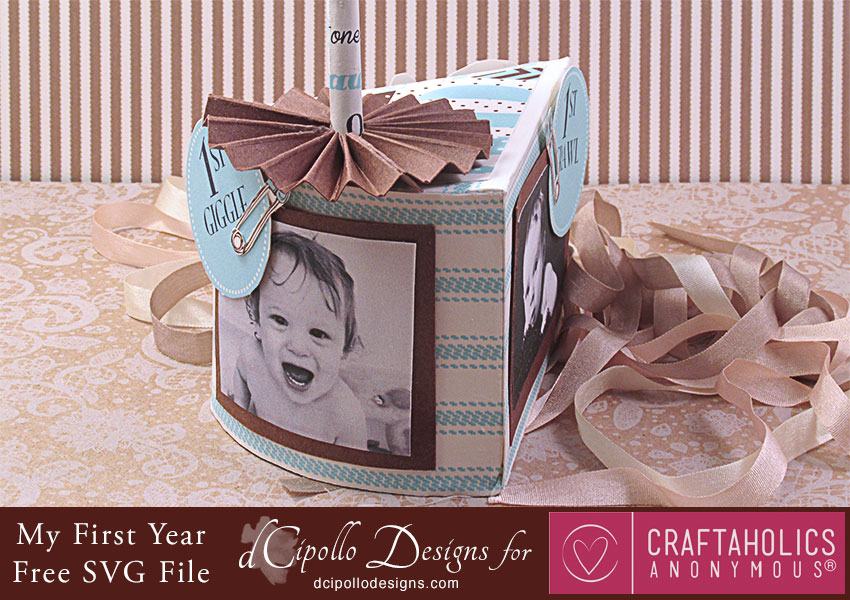
I was looking through some family photos that we’ve shared with each other on Facebook and some of the baby pictures of little Calvin were so cute that I had to make a project just for them. This SVG cut file project started as a photo cube but quickly turned in to a “My First Year” photo cake, which displays three pictures of Calvin.
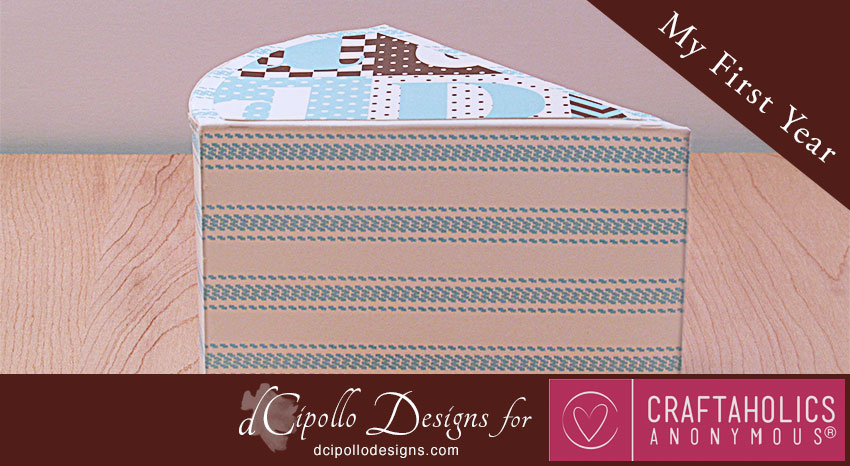
The papers from the Snips n’ Snails collection from Canvas Corp Brands really made this project come to life. The Blue and Ivory Ticking card stock was perfect for the cake, as it resembles the layers of a cake and also worked as a great background for the pictures. I love the brown and blue color combination in the Baby Boy Alpha card stock, so I added that as the top layer of the cake, much like the rose icing flowers on real cakes. For a dash of solid color, the rosette holding up the candle was cut from brown card stock and the candle was cut from Baby Boy Quotes On Ivory card stock. I decided to make a flag, fussy cut from the It’s A Boy Stripe on Ivory card stock, and also fussy cut a few of the milestone “First” badges and safety pins, to use as embellishments for the pictures. Finally I measured each picture and cut a rectangle a little larger in Silhouette, to work as a frame.
Free Download:
My First Year Photo Cake SVG Cut File
SUPPLIES:
- Blue and Ivory Ticking card stock from Canvas Corp Brands
- Baby Boy Alpha card stock from Canvas Corp Brands
- Baby Boy Quotes On Ivory card stock from Canvas Corp Brands
- It’s A Boy Stripe on Ivory card stock from Canvas Corp Brands
- Brown card stock
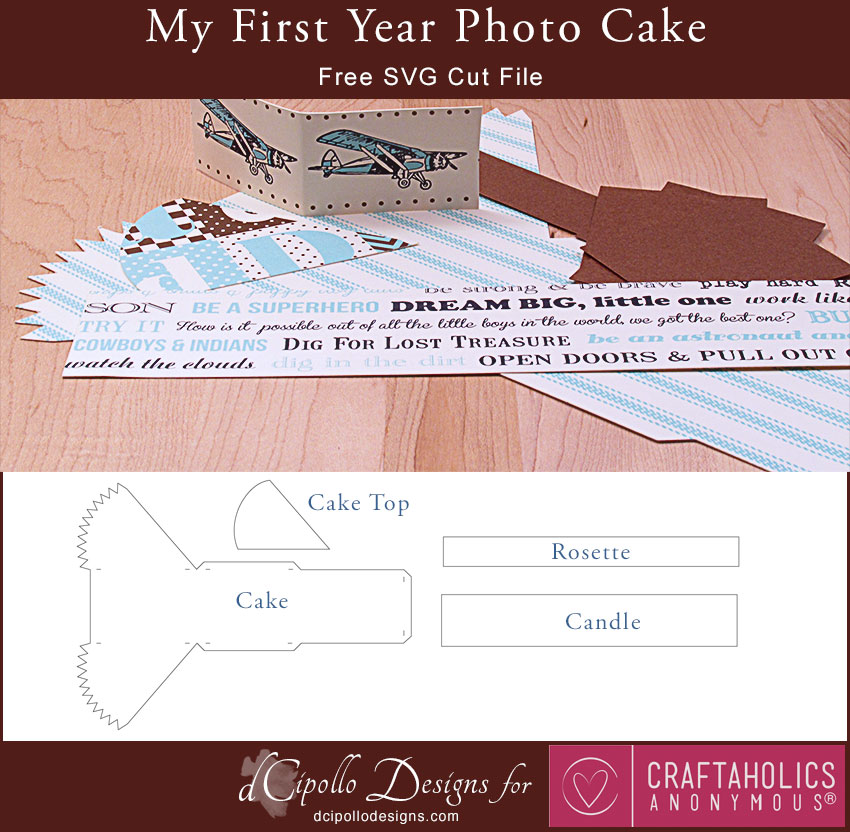
CUT WITH YOUR SILHOUETTE
- Open the SVG cut file into your Silhouette. Remove the cut lines for the Rosette, Cake Top and the Candle. That leaves just the Cake cut line. Cut the Cake piece from the paper of your choice.
- Replace the Cake cut line with the Rosette cut line. To cut the frames for the pictures, measure each picture and draw a rectangle slightly larger for each, using Silhouette’s Rectangle tool. Cut all from solid colored paper.
- Replace the Rosette and rectangle cut lines with the Candle cut line. Cut from the paper of your choice.
ASSEMBLE THE PHOTO CAKE
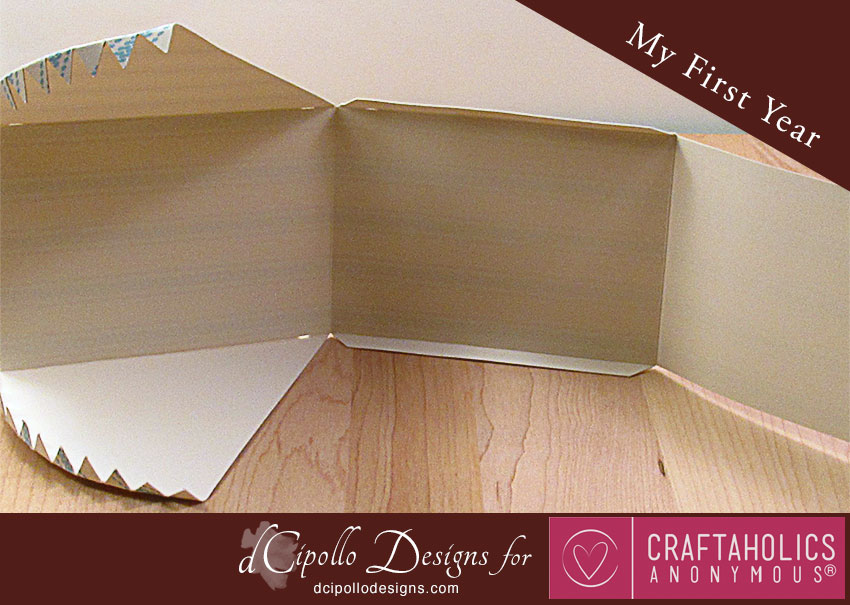
- Let’s start by working on the triangular top and bottom of the Cake. Fold over the small tabs and fold both triangles inward.
- For the adjacent rectangular section, fold the two long tabs inward.
- Glue one long tab to the straight edge of one triangular section. Repeat for the second triangular section, forming the top, bottom and two sides of the Cake.
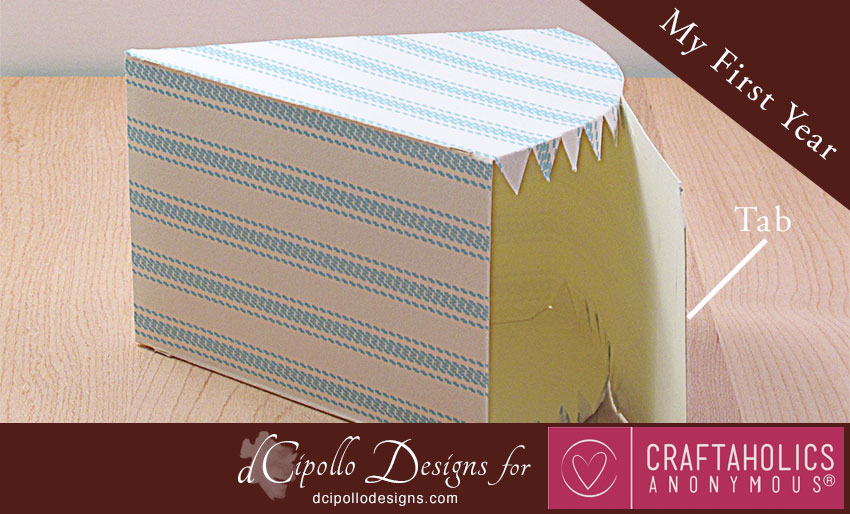
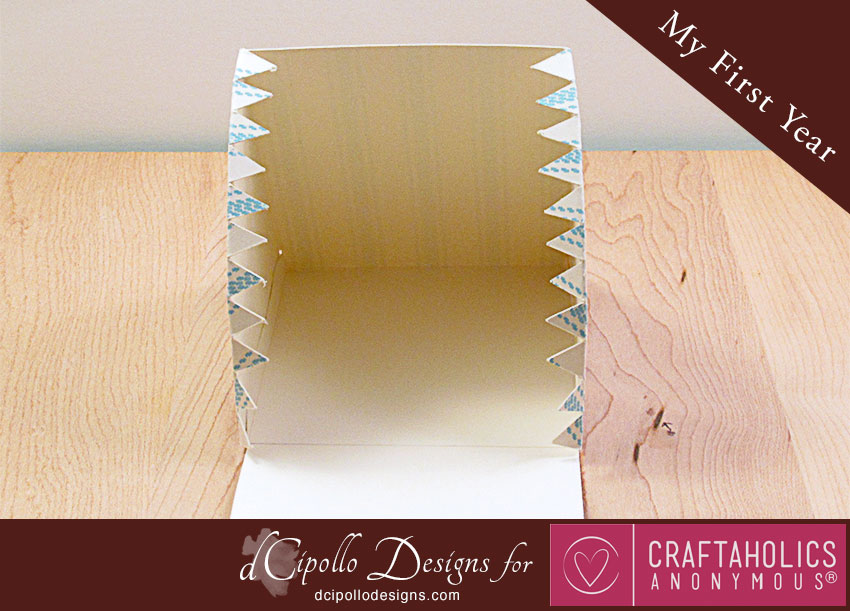
- Working on the top of the Cake, glue each small tab to the adjacent rectangle, to form the curved back of the Cake. Repeat for the bottom of the Cake.
- To close the Cake, fold over and glue the last tab, adjusting the fold line as needed for the thickness of your card stock.
DECORATE THE CAKE
- Let’s add the icing on the top of the Cake by gluing the Cake Top piece on to the top.
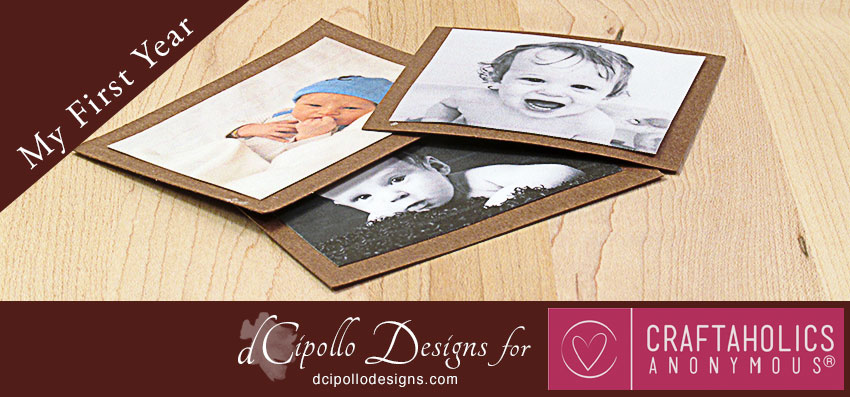
- Glue each picture over the center of one of the frames.
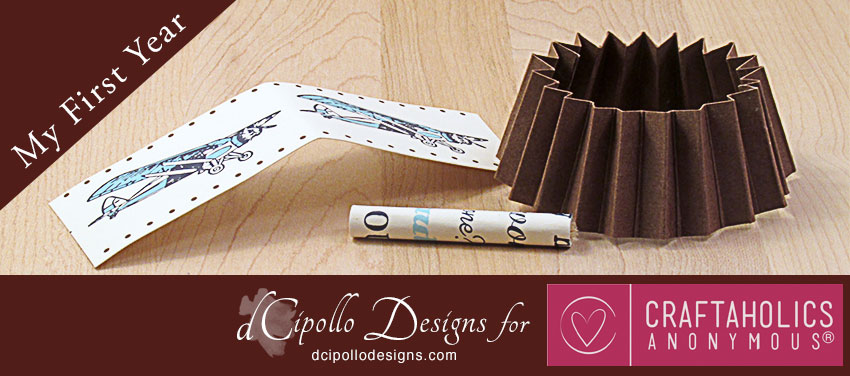
- Roll the Candle piece into a tube. Fold the flag in half.
- Crease fold lines every .25 inch apart along the Rosette piece. Glue the two ends together.
- Form the rosette, leaving an opening for the Candle. Glue the rosette to the top of the Cake at the wider end.
- Wrap the flag piece around one end of the Candle.
- Glue the Candle into the center of the rosette.
- Glue a “First” badge and safety pin to the edge of each picture.
- Glue the pictures to each side and the curved back of the Cake.
Hope that you enjoyed the project. Come back soon! ~Diane
Visit the Canvas Corp Brands online store for the Snips n’ Snails collection. More SVG cut designs available at dcipollodesigns.com.

Latest posts by Linda (see all)
- Powder Room Makeover - Mar 25 2019
- Raspberry Sweet Rolls Recipe - Mar 12 2019
- Farmhouse Spring Wreath - Feb 19 2019