


Herb Soap
 Hi, so excited to be guest posting today! I’m Stephanie Gerber, a mother of 2, who writes the blog henry happened. I call the site my “playground” for staying curious and always learning new things – like making soap! Who knew it could be so easy? Hope you’ll stop by sometime!
How to Make Soap

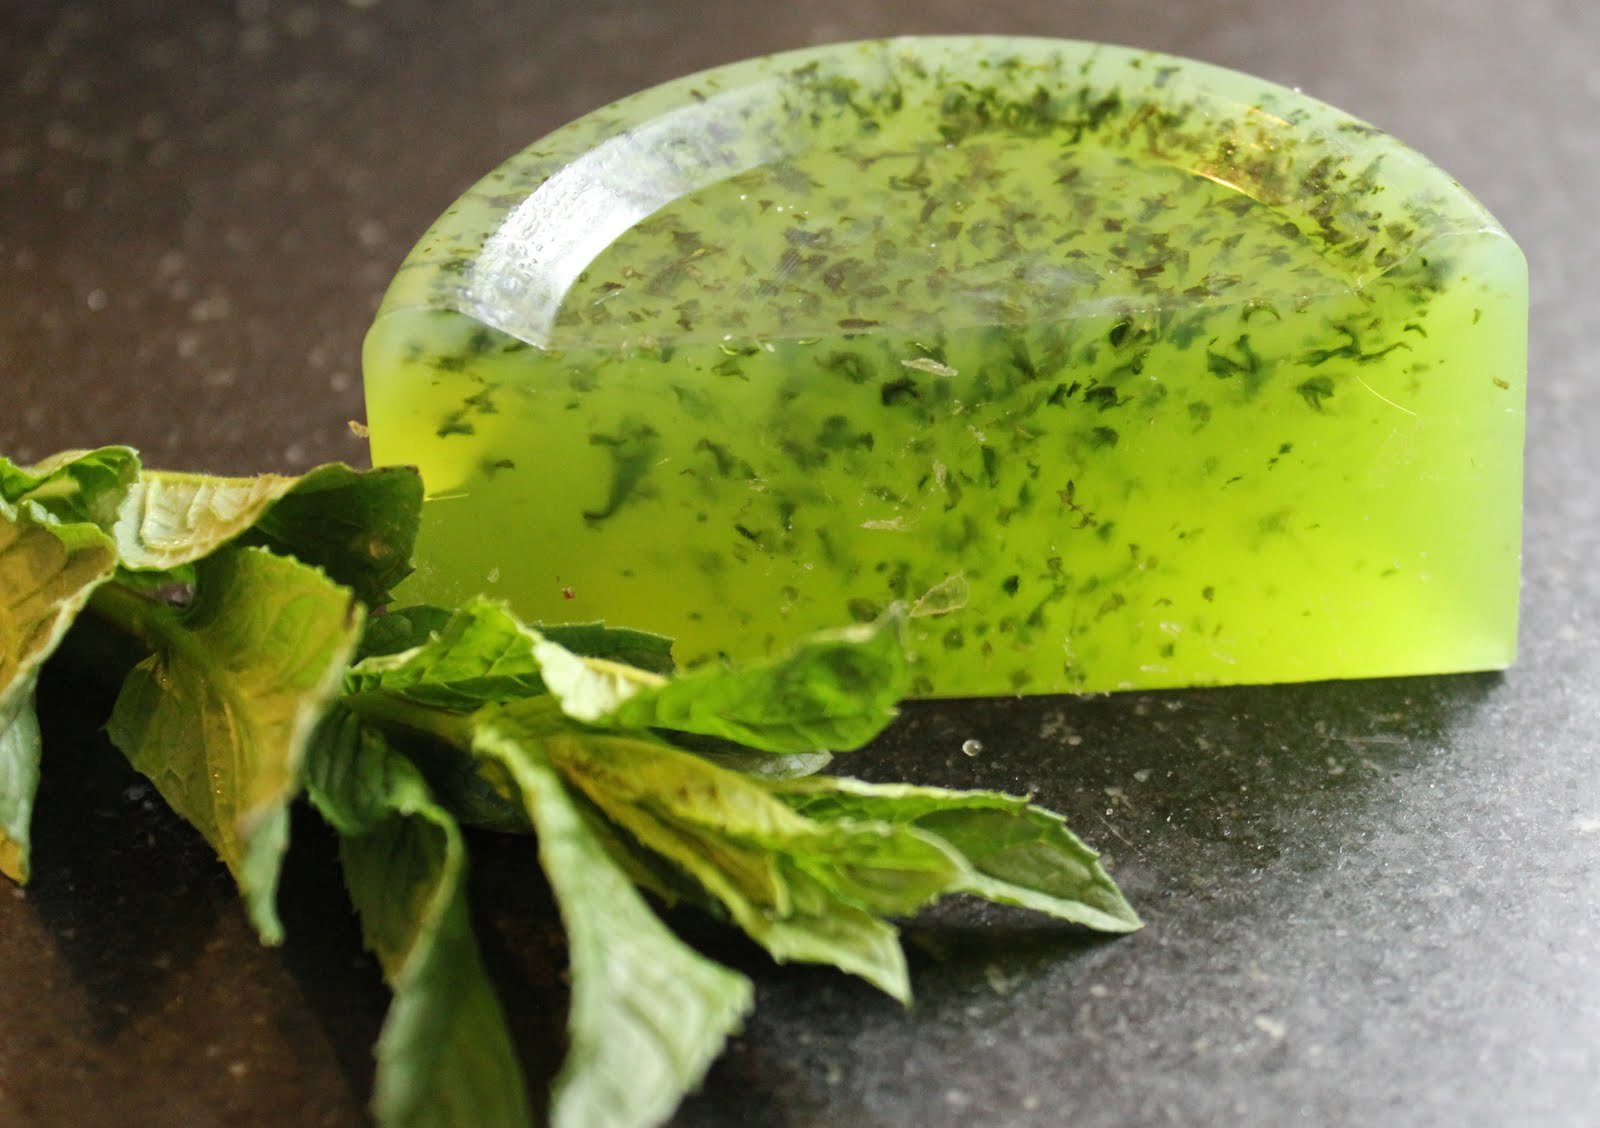
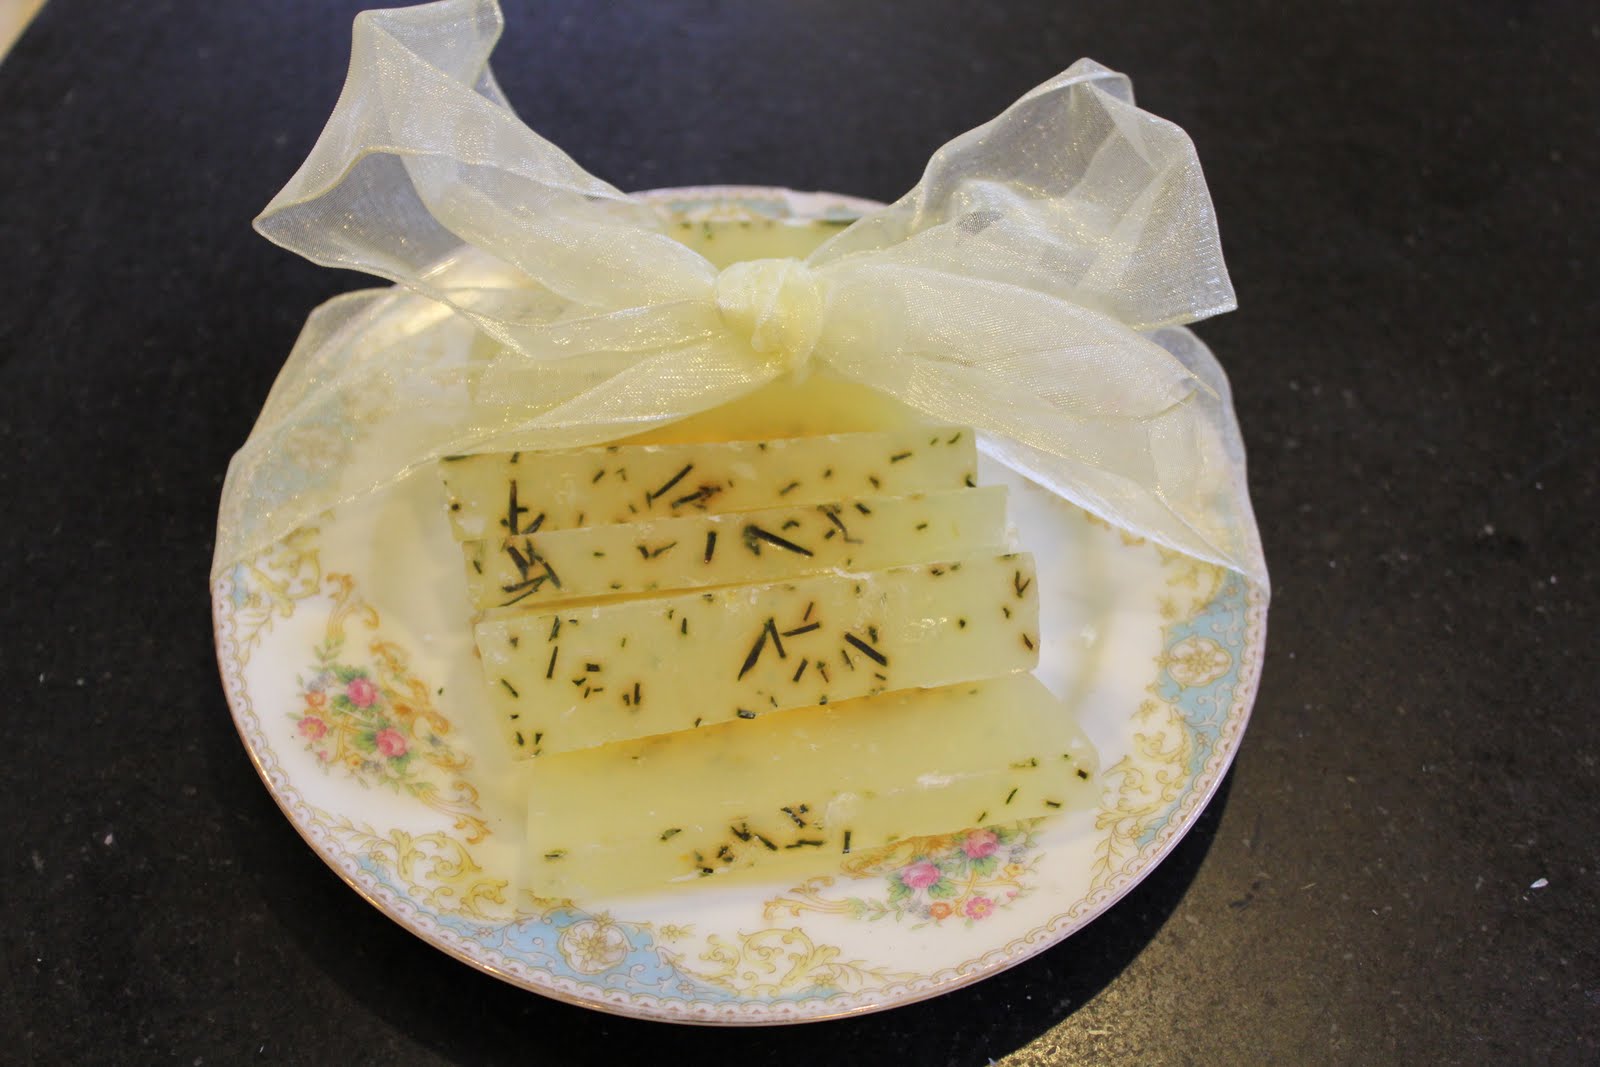
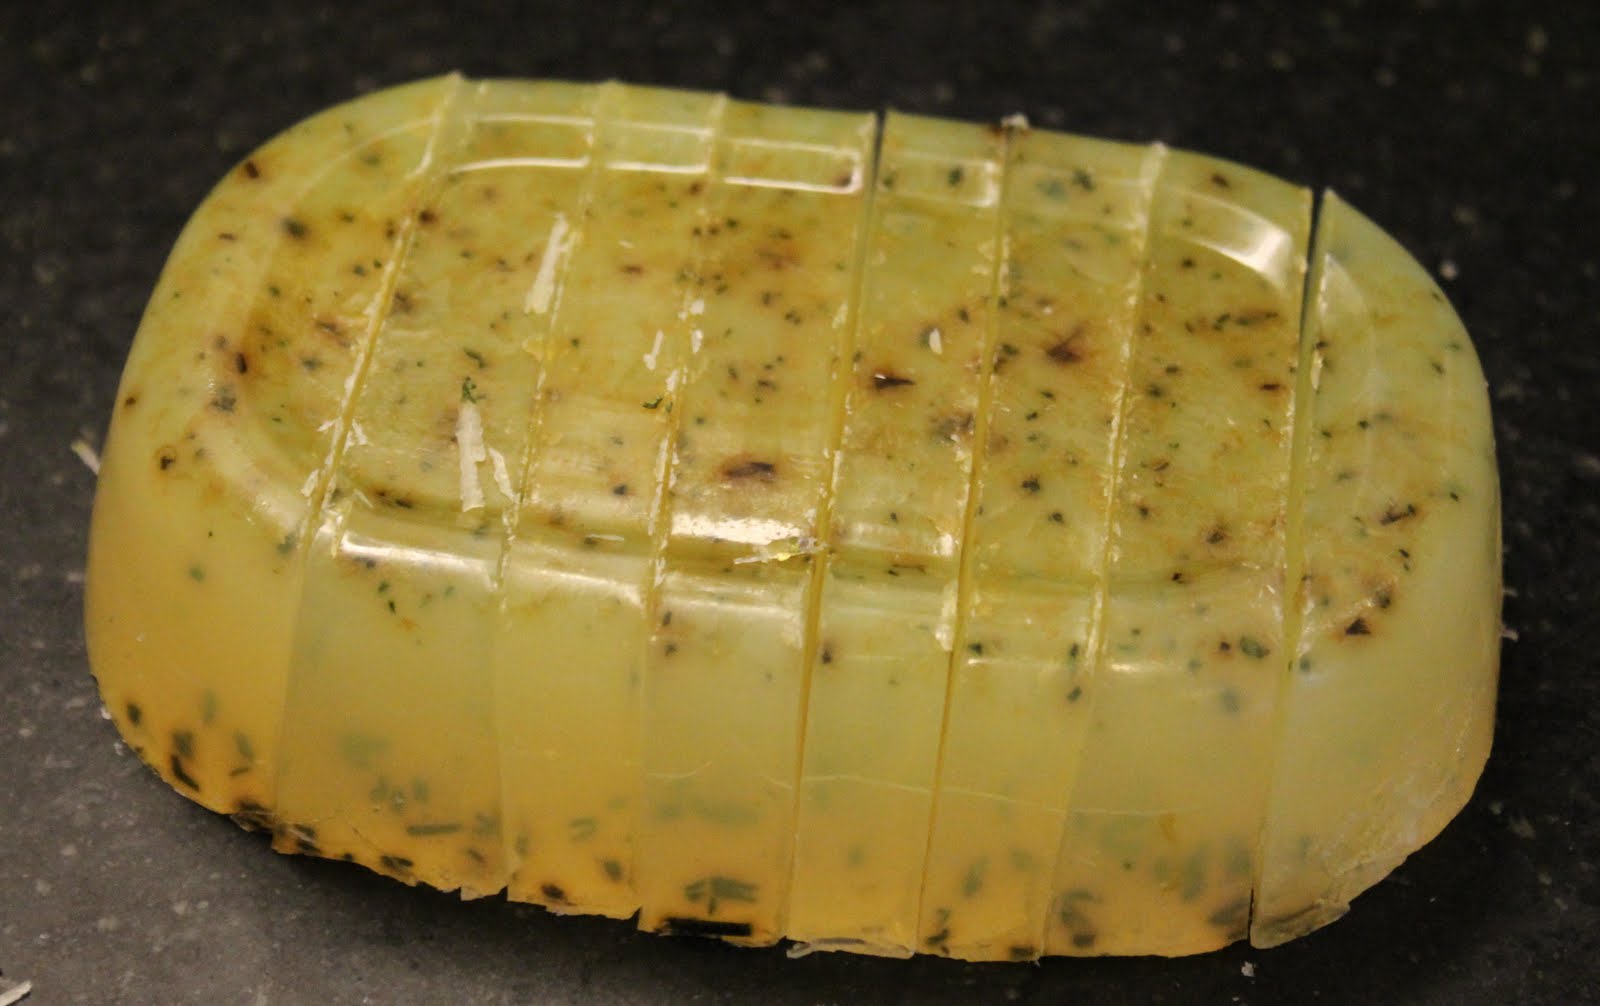
First up from the herb garden – my very own soap! I thought this would be a lovely homemade Mother’s Day or Teacher Appreciation gift. I picked up some plain, unscented glycerin soap and added herbs from the new garden and some citrus. I love the smell and bright green color of mint.
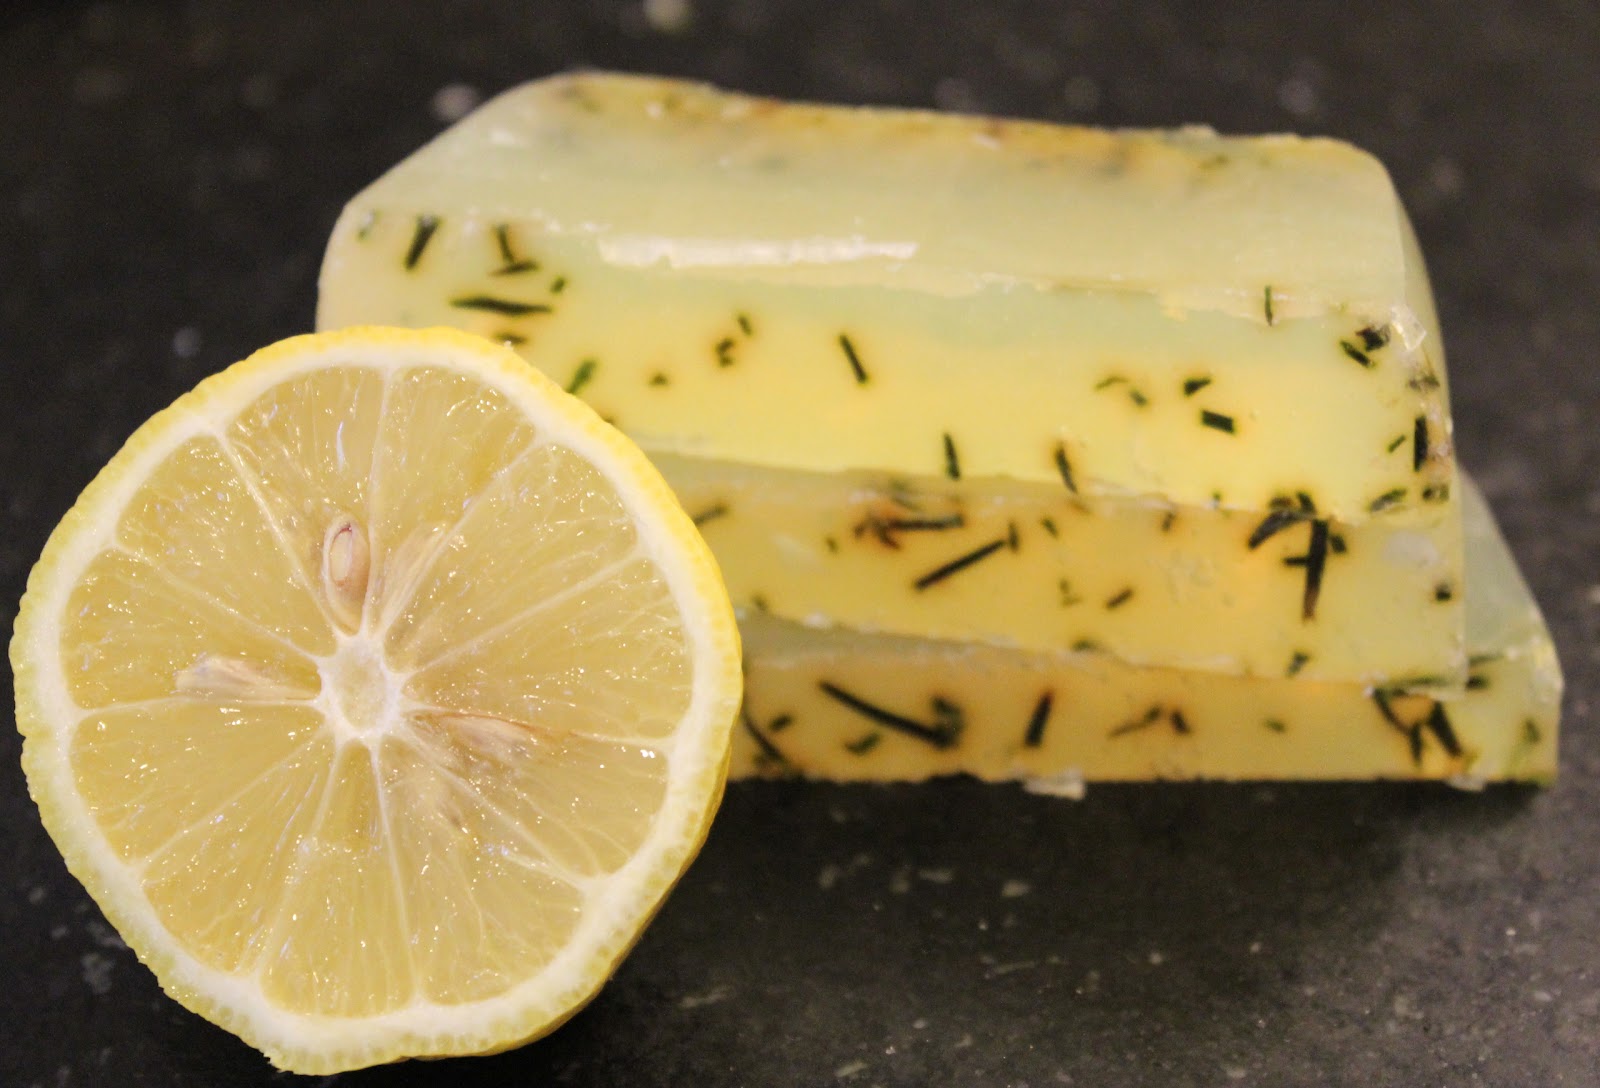
I diced up some rosemary to add with lemon zest.
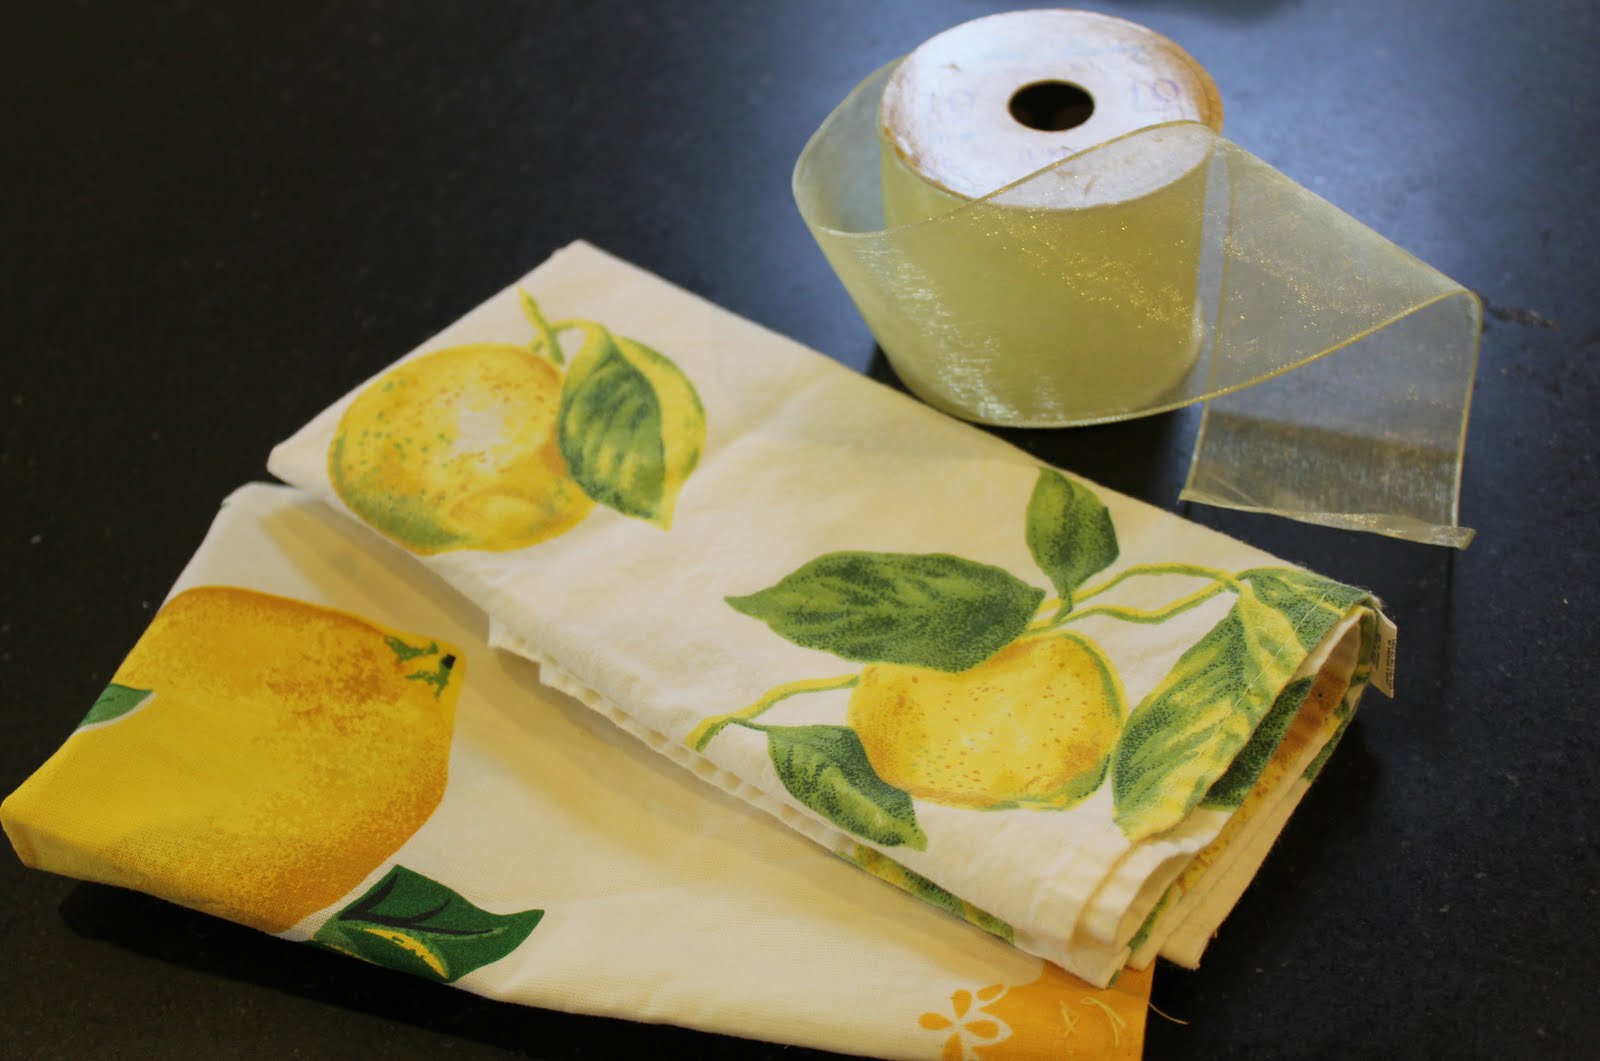
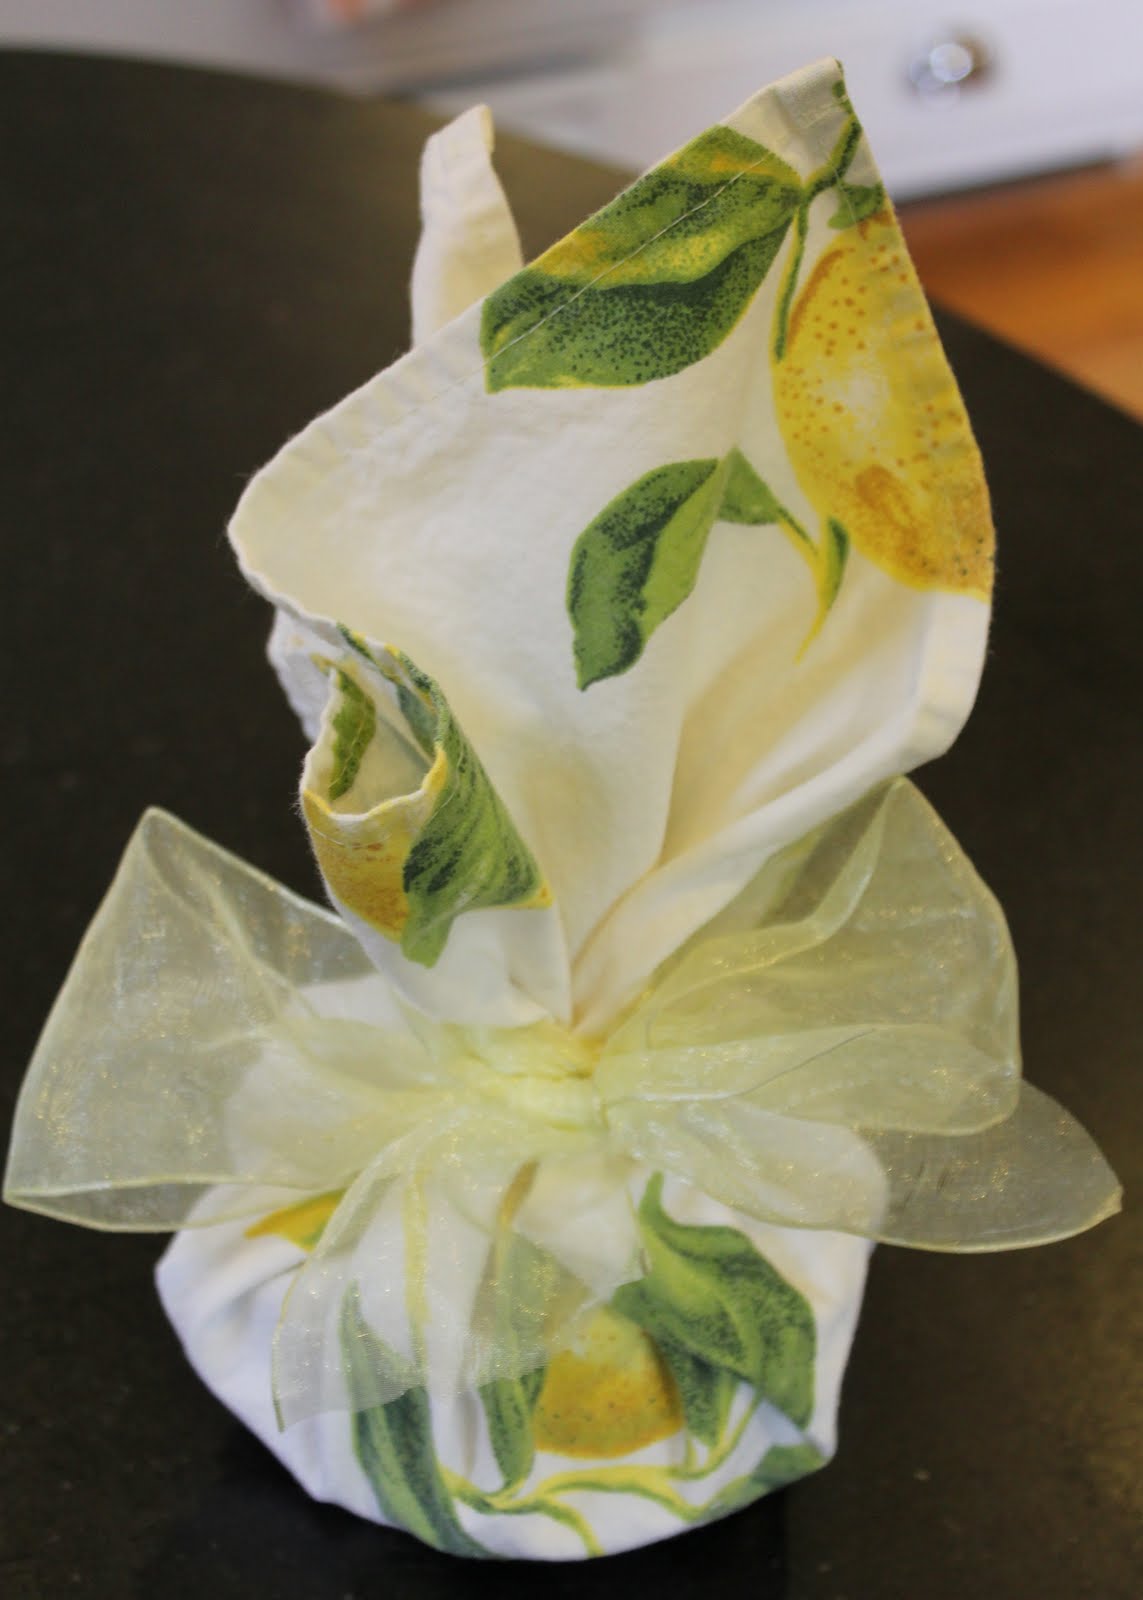
I found some great napkins at Goodwill (where else) for 25 cents and some 50% off ribbon at Hobby Lobby for some easy gift wrapping.
I also thought about putting them on pretty antique plates found at Goodwill for $2. But does it look like I’m giving someone a slice of lemon cake? LOL
Herb and Citrus Soap
Recipe adapted from Martha
You’ll need:
Glycerin soap (sold at craft stores)
Assorted herbs & citrus – I used basil, mint, rosemary, orange and lemon
Food processor
Glass bowl or measuring cup
Plastic spoon or scraper
Soaps molds – any plastic or cardboard container will do
Cooking spray
1. Melt soap
Put the soap blocks in glass bowl & melt in the microwave for 30 second intervals until melted. Stir every so often to break up big chunks.
2. Prepare additives
While melting, puree the herbs and squeeze out excess water in a paper towel. For citrus, zest the peel. You’ll need about 1 tablespoon of additives for each cup.
FYI – Orange + basil = an unattractive muddy green brown color.

3. Get mould containers ready
You can buy cute moulds at the craft store, but any plastic container will work, even your Ziploc containers. Though you might want to use something you can just pitch in the recycle bin when finished rather than trying to clean. Use old milk cartons or even yogurt cups. Spray with cooking spray and wipe out excess.
4. Add purees
Once glycerin is melted, let it stand & cool for a few minutes. Before it sets too much, add the additives. Keep stirring to ensure they don’t all float to the bottom. When you have the color you want (more time stirring = darker color) pour into container.

5. Setting the mould
Let the soap sit on the counter for about an hour to completely set. Then put in the freezer for another hour or so. Then it should pop right out. Slice with knife, give to someone you love and use within 3 months.


Latest posts by Linda (see all)
- Powder Room Makeover - Mar 25 2019
- Raspberry Sweet Rolls Recipe - Mar 12 2019
- Farmhouse Spring Wreath - Feb 19 2019
What a cool idea for presents!
Wow That IS easy… I thought making soap would be so difficult! definitely want to have a go at that!
I really want to give this a try! I need to check out the craft stores in my new area anyway. :)
Pingback: Favorite Finds – 5/1/11 | ememby
Pingback: Weekend Links | The Living Green Solution
Pingback: Ideas I’m Trying | Artsy Katie
I love this idea definitely gonna try it. Thanks
Hi stephanie, i had a question….i tried searchin for recepies for melt n pour soaps with natural purees but dint find any….my question is can v add water contents or juices or like u used herbs..n wats it’s shelf life? I mean i saw purees bin aded to lye solution, but not melt n pour…..ur reply will b v helpful thnk u so much for sharing this colour bomb!!