


this rockin’ zipper flower is a cinch to make and very sassy when you’re done! perfect for headbands, brooches, clips, etc.
*Please note: this tutorial is for PERSONAL USE ONLY. thanks!!*
Daylily Zipper Flower
Supplies:
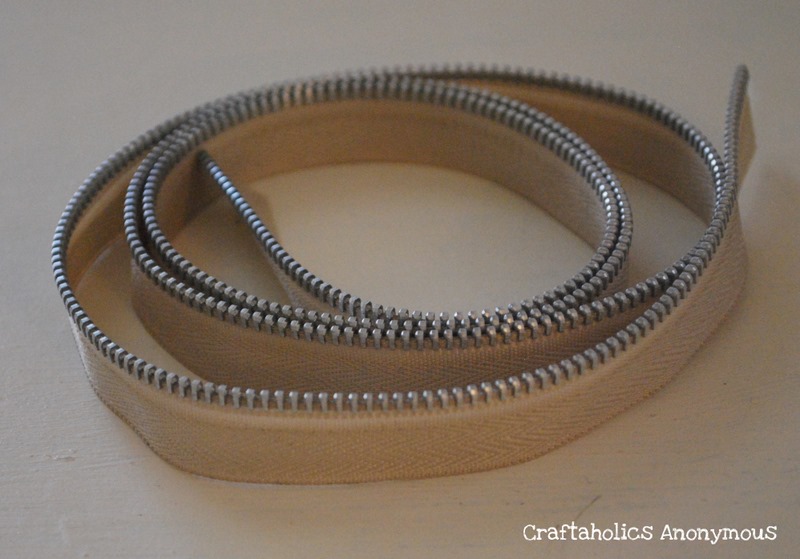
- 1 yard of zipper trim OR 18″ zipper separated
- scissors
- hot glue gun
- lighter/candle
- rhinestone or other embellishment for the center
- felt
- clip or pin or whatever you want to put it on
- sewing machine {optional– you can make a no-sew version}

cut a 10″ length of zipper for the center of the flower and sew a gathering stitch along the edge.
*for a no sew version for a flower similar to the center flower, check out this zipper flower tutorial.*
*for a no sew version for a flower similar to the center flower, check out this zipper flower tutorial.*

gather the zipper. don’t overly gather it thought unless you want a tight center. mine is a slightly loose center.

wrap zipper around into a flower and hot glue in place as you go. similar to this zipper flower.

cut the remaining zipper length into 3″ pieces.

using your lighter, carefully seal the ends of the 3″ pieces. be careful not to burn yourself.

fold the 3″ pieces in half to create a V shape as shown above. put a dot of hot glue in the crease to hold in place.

cut a 2″ circle of coordinating felt for the back.

hot glue the zipper “V’s” around the felt circle as shown, overlapping each other slightly.

hot glue the center flower to the felt circle above the circle of zipper “V’s”.

hot glue your rhinestone to the center and glue on the clip/pin etc on the back and you’re done! simple as that!

Hi! I'm Linda, the craft addict behind Craftaholics Anonymous®, a craft blog. Crafting is cheaper than therapy, right? When I'm not DIYing something, I can be found taxiing around our 4 crazy kids or working out. Or shoe shopping... because you can never have too many shoes! Happy crafting! ♥
Latest posts by Linda (see all)
- Powder Room Makeover - Mar 25 2019
- Raspberry Sweet Rolls Recipe - Mar 12 2019
- Farmhouse Spring Wreath - Feb 19 2019
This is really cute! It would be so pretty on a simple clutch! Thanks for the great tutorial! :)
Love this! Thanks
Hugs
SueAnn
Love it!!! Looking for zipper flowers is what originally brought me to your blog, so I will always have a passion for *your* zipper flowers!! ;)
~Casey Marie
This is a Zipper Flower I actually LOVE!!! I might have to make some for accents for my Purse covers
LOVE this! I'm going to try to make one this weekend!
Love it!! I linked to your tutorial over at Craft Gossip Sewing:
http://sewing.craftgossip.com/tutorial-daylily-zipper-flower/2011/01/25/
–Anne
how clever! I'm going to try it on a cover of a journal I'm making. Thanks for sharing!
Fabulous tutorial! Thanks for sharing! I am looking forward to making some of these into headband / hair clips!!!
Just looking for Zipper Flowers to enhance my Spellbinder cards, what a great idea love it, just going to try it out.
Honeybun
Pingback: how to make fabric flowers