


here’s the tutorial for my drop cloth tree skirt i promised! enjoy! i’d love to see your tree skirts you make from this tutorial. :) this may take you back to 7th grade when you learned about pi {not the fruit kind :}, diameter, and radius. the measurements in this tutorials are for a 54″ diameter tree skirt, but you can easily adjust that bigger or smaller to fit your tree.
Supplies
- 6′ x 9′ painter’s drop cloth
- fabric marker
- scissors
- measuring tape
- 30″ of scrap ribbon or string {use shorter or longer ribbon for different diameter tree skirts}
- iron
*note: this tutorial is for personal use ONLY. thanks!*
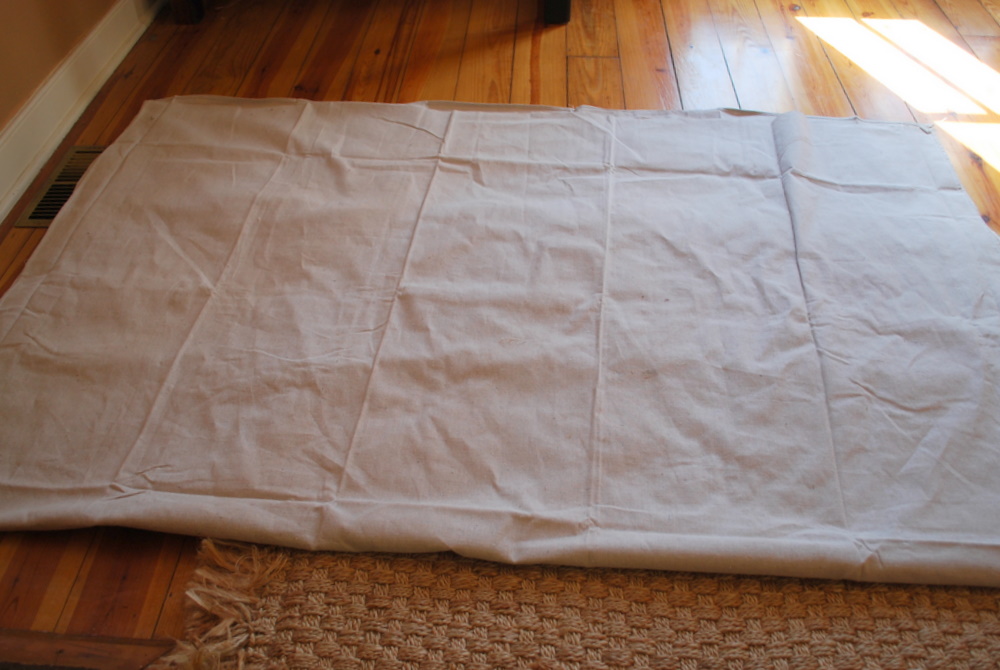
fold your drop cloth in half length wise.
(so that drop cloth measures 6′ x 4.5′)

locate the center of the fold and cut two 1/2″ slits about 1/2″ apart as shown.

thread the ribbon through one hole and back out the other hole and tie a knot.

tie the other end of the ribbon to your fabric marker.
{pictured is not a fabric marker. not sure what i was thinking, but definitely use a fabric marker :}

now pull the string tight and hold your marker upright. draw a large half circle on your drop cloth. be sure to keep your marker at the same angle.

your half circle should look something like this.

next, tie your fabric marker so that it is 3″ away from the edge of the drop cloth and cut off the excess ribbon. then draw another circle on the drop cloth. this is for a 6″ diameter circle for the tree trunk opening.
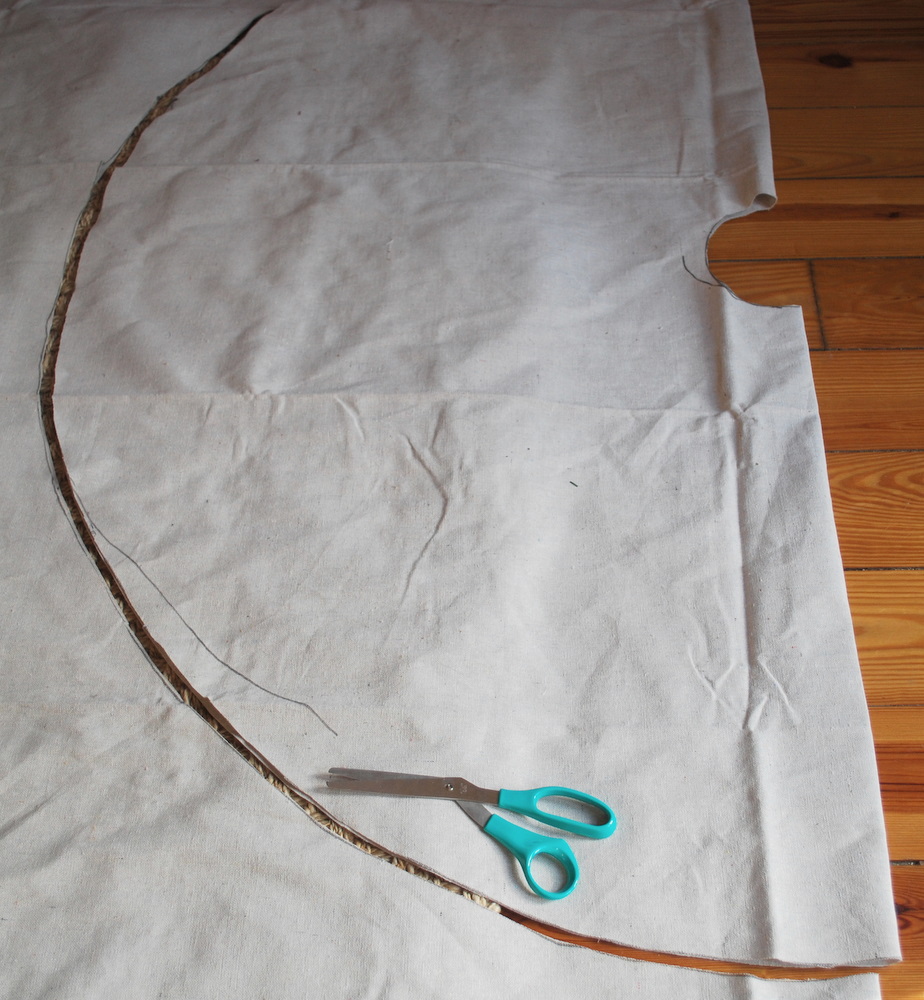
cut along the half circles.
then cut a straight line out from tree trunk opening {middle circle}. {shown below}

using a hot iron, press your tree skirt flat. yes, that’s my ironing board. ain’t it cute?!
{the lovely aroma of a drop cloth being ironed may remind you of the hardware store you bought it at. or maybe the hardware store smells just like a drop cloth….hmmm food for thought.}
{the lovely aroma of a drop cloth being ironed may remind you of the hardware store you bought it at. or maybe the hardware store smells just like a drop cloth….hmmm food for thought.}

with a hot iron, press over the outside edge of the tree skirt 1/2″ and then along the straight edge you created in the previous step. Do not iron the tree trunk opening edges.

fold over and iron the edges another 1/2″.
{still do not iron the tree trunk opening. we will address that in a minute.}

sew the pressed edges. put your seam close to the fold.

now using a zig-zag stitch or a serger {if you’re lucky enough to have one!}, stitch around the tree trunk opening. i did it this way to make it easier. plus, no one sees this edge under the tree. but we will reinforce this finish after completing the ruffles.>if you wanted to stop here and have a simple drop cloth tree skirt, you can.< Flat Ruffles

cut six 2 inch x 6 foot strips from your remaining drop cloth. {you’ll have plenty left over for other crafts. which i may or may not have some ideas for…;o}

cut six 2 inch x 6 foot strips from your remaining drop cloth. {you’ll have plenty left over for other crafts. which i may or may not have some ideas for…;o}

take a strip and fold over one side.

and pin to the folded edge along the zig zag finished tree skirt along the straight edge that you cut earlier. {you know the one so that it makes it possible to put around a tree?}
Note: you can use either side of the skirt as the top. the drop cloth is double sided. but i liked having the raised edge of the folded seam on top. i think it added another pretty detail and went with the ruffles.

take the other end of the strip, fold over the end, and pin to the outside edge of the tree skirt so that the strip runs along that straight edge.

now find the center of the strip. easiest way is to lift it up. it doesn’t have to be the exact center, but close to it. {note how both ends are pinned to the skirt}

pin the middle of the strip to half way between the tree hole opening and the finished outer edge. again, the rough middle is fine.
*Tip: if you are worried about sewing your ruffles straight, use a yard stick and a fabric marker to draw straight lines from the inner tree trunk hole out to the edge of the skirt.
*Tip: if you are worried about sewing your ruffles straight, use a yard stick and a fabric marker to draw straight lines from the inner tree trunk hole out to the edge of the skirt.

to sew the ruffles: right after you finish back stitching or about 1″ from the edge {1/2″ inseam}, stop….

using your fingers, create a T shape fold in the strip as shown above and sew across.
continue creating these T shaped folds as you work your way down the strip. if you want to pin the folds to make them all the same size and space apart, that’s fine. but it would take a very long time. AND i like the uneven, imperfect look of different sized folds and irregular spacing. but that’s just me.

when you get to the other end, snip off the excess fabric and fold under about 1/2″ like you did at the beginning of the strip.

sew the other side of the ruffled strip. using your fingers, flatten the ruffles before they get stitched so that they keep the T shape.
this strip will help disguise the straight edged opening in the skirt.

after you finish the ruffled strip along the straight edge, you’ll sew the remaining 5 strips. space them apart evenly. i spaced mine out about 2.25 inches away from each other along the tree trunk opening.

when you are all done sewing on the ruffles, using a straight stitch, sew a couple times around the tree trump opening to reinforce it.

this is what your skirt will look like. notice how well the ruffles hide the straight opening!

and you’re done!
simple, pretty, and drop cloth dead gorgeous!!
happy crafting!

Hi! I'm Linda, the craft addict behind Craftaholics Anonymous®, a craft blog. Crafting is cheaper than therapy, right? When I'm not DIYing something, I can be found taxiing around our 4 crazy kids or working out. Or shoe shopping... because you can never have too many shoes! Happy crafting! ♥
Latest posts by Linda (see all)
- Powder Room Makeover - Mar 25 2019
- Raspberry Sweet Rolls Recipe - Mar 12 2019
- Farmhouse Spring Wreath - Feb 19 2019
Love it! Drop cloth doesn't really match my tree, but I may try this with some other sort of fabric. Thanks for the tutorial!
Love it! Drop cloth doesn't really match my tree, but I may try this with some other sort of fabric. Thanks for the tutorial!
It's just beautiful!
I absolutely love this! Ruffles are amazing :)
I love it! Thank you for the tutorial.
Thanks for the detailed tutorial, this is a lovely project! :) Sarah
Love it! It is so adorable. I'm going to have to file this away for next year. Thanks for such a great tut!
turned out great! I have a skirt I love mucho already but if I didn't I'd be whipping this up!
It is so beautiful!! Love it! And thanks so much for the tutorial!
Hugs
SueAnn
That would be so great at a children's centre with their handprints on it. Or each year family and friends put on their prints or write a note or just sign it.
BTW-the cut from the centre to the edge is crucial, I didn't do it for mine b/c I have a fake tree (not sure why I thought that was a reason not to cut) and sure made for interesting moments when the skirt was pulled! I've since cut it so the tree doesn't come with the skirt if it gets caught accidently.
Thanks so much for posting the tutorial! This is actually something that is on my to do list… I need a new tree skirt to match the decorations we started collecting last year. I would love to embellish it with some hand embroidery of our favorite things to tie it in with our Christmas collectibles.
And, on another note, I really appreciate the time you take to make tutorials with such great pictures and editing. I know that takes a TON of time. And, I'm sure it is sometimes hard to accomplish being a mom of two wee ones. Great job to you! I love how you work from home and the dedication and passion you give to your work. Keep it up, you rock!
I'm over here from Securityville – so glad she directed me over here! I just love this tree skirt… I totally want to try it. I'm pretty new at sewing, but it seems like something I might be able to tackle… :) Thanks!
Beautiful…I love it.
LOVE the ruffles! i want to try this, but maybe with other material since my decor doesn't go with the dropcloth. however, i wish it did go together because i lovve the look of the dropcloth. Thanks so much for all the work you put into your tutorials for us all to checkout free. so helpful. thanks
Wow, that's really pretty and I love that you could dye it any color. Thanks so much, I'll be linking.
I love the simple, plainness of this: the fabric, color and the cut-edge ruffle. It's perfect… and I've got a painter's drop cloth in my closet. ;)
I love this tree skirt!! I also like making things out of the painters drop cloths.
I am working on this as we speak…wanted to do a burlap one and was told to use drop cloth instead. Your “T fold” ruffles are so darling and I am hoping mine comes out 1/2 as cute as yours! Thanks for all the work you put into this tutorial!!!
Pingback: Craftaholics Anonymous® | Gold Ombre Christmas Tree Reveal!